

I start by clearing out every dead plant and bit of debris from my raised beds, as leftover roots and leaves invite pests and disease over winter.
Next, I test drainage by soaking the soil deeply; if water pools for hours, I mix in coarse sand before proceeding.
Once drainage looks good, I loosen the top few inches with a fork and blend in compost, sand, and topsoil.
I water deeply to feed soil microbes, then spread 2–4 inches of straw or shredded leaves as mulch.
For extra protection, I add frost cloth or plastic on a sturdy frame, securing it tight against wind.
On warm days, I roll back covers to let air circulate.
In spring, I remove layers gradually as the soil thaws.
I time everything based on my hardiness zone and monitor for waterlogging or mold.
Each step is important for ensuring your beds thrive.
Clear Out Dead Plants and Debris From Raised Beds
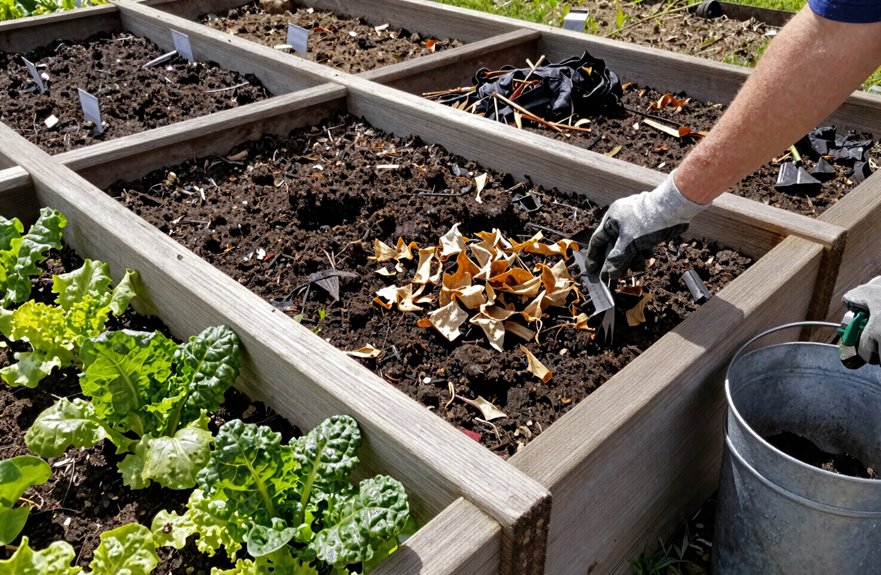
Start by pulling out any dead plants and their roots from your raised bed. I grab my gloves and begin the cleanup because leftover plant material invites trouble. Dead plants and debris harbor pests and diseases that can overwinter, potentially affecting next spring’s crops.
Leftover plant material invites trouble—dead plants and debris harbor pests and diseases that can overwinter, threatening next spring’s crops.
Here’s how I tackle the cleanup:
- Pull everything out – roots, stems, and fallen leaves included.
- Rake the surface smooth – breaking up clumps as I go.
- Inspect carefully – catching any diseased bits I missed.
- Dispose properly – never compost suspicious material near my garden.
This debris removal reveals my soil surface completely. Now I can see exactly what I’m working with. The bed looks fresh, feels ready, and prepares for the next steps. We are setting the stage for productive growth.
Test Drainage Before You Cover Anything
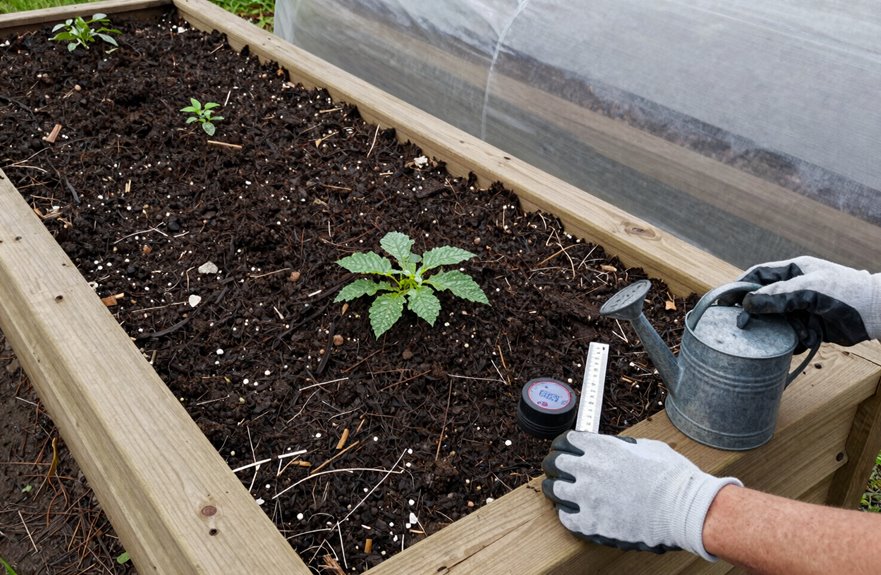
I test my bed’s drainage before adding any cover, as trapped water can rot roots and lead to problems all winter. First, I soak the soil deeply and observe how quickly it flows through. If puddles linger for hours, I know I have work to do. I also check after a good rain to see if the surface stays soggy. If it does, I mix in coarse sand or raise the edges before laying down mulch or frost cloth.
Water Flow Check
Why risk soggy soil and sick plants when a quick test can save you trouble later? I always check my drainage before considering adding a cover.
Here’s what I watch for:
| What I See | What I Feel |
|---|---|
| Water vanishes in 15 minutes | Relief, ready to cover |
| Puddles linger 30 minutes | Worry, time to fix things |
| Cold climate, frozen base | Stress, need rubble layers |
| Trapped moisture smell | Urgency, restart the soil |
If water pools, I mix in sharp sand. That gritty texture opens pathways for water to escape. In cold zones, I lay rubble or subsoil at the base so moisture drains even under mulch.
I never cover poor drainage. Root rot and fungal diseases thrive in trapped wetness, and I won’t allow my beds to become a breeding ground.
After heavy rain, I check again. Good drainage ensures healthy roots, which are essential for strong growth.
Soil Saturation Test
Sure! Here’s the modified text:
—
Once I’m confident water won’t pool, I run one last check before adding any cover. This soil drainage test tells me if my roots will breathe or drown.
How I Test Soil Drainage
- I water the bed deeply, soaking it completely.
- I watch and wait, checking every 30 minutes.
Good drainage means water disappears within 30 minutes to 2 hours. That indicates healthy conditions.
What Slow Drainage Means
If water sits longer, I face potential issues. Pooling or soggy soil after several hours signals compaction or subsoil problems. Root rot can develop quickly.
My Fixes
- I mix in coarse sand for structure.
- I add organic matter to loosen the soil.
- I adjust my final fill blend based on results.
Testing now prevents issues for my plants later.
Aerate and Enrich Soil With Compost
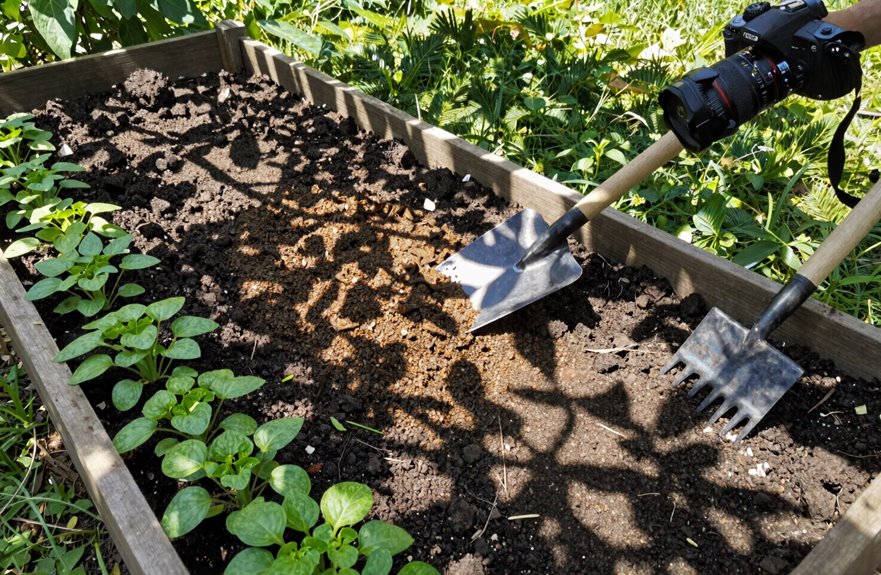
How do we prepare our raised beds for thriving plants? Aeration significantly improves the soil quality.
Step 1: Loosen the Soil
I use my garden fork to gently work through the top layer of soil. This process breaks up compaction and allows air and water to move freely. It’s best to avoid going too deep; just a few inches is effective.
Step 2: Mix in Compost
Here is my preferred blend:
- 3 parts compost
- 2 parts sharp sand
- 7 parts topsoil
This mixture nourishes microbes and ensures good drainage. I fill the bed to about 2 inches below the rim and then firm it gently.
Step 3: Let It Rest
I wait a couple of weeks before planting. This allows the soil to settle, and I can top up if necessary. Allowing this time leads to stronger plants later.
Water Deep to Feed Soil Microbes
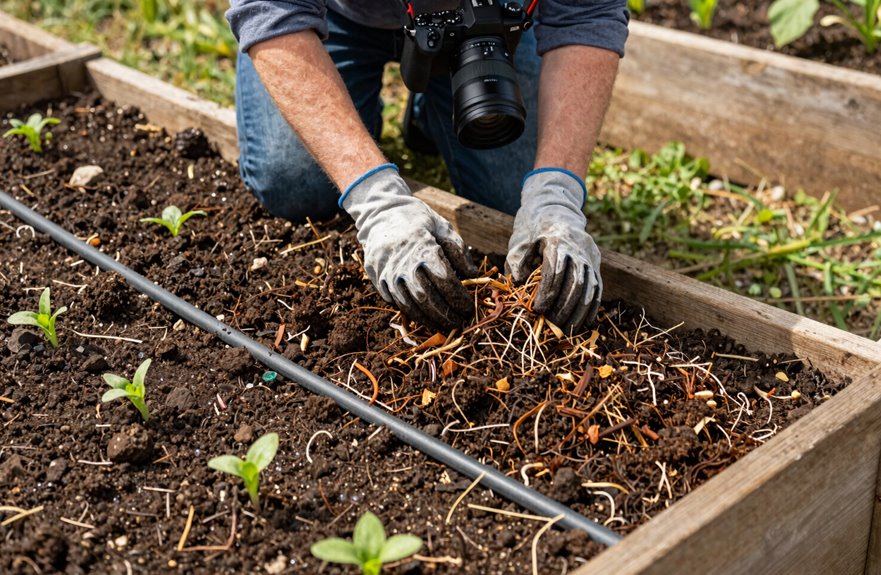
With my beds now resting after aeration and composting, I am focusing on moisture. Watering deeply keeps my soil microbes active through winter, supporting their respiration and nutrient cycling when my garden needs it most.
I water before adding any layers, moistening the full soil profile so beneficial bacteria and fungi survive freeze-thaw cycles. A light winter watering balances moisture after all that mixing, reducing dry pockets during cold snaps.
Here’s how I adjust my approach:
| Condition | My Action |
|---|---|
| Dry spell coming | Water 2–3 days before freezing |
| Heavy recent rain | Skip, check drainage first |
| Fast-draining beds | Water more, but watch closely |
I always avoid waterlogging, as that is as harmful as drought to my microbial community. Consistent moisture helps maintain a strong living soil ecosystem. Nurturing it properly supports the broader environment.
Mulch 2–4 Inches for Insulation
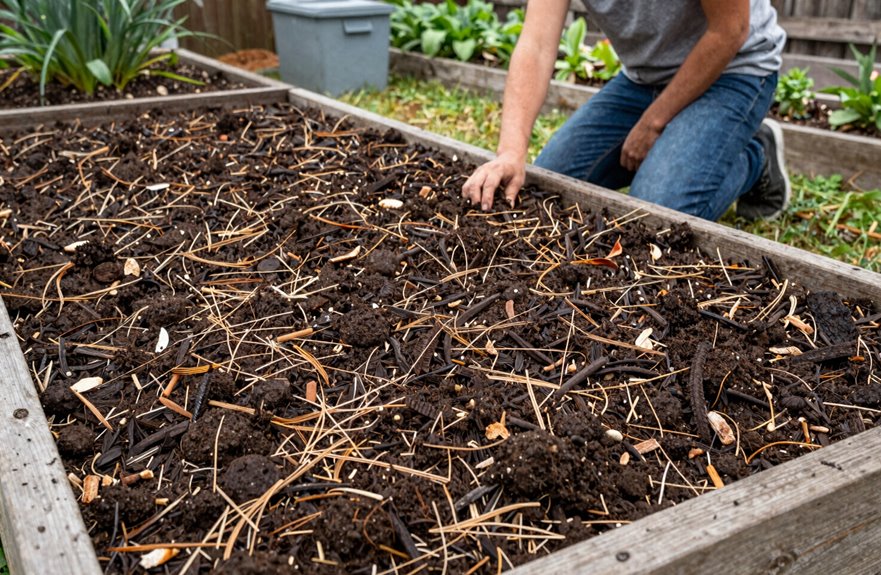
I spread my mulch 2–4 inches deep because that’s the ideal depth for keeping soil insulated without suffocating it. I wait until after I’ve cleaned out old plants and lightly disturbed the soil surface, ensuring the layer is smooth and ready to be effective. Getting the timing right helps my beds stay protected throughout the winter and makes for an easier transition when spring arrives.
Mulch Depth Selection
When preparing my raised beds for winter, I’ve found that the mulch layer is crucial. I maintain a mulch depth of 2–4 inches because it provides effective insulation.
This depth serves several purposes:
1. Protects soil life
A 2–4 inch layer keeps soil temperatures consistent, allowing beneficial microbes to thrive during cold spells.
2. Choose your materials
I use straw, shredded leaves, or compost. Compost also provides nutrients in spring.
3. Layer smart
I place organic mulch beneath frost cloth or plastic covers. This combination enhances warmth retention.
4. Double up if needed
In challenging climates, I apply compost or leaf mulch topped with a cover. The 2–4 inch base remains stable, while the cover manages temperature fluctuations.
Timing Applications Strategically
The right timing makes all the difference when putting down that protective layer. I aim for late fall, after the first light frost but before the ground freezes solid. This approach allows my soil to remain workable while I add that cozy blanket.
Here’s my simple process:
- Clear out dead plants and debris.
- Loosen soil gently and mix in compost.
- Water lightly to keep microbes happy.
- Spread 2–4 inches of organic mulch—straw, leaves, or wood chips work well.
- Top with frost cloth if winters are harsh.
This timing protects my raised bed from rain and snow compaction, prevents weeds from starting, and deters pests from settling in. Come spring, my soil is healthy and ready for planting, reflecting a thoughtful approach to preparation.
Match Your Cover to Your Winter Severity
How do you know which cover your raised bed really needs? It starts with checking your local winter. In mild zones, a thick layer of mulch often does the trick. I spread 2–4 inches of organic mulch to protect soil life and block weeds.
Check your local winter first—then match your cover to the conditions your raised bed will face.
Harsher winters require more protection. I combine mulch with frost cloth or plastic for extra insulation. This double-layer setup shields my beds from freezing rain and sudden thaws.
Here’s how I match my approach:
- Light winters: Mulch alone works fine.
- Moderate cold: Mulch plus a breathable cover.
- Severe zones: Double covers with mulch underneath.
In variable weather, I monitor forecasts and adjust my methods. Flexibility is key; adapt as conditions change. My garden community experiments together, and we learn what works throughout the season.
Install Frost Cloth, Tarp, or Plastic Over Beds
I select my cover material based on my goals. Frost cloth allows air and water to pass through, while plastic retains more heat but requires venting to prevent sogginess. Once I’ve made my choice, I secure it tightly with staples or weights to prevent wind damage. I typically complete this before the first hard freeze, ensuring my soil is protected throughout the cold months.
Choosing Cover Materials
What should you cover your raised beds with when winter hits?
It helps to think in layers. First, spread 2–4 inches of winter mulch—straw, shredded leaves, or compost—right over the soil. This insulates roots, reduces weeds, and maintains soil structure through freeze-thaw cycles.
Next, add something sturdier. Frost cloth provides light protection, while PE plastic or a tough tarp blocks heavy rain and snow. Some gardeners prefer a combination of mulch and cover to retain warmth.
I have tried the dual-layer net cover plus PE cover from Vegega, and it effectively buffers temperature swings.
Choose organic, inorganic, or both options based on your needs.
Securing Cover Properly
Once you’ve picked your materials, it’s time to secure them so they stay in place through wind and storms. Properly secured covers ensure a thriving winter garden instead of a sad pile of soggy fabric.
Here’s how I anchor mine:
Build your frame. I use hoops, jugs, or rebar-supported frames to create a stable structure over the bed.
Fasten tight. Landscape staples or wide-head screws keep everything from flapping. A tight seal is essential.
Go double-layer when you can. I prefer compost or leaf mulch underneath, topped with frost cloth or plastic.
Stretch past the edges. Ensure your cover extends beyond the bed and is anchored securely.
Give plants breathing room. Avoid letting the cover touch plant crowns; airflow helps prevent frost damage.
With these steps, your plants will stay cozy, and you will protect your garden from winter gales.
Seasonal Timing Considerations
When should you actually put those covers on? Timing matters, and I will help you get it right.
Steps for Winter-Covering Success
1. Prep Your Bed First
Clear out dead plants and debris before proceeding. This stops diseases from lingering under the cover.
2. Layer Up
Spread 2–4 inches of compost or leaf mulch, then add your frost cloth or plastic on top. This two-layer method keeps soil warm and blocks weeds.
3. Match Your Climate
In mild areas, a single cover works well. However, in regions with unpredictable winters, I use a double system—net cover plus plastic—for added protection.
4. Lock It In
Secure everything tightly after the first hard frost to prevent freeze-thaw cycles from damaging your soil.
Planning ahead will help keep your beds safe.
Anchor Covers Against Wind and Pests
Securing your garden bed cover doesn’t have to be complicated; it requires thought to keep wind and pests at bay. A few simple steps can make a significant difference in protecting your plants.
Anchor Your Cover Properly
I extend my covers beyond the bed edges by at least 6 inches. This overlap prevents wind from getting underneath and lifting everything away. It also blocks pests from crawling in through the sides.
I secure everything with landscape staples or short pieces of rebar pushed firmly into the soil. These hold strong through gusty days and restless nights. Think of it as tucking your garden in tightly.
Build Your Layers
I use landscape fabric as my base and then add compost or leaf mulch on top. This dual-layer approach insulates the soil effectively. It keeps temperatures steady and prepares your beds for healthy growth come spring.
Ventilate Covered Beds During Warm Spells
Here’s what works for me:
1. Roll back covers when temps rise
On sunny days, I lift or partially roll back frost cloth or plastic. This allows fresh air to flow through and prevents the bed from becoming overly warm.
On warm days, roll back covers to let fresh air flow through and keep beds from overheating.
2. Create an air gap
Gable or hoop-style covers naturally leave space between the soil and cover. Warm air escapes while frost protection is still maintained.
3. Watch and adjust
I check my beds often. Shallow-rooted crops like lettuce benefit from this attention; they receive a breeze without stress, reducing the risk of fungal issues caused by trapped humidity.
These practices help improve plant health and growth.
Remove Covers When Soil Thaws in Spring
Ventilating during warm spells helps, but eventually the season shifts, and it’s time for covers to come off completely.
I start by lifting frost cloths or plastic gradually on warm days. This allows me to monitor how my raised beds respond without shocking any early seedlings. I always remove covers from the outer edges first, then work toward the center. This approach keeps the soil calm and undisturbed.
Once the covers are off, I check what’s underneath. Sometimes a crust has formed, so I do light raking to break it up. My raised beds need to breathe after months under wraps.
I also reassess watering needs. Moisture levels change under covers, and my spring plantings might require more or less water than I expect. It’s all part of waking the garden up together.
Time Protection by Your Hardiness Zone
When should you start protecting your raised beds? I monitor my local forecast and aim to get my winter mulch down before the ground freezes solid.
Here’s how to time it by zone:
Zones 3–5
I cover my beds in late October or early November. Frost arrives early here, so I don’t wait.
Zones 6–7
Mid-November is the right time for me. I keep an eye out for that first hard freeze warning.
Zones 8–10
I wait until December. My soil remains warmer longer, but I still protect tender roots.
No matter your zone, I follow these steps:
- Clear out old plants and debris.
- Add a thin compost layer.
- Spread 2–4 inches of winter mulch—straw or shredded leaves work well.
- Secure a frost cloth on top if temperatures drop significantly.
We are all learning together.
Troubleshoot Waterlogged or Moldy Beds
Even with good timing and mulch, I’ve encountered soggy beds and fuzzy mold more than I’d like to admit. Here’s how I fix them.
Improve drainage fast
I check for standing water first. If I see puddles, I add a drainage layer of gravel at the bottom or elevate the bed slightly. Mixing coarse sand or perlite into my soil helps water move through instead of pooling.
Dry out moldy spots
I peel back wet mulch immediately and let air circulate. Lightly forking the top few inches breaks up compacted soil that traps moisture. I also skip watering until the surface feels dry to the touch.
Cover smartly
I use breathable frost cloth, not solid plastic, so humidity doesn’t build up underneath. Improved drainage and airflow keep my beds healthy during wet spells.