
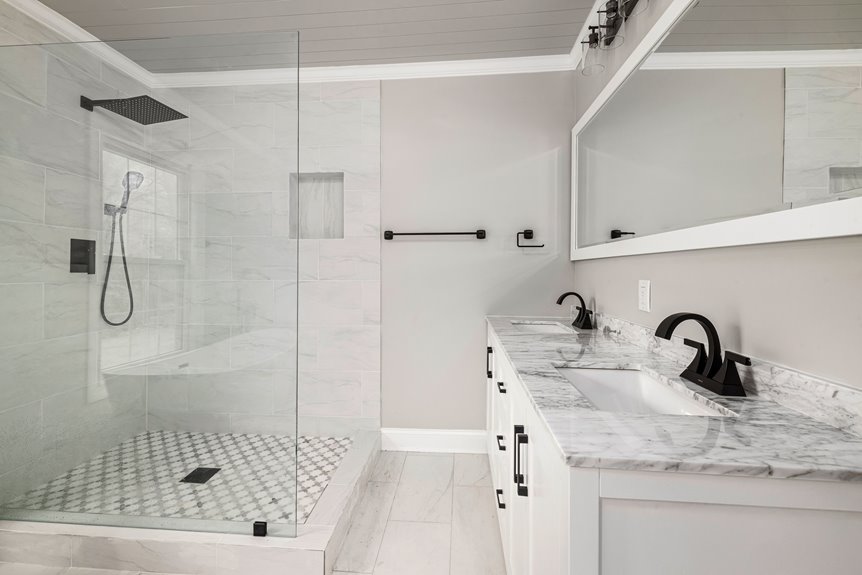
I upgraded my bathroom vanity in ten simple steps that transformed the space over one weekend. I began by assessing what needed changing and setting a budget.
Next, I removed the hardware, cleaned and sanded the surfaces, and applied humidity-resistant paint in a fresh color.
I refreshed the countertop with paint or epoxy, swapped old hardware for new finishes, and replaced the faucet using basic tools.
I completed the project with a matching mirror, improved lighting, and styled shelves.
Each step builds on the last, revealing more opportunities for enhancement.
Start With a Budget-Friendly Vanity Assessment
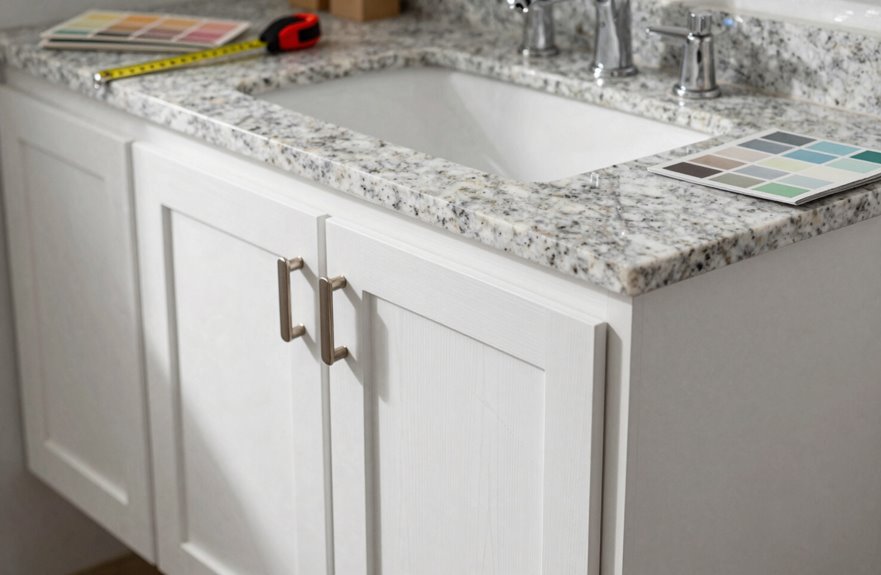
Before I spend any money on my bathroom, I carefully evaluate what I already have. A vanity assessment helps me identify what’s effective and what needs improvement, ensuring I don’t spend unnecessarily on fixes.
I review my current finishes, hardware, and storage. Sometimes, budget-friendly upgrades like swapping out hardware can make a significant difference. I measure my existing pulls first, as buying knobs that don’t fit can be frustrating.
Here’s my quick checklist:
- List what you love and hate about your vanity.
- Measure hardware spacing before shopping.
- Note storage gaps that need fixing.
I find affordable replacements at places like Hobby Lobby. Then I take before photos. Small changes can accumulate, and it feels rewarding to see how much your space can improve without overspending.
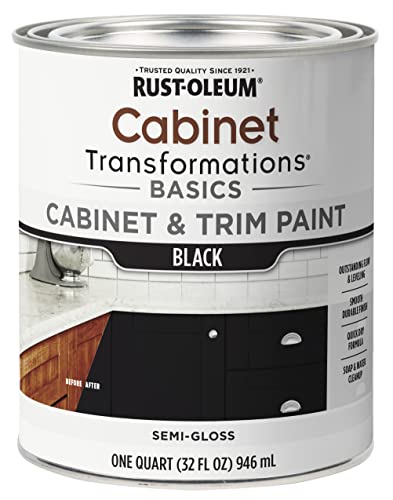
CABINET TRANSFORMATION: Refresh outdated cabinets, vanities, furniture and trim with rich Black color and a smooth semi-gloss finish
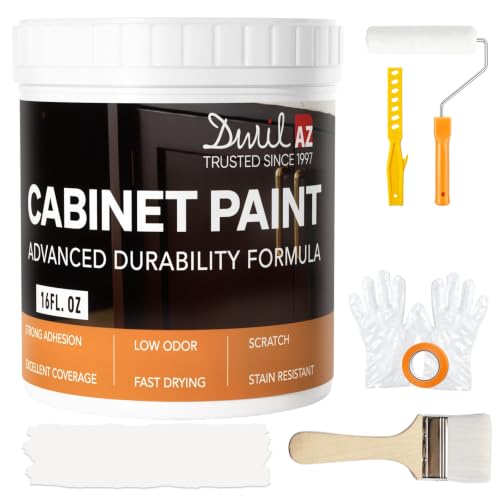
𝙉𝙊𝙏𝙀: Intentional headspace allows room for stirring, dipping, and transit. The stated paint quantity remains unchanged. If you have any questions, please contact our customer service team.

Ideal for use on interior/exterior surfaces including wood, plastic, plaster, metal, masonry and unglazed ceramic
Paint the Vanity for Instant Transformation
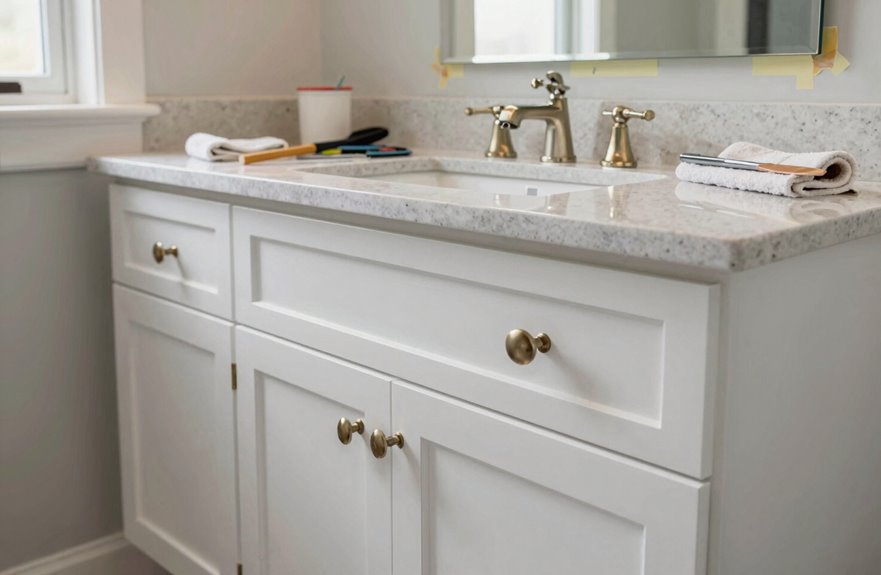
Painting my vanity is one of the quickest ways to transform my bathroom without spending much. Before I grab a brush, I focus on two things: selecting a color that complements my walls and mirror, and properly preparing the surface to ensure the paint adheres well. Here are some tips for color selection and surface preparation that make this project worthwhile.
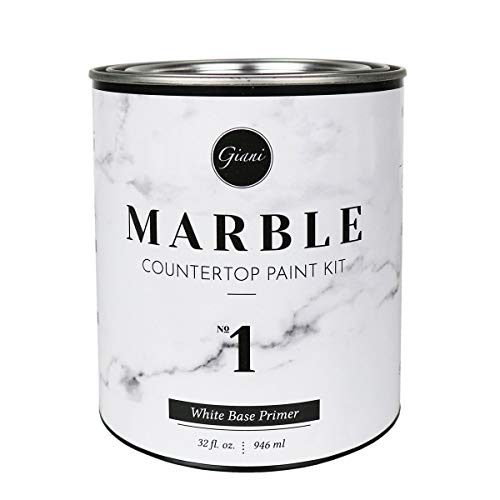
The 32 oz. white based primer is the standard base coat included in the Gianni Marble Countertop Paint Kit

WATER BASED & ODORLESS: Discover Belteco's waterbased, odorless spray paint for both interior and exterior use. With low solvent content, it's eco-friendly and safe for a variety of projects.

Perfect for use on farm or industrial equipment such as tractors, trailers, lawn mowers and other implements
Color Selection Tips
Why settle for a dull vanity when a single coat of paint can transform the entire room? The right color choice can bring life to previously uninspired spaces.
Finding Your Perfect Shade
Color coordination is essential. I match my vanity paint to existing wall tones to maintain a cohesive palette throughout the area. Behr Marquee is effective for achieving this consistency.
Paint Finish Basics
Your choice of paint finish is significant. Semi-gloss is better suited for handling bathroom moisture compared to flat finishes, and it provides a crisp look against mirrors and hardware.
Quick Budget Wins
- Behr Iron Mountain elevates townhouse bathrooms.
- Sherwin Williams Rainwashed creates dreamy aqua spaces.
- Pair fresh paint with updated mirrors for added impact.
Refreshing hardware will stand out against your new color without the need for a full remodel.
Surface Prep Essentials
Surface Prep Essentials
A smooth finish starts with proper prep. Skipping this step often leads to regret later.
Surface Preparation Basics
Good vanity prep involves cleaning, sanding, and priming before you open a paint can. I begin by wiping everything down with a degreaser, then lightly sand to provide the paint with a good surface to adhere to.
Why Humidity-Resistant Paint Matters
Bathrooms can become steamy, so I always opt for humidity-resistant paint. Standard wall paint tends to peel and bubble in these conditions. I have found success with Behr Marquee and similar durable options that can withstand daily moisture.
Quick Prep Checklist
- Remove hardware and doors
- Clean with degreaser
- Sand lightly, then wipe clean
- Apply quality primer
- Paint with humidity-resistant formula
Take your time on surface preparation. A well-prepped vanity will appear professionally done, enhancing the overall look of your bathroom.
Pick Paint That Survives Bathroom Humidity
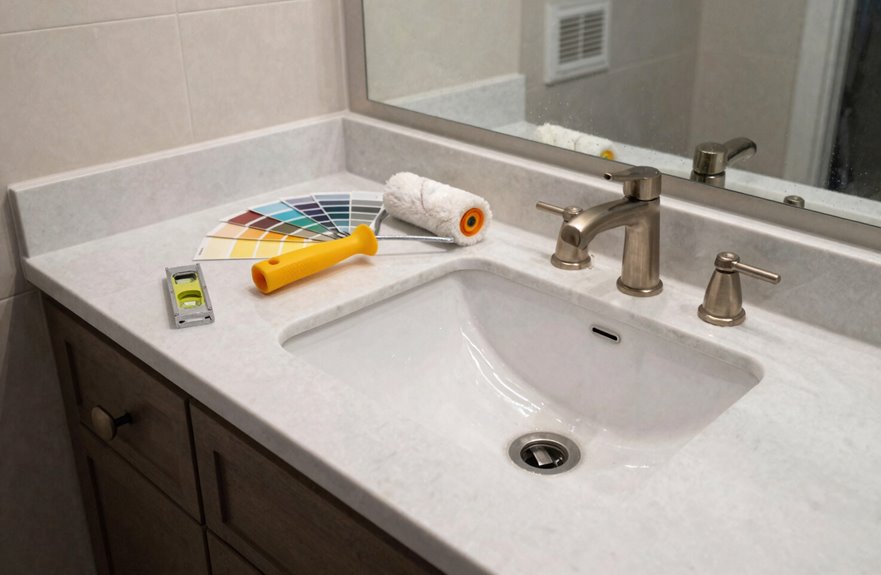
The right paint makes a significant difference when your bathroom gets steamy. Choosing humidity-resistant paint helps keep your bathroom vanity looking fresh, even after years of hot showers.
Here’s how I choose paint that lasts:
- Pick bathroom-specific formulas. I select paints like Sherwin Williams Rainwashed for walls, then match my vanity with Behr Marquee for a cohesive color scheme.
- Go for durable finishes. Behr Iron Mountain provides my vanity with a tough, moisture-proof shell.
- Think whole-room unity. I pair my paint with new mirrors and hardware to create a connected look.
You don’t need a full remodel. One good coat can transform your space, enhancing your enjoyment every time you enter.

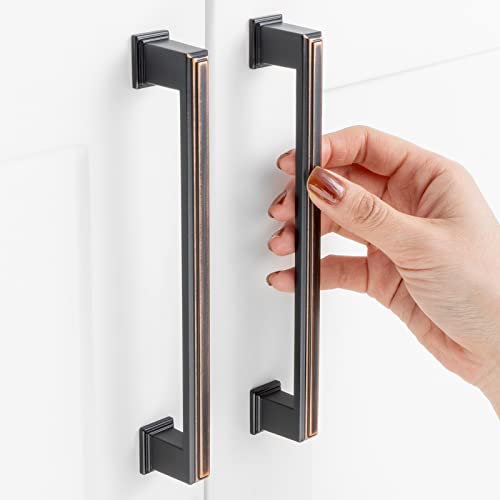
Material & Quality: Made of solid metal with an oil rubbed bronze finish, durable, rust-resistant and heavy duty.

365-Day Evaluation: We believe you'll value these cabinet pulls. Use them for a full year, and if they don't meet your needs, we're here to assist
Refresh the Countertop With Paint or Epoxy
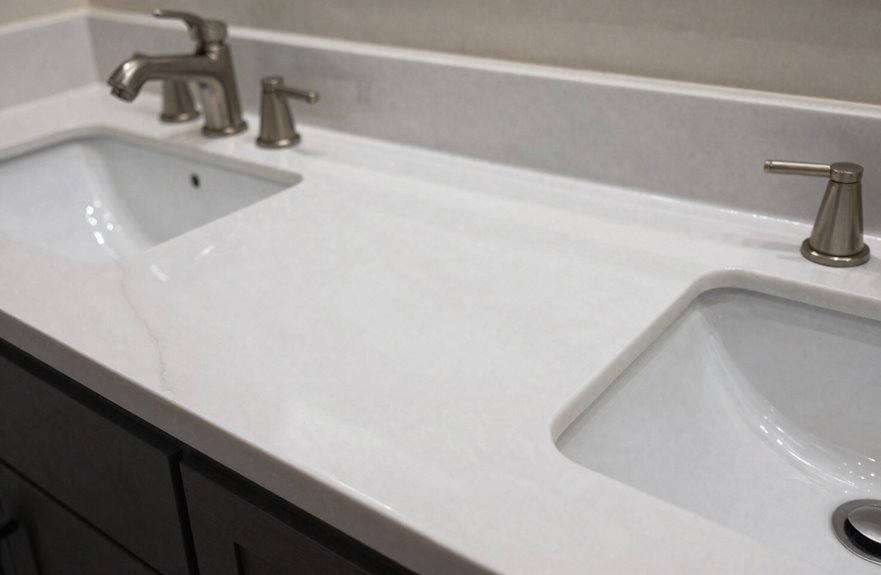
Giving your countertop a fresh coat of paint or epoxy is one of the quickest ways to transform the entire vanity without tearing anything out. First, let’s explore your paint options. After that, I will cover the steps for applying epoxy so you can decide what works best for your space.

[Single-Handle Design for Effortless Control] The single-handle design makes it easy to adjust water flow and temperature with precision and ease. Whether you’re washing your hands or rinsing your face, this faucet brings comfort and control to your daily routine — the perfect upgrade for any bathroom.

Package included: Stem*2 , 1/4 Turn stop*2 , Rubber seat*2 , Spring*2 .

Easy Installation + Complete Kit:Quick-connect design + detailed instructions enable fast self-installation for this matte black bathroom faucet.No plumber needed. Full package includes cUPC & NSF/ANSI/CAN 61 certified 24" M10*3/8" supply lines, ABS pop-up drain (with overflow), 6.2" deck plate (for 3-hole 4-inch sinks), and all mounting hardware
Paint Options Overview
Why settle for a tired, dated countertop when paint or epoxy can breathe new life into your vanity? The right paint can transform not just surfaces, but entire spaces we share with family and friends.
Color coordination is key when updating your vanity. Here’s my approach:
- Match your walls: I use Sherwin Williams Rainwashed for soft aqua tones that feel welcoming.
- Unify your palette: Behr Marquee keeps color consistent across cabinets and trim.
- Tie in your mirror: I choose finishes that complement my paint selections for a cohesive look.
Budget-friendly options like Behr Iron Mountain or Clear Pond allow us to refresh without replacing. Coordinating colors across our vanity, walls, and accents results in bathrooms that feel intentionally designed and uniquely ours.
Epoxy Application Steps
While paint can be effective, epoxy provides a thick, glossy finish that resembles real stone.
Here’s how I approach this project:
1. Prep the surface
I clean the countertop thoroughly, ensuring it’s bone dry and free of wax or grease. A quick sanding helps the epoxy adhere.
2. Mix carefully
I measure the epoxy resin and hardener according to the exact mixing ratio on the kit. Incorrect measurements can prevent proper hardening.
3. Apply in thin coats
I pour slowly and spread evenly with a foam brush, monitoring for bubbles. Multiple thin coats are more effective than one thick, drippy layer.
4. Wait it out
Patience is essential. I respect the curing time—24 hours before gentle use and 72 hours before exposing it to running water. Your vanity will have a professional look, and you’ll appreciate your hard work each time you enter the room.
Swap Vanity Hardware for a Custom Look
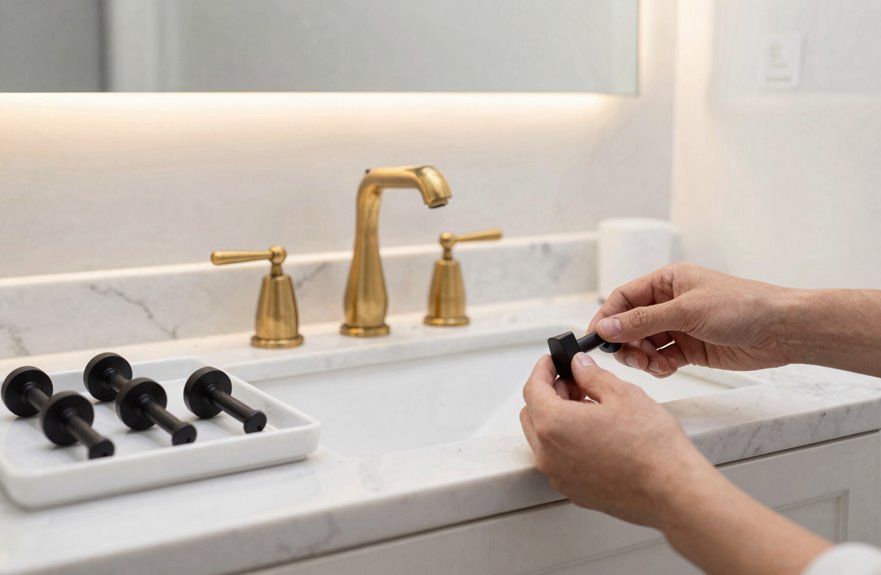
If you’re looking to refresh your bathroom without a full remodel, swapping out your vanity hardware can be a rewarding weekend project. This simple update can significantly alter the space without any major renovations.
Swapping vanity hardware is a rewarding weekend refresh that transforms your bathroom without major renovations.
Here’s how I approach it:
- Measure your mounting holes before shopping, ensuring your new pieces fit perfectly.
- Browse Hobby Lobby or similar stores for finishes that match your style, such as brushed nickel, matte black, or vintage brass.
- Pair with fresh paint or a new mirror to create a cohesive look.
Updating your vanity hardware can transform the overall feel of your bathroom, even if everything else remains unchanged. It’s a quick and easy way to enhance your space, and you’ll appreciate it every time you open that drawer.
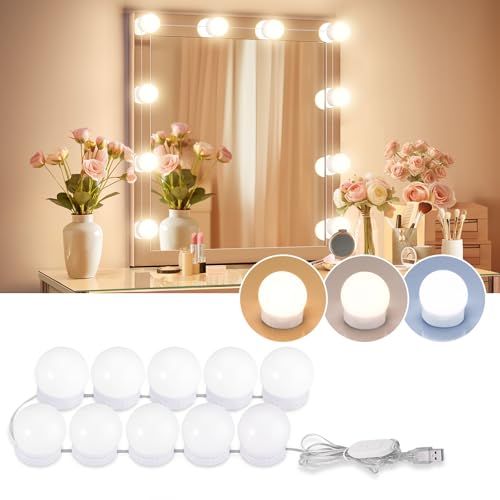
3 Color Tunable : Short press the button to choose the desired color temperature: Warm White (3000K) / Cool White (4000K) / Daylight (6500K). With 120 degree beam angle and sphere PC lampshade, our LED bulbs illuminates an even glow in any room of your choice

☞Perfect for Diy Glam Hollywood Style Vanity - If you have always wanted a Hollywood style vanity but not enough to spend hundreds of dollars on one. These led vanity mirror lights give you that look for next to nothing.
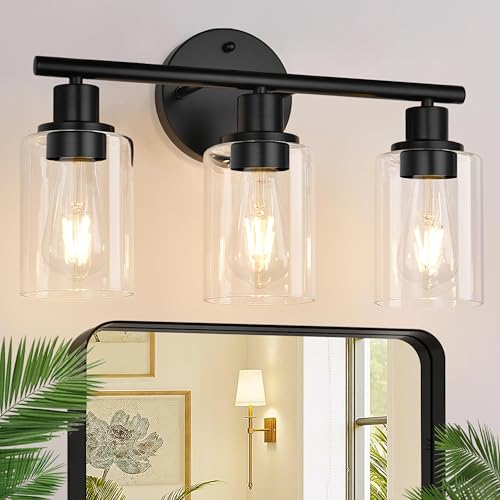
Upgraded Matte Black Finish: The vanity lighting fixtures feature a sleek matte black finish lamp body accompanied by clear glass shades. The upgraded finish not only adds an elegant touch but also includes a scratch and tarnish-resistant coating, ensuring that the black bathroom light maintains its pristine appearance over time. This exquisite bathroom vanity light is suitable for various decoration styles, making it the perfect choice to enhance your home lighting.
Maximize Storage With Drawers and Shelves
Where does all the bathroom clutter come from? It seems to multiply overnight, but I have effective solutions.
Stack Your Drawers
I replaced my single vanity drawer with stacked units, and suddenly everything has a home. Vertical stacking of slim drawers utilizes storage in tight spots I previously overlooked. My open vanity space now conceals toiletries instead of showcasing disorder.
Add Floating Shelves
I mounted shelves above my toilet, turning that empty wall into a practical storage area. No floor space is lost, just efficient vertical storage for towels and baskets.
Mix and Match
I paired my drawer updates with fresh paint, giving the space a more intentional feel. Simple cabinet additions in my master bath provided display spots for daily essentials.

【WATER BASED & LOW ODOR】DWIL Cabinet Paint features a water-based, low-odor formula for a more comfortable indoor painting experience. It is ideal for refreshing kitchen cabinets, bathroom vanities, and wood furniture without the strong odor commonly associated with oil-based paint.

【TUB & TILE REFINISHING KIT】 Our tub and tile paint boasts an advanced acrylic formula designed for durability and longevity. The high-quality acrylic resin ensures a strong, resistant finish that combats flaking and wear, providing a lasting transformation for your tiles. This tub and tile paint is engineered to deliver professional-looking results.

Zinsser 02704 Quart Satin Gloss Perma-White Mildew-Proof Bathroom Paint
Replace the Faucet Without a Plumber
I’ll guide you through swapping out your bathroom faucet on your own, from selecting a suitable replacement to gathering essential tools and following straightforward steps. First, I’ll explain what to consider when choosing a faucet that fits your sink without requiring extra drilling. Then, I’ll list the basic tools you’ll need, most of which you likely already have. Finally, I’ll break down the installation into manageable steps so you can shut off the water, remove the old fixture, and secure the new one confidently.

*Prestige Paints has created a comparable color based on color specifications of the original color using industry leading technology.

*Prestige Paints has created a comparable color based on color specifications of the original color using industry leading technology.

*Prestige Paints has created a comparable color based on color specifications of the original color using industry leading technology.
Faucet Selection Basics
Why spend money on a plumber when you can swap out your bathroom faucet yourself? Picking the right faucet starts with knowing your sink’s setup. Let’s go through the basics.
- Check faucet compatibility. Look at your sink’s hole pattern. Is it single-hole, three-hole, or widespread? Your new faucet must match this exactly.
- Measure your center-to-center measurement. For three-hole sinks, grab a tape measure and find the distance between the outer holes. This spread determines which faucets will fit properly.
- Pick matching supply lines. I choose faucets with standard 3/8-inch supply lines that connect to my existing valves. This makes installation smoother and prevents leaks.
Once you have these details right, you can achieve a secure, leak-free fit.
Required Tools Overview
Swapping out a faucet doesn’t require an elaborate toolbox. You can do this yourself with just a few basic tools.
Here’s what you’ll need:
The Essentials
- An adjustable wrench for general tightening.
- A basin wrench for those hard-to-reach nuts under the sink.
- Plumber’s tape (Teflon tape) to seal threaded connections.
- A putty knife or old towel for cleanup.
- A screwdriver if your new faucet has mounting screws.
Don’t Forget These
Get some new supply lines if yours look worn or corroded. Old lines can leak, which poses a risk. It’s also a good idea to keep a bucket handy for leftover water and a towel to block the drain.
No special training or expensive gear is needed—just these tools and a bit of confidence.
Step-by-Step Installation
Ready to tackle this yourself? I’m here to guide you through these plumbing steps for a smooth vanity upgrade.
Here’s how I handle faucet installation:
- Prep the space. I shut off the valves under the sink, drain the lines, and lay down a towel to protect my cabinet.
- Swap the fixture. I loosen the mounting nuts below, disconnect supply lines with my wrench, and pop the new faucet in with putty or a gasket. Then I tighten everything from underneath.
- Test and finish. I reconnect hot and cold lines, turn the water back on, and run it for a minute to catch any drips. A quick wipe, and I’m done.
You’ve completed your faucet installation without needing a plumber. It’s a satisfying accomplishment.
Install a Mirror That Pulls It Together
How quickly can a bathroom feel brand new? Swapping out a basic mirror can transform the whole space in just one afternoon. It’s one of the easiest ways to upgrade your vanity and create that cohesive style we all seek.
| Mirror Option | Best For |
|---|---|
| Discounted framed mirrors | Budget-friendly refresh |
| Reclaimed wood DIY | Rustic, hands-on projects |
| Pre-framed store finds | Quick, reliable results |
I enjoy searching for deals at places like Hobby Lobby, where I’ve found stylish options at half price. If you’re handy, you could frame your old mirror, but be cautious of warped boards, as they can affect the overall appearance. Pair your new mirror with fresh paint and hardware for a polished look. Consider donating or repurposing that old mirror to maintain a positive atmosphere.

【High Quality Kitchen Cabinet Handles】Made of solid zinc alloy, durable, delicate touch, no fingerprints, the brushed gold cabinet pulls make cabinet hardware a part of your home decoration.

Classic Retro Elegance: Enhance your cabinets with our Retro Style Cup Pulls. Their sleek, modern design complements various cabinet styles, adding timeless charm to your home decor.

【Unique design】: These elegant brushed nickel cabinet pulls will be ideal for kitchen, closet, bathroom, bedroom, etc.
Add Vanity Lighting That Flatters Your Face
Why does bathroom lighting matter? It affects how you see yourself every single morning. Harsh overhead lights create unflattering shadows that can make you look tired, while the right vanity lighting can improve that.
Flattering illumination doesn’t require an electrician. Here’s how I upgraded mine:
- Swap the globes. I spray painted mine warm white to soften the glare.
- Add diffused bulbs. Even light around my face eliminates shadowy eye circles.
- Match my walls. I chose finishes that blend with my paint and mirror for a cohesive look.
These simple bathroom upgrades complement fresh hardware or paint. You’ll find yourself wanting to look in the mirror.

4 Inch Bathroom Faucets Fit 2- or 3-Hole Sinks: designed with two mounting shanks spaced 4 in center to center; integrated deck plate covers unused center opening on compatible 3-hole sinks. Fits 0.87-1" mounting holes and decks up to 1.2 in thick

Durable Oil Rubbed Bronze Finish: Farmhouse or commercial sinks faucet is bronze finish, which is anti rust and proof corrosion, more durable.The deck mount faucet combo comes with a bronze pop up drain, making it very convenient for daily washing.

Easy Installation + Complete Kit:Quick-connect design + detailed instructions enable fast self-installation for this matte black handle/brushed gold bathroom faucet.No plumber needed. Full package includes cUPC & NSF/ANSI/CAN 61 certified 24" M10*3/8" supply lines, ABS pop-up drain (with overflow), 6.2" deck plate (for 3-hole 4-inch sinks), and all mounting hardware
Style the Vanity With Shelves, Art, and Rugs
Once the lighting felt right, I wanted the whole vanity area to look cohesive. I started by adding shelves above the toilet and near my bathroom vanity. Floating shelves worked well in my boys’ bathroom as a budget-friendly upgrade, and a simple DIY shelf transformed my townhouse half bath.
Next, I focused on coordinating decor. I created matching framed art using Canva and thrifted frames, ensuring the colors aligned with my new paint and fixtures. The addition of board and batten enhanced the character of the space without significant costs.
Finally, I chose rugs and bath mats that complemented my wall color and hardware. I selected affordable options that withstand humidity, allowing me to change them out whenever I want a fresh look. These thoughtful details completed my vanity, making it feel inviting.

17.3-inch vanity light: Fits 24” and 30” standard bathroom mirrors—the top single-sink vanity sizes in homes. Well-proportioned and never too small or oversized, it delivers balanced, full coverage for your entire vanity area
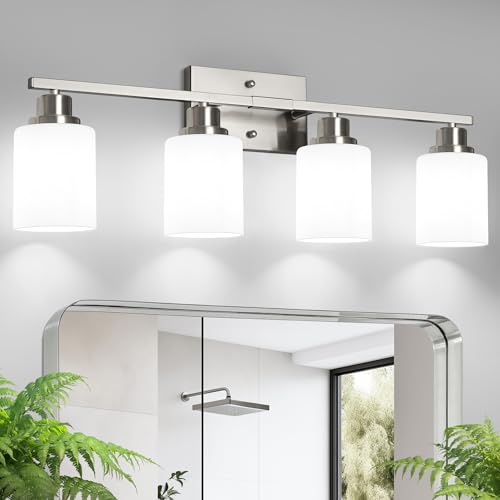
【Eye-Comforting Milky White Frosted Glass Shades】Tired of squinting under blinding vanity lights? Our vanity lights feature high-quality, milky white frosted glass lampshades that diffuse light evenly and eliminate harsh glare, creating a gentle, eye-caring illumination.

Charming and Unique Design – This farmhouse bathroom light fixture features a matte black finish, crystal glass shade, and natural hemp rope accents, adding a distinctive coastal charm to your home. Its understated elegance and versatile design make it the perfect choice for coastal, rustic farmhouse, modern, and many other decor styles.