I’ve fixed plenty of bathtub overflow leaks. First, determine if water is dripping from the plate or sneaking behind the wall. Next, match your gasket to your plate type—flat, beveled, or raised center—since the wrong shape won’t seal. Then, scrape off old caulk, clean everything dry, and center the new gasket with its bevel facing right. Tighten the plate evenly, fill the tub past the overflow, and watch for leaks. If it still drips, your waste drain might be shifted or loose. Stay with me as I guide you through spotting hidden problems that many overlook.
Is Your Overflow Leaking at the Plate or Behind the Wall?
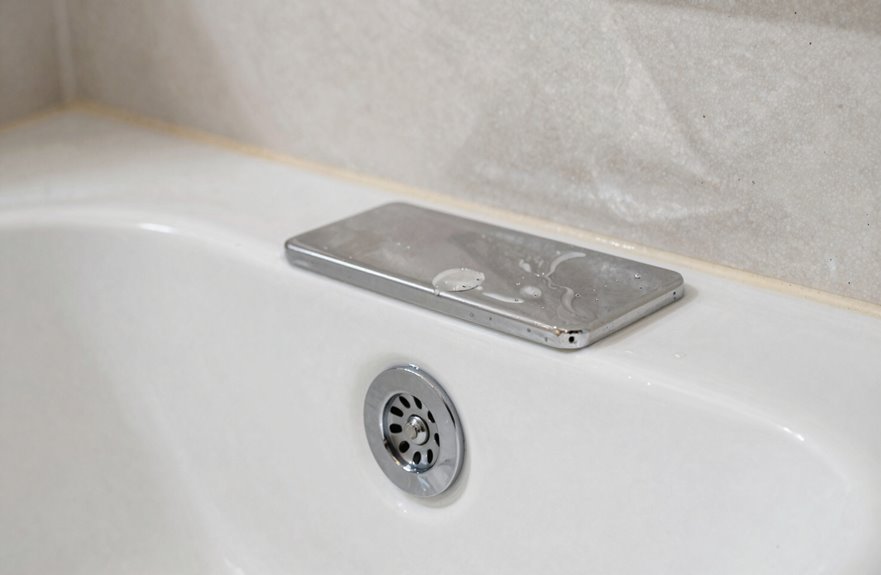
Where is your bathtub leak coming from? Tracking the source is crucial before making any repairs.
Check your overflow plate first. Water dripping here usually indicates a worn or cracked gasket. Sometimes the washer inside is loose, allowing water to sneak behind. Tightening the cap might help, but if the washer looks damaged, you will need to remove the plate.
Look behind the wall. If you see water damage there instead of at the plate, the seal between the plate and tub may have failed, or the overflow pipe might have shifted out of place.
Here’s how I identify the source:
- Remove the overflow plate carefully.
- Inspect the gasket for cracks.
- Check if the washer sits flat.
- Wiggle the pipe gently to test for movement.
Once you determine where the leak is, you can fix it correctly.

The product is exclusively designed for Overflow Plate Washer, seals overflow faceplate.

The product is Waste/Over Plate Washer

【Universal Bathtub Fit】This bathtub overflow gasket is compatible with a variety of standard bathtub overflow assemblies and is the ideal replacement for repairing leaking, worn, or damaged overflow gaskets
Get the Right Overflow Gasket for Your Plate Type
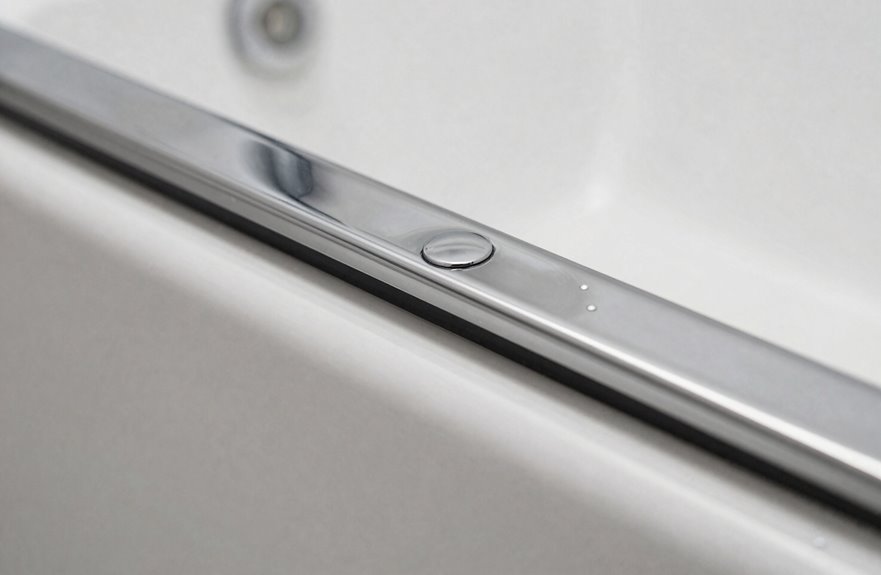
I’ve learned that one gasket does not fit every overflow plate, so I always check the shape and brand before buying. Some plates, especially certain Kohler models, require a specific thickness or contour that standard gaskets do not match. I take a photo of my old gasket and plate, then compare it carefully to the package specifications or ask a store clerk to confirm I have the right one.

【Universal-Fit Overflow Drain Gasket】: Designed to fit standard waste and overflow assemblies, this bathtub gasket provides a secure, leak-free seal for most bathtubs, vanity basins, bathroom vessel sinks, and kitchen sinks

Precise replacement size: This bathtub overflow gasket measures 3-3/16 in OD x 2-1/8 in ID, helping ensure proper fit for compatible overflow assemblies; Check your existing gasket size before ordering

Precise replacement size: This bathtub overflow gasket measures 3-3/16 in OD x 2-1/8 in ID, helping ensure proper fit for compatible overflow assemblies; Check your existing gasket size before ordering
Match Gasket Shape
How do you know which gasket to grab when you’re staring at a wall of options at the hardware store? Matching the gasket shape to your overflow plate is essential. The wrong shape causes leaks and headaches.
| Plate Type | Gasket Shape Needed |
|---|---|
| Flat plate | Flat, even gasket |
| Beveled plate | Angled, tapered gasket |
| Round opening | Circular gasket |
| Oval opening | Elongated gasket |
| Raised center | Thick, centered gasket |
I always check the plate’s beveled orientation and ensure the gasket fits precisely around the drain hole. When I replaced mine, I inspected both pieces together, confirming the center aligned perfectly. If you’re unsure, bring your old gasket or plate to the store, and assistance will be available to find your match.
Check Brand Compatibility
Once you’ve matched the gasket shape to your plate, double-check that your choice works with your specific brand. Gasket compatibility isn’t one-size-fits-all. Some Kohler plates require a specific gasket design to seal properly, so I always verify my plate’s model number against the manufacturer’s part numbers.
Here’s how I confirm the right fit:
- Check the material and profile. I determine whether I need rubber or silicone, and if the gasket should be beveled or flat to match my plate’s seating surface.
- Avoid substitutions. If my plate kit includes a unique gasket, I don’t replace it with a generic one. An improper fit can lead to leaks behind the tub, which can be problematic.
- Ask when unsure. I take my plate or model number to a plumbing supply store, or I consult the manufacturer’s compatibility chart online.
Getting gasket compatibility right ensures a dry bathroom and prevents potential issues.
Remove the Old Gasket and Clean the Surface
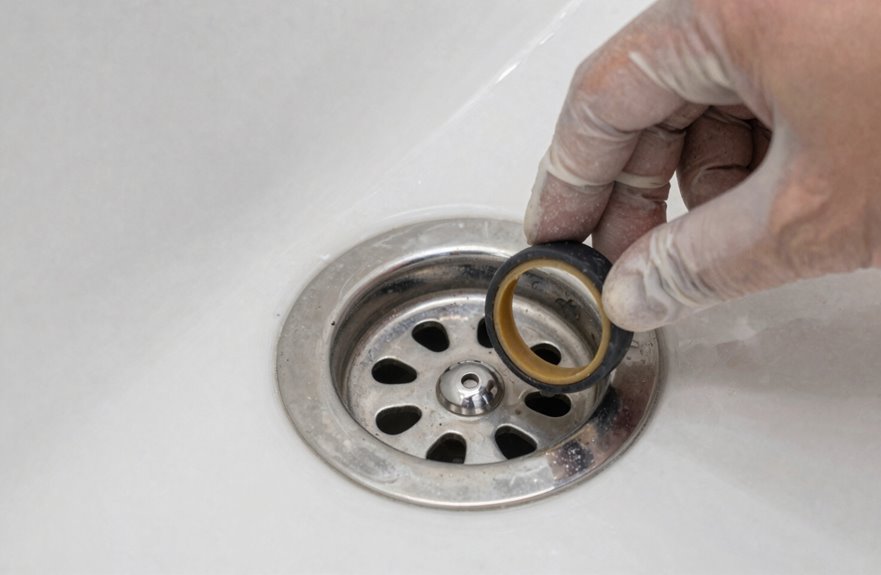
I begin by removing the overflow drain plate to access the gasket behind it. Once it’s off, I carefully pull out the old rubber gasket and scrape away any leftover caulk with a utility knife. Next, I wipe down the entire area to eliminate soap scum and grime, ensuring that it is completely dry before installing the new gasket.
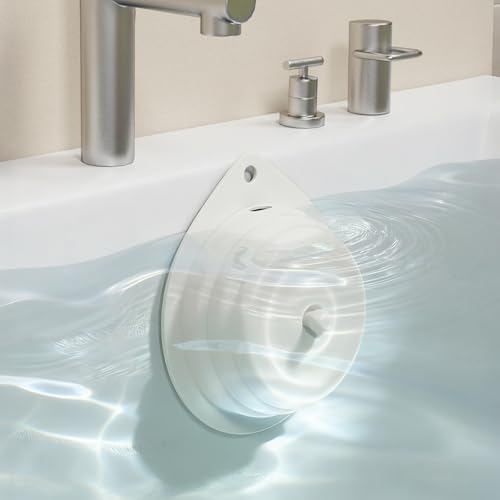
Enhance Your Bath Experience: Our bathtub overflow cover allows you to enjoy a deeper soak by adding 2-4 inches of extra water without worrying about overflows. The tub overflow cover helps maintain water levels, enhancing comfort and relaxation, while also saving you from expensive bathroom renovations. Note: Not compatible with bathtub drain holes located in areas with sharp bends

Compatibility:3.18-inch Diameter Bathtub Overflow Plate, fits most standard-sized bathtubs

Standard Size: This bathtub overflow drain cover features a standard 3-1/8 inch (approx. 8 cm) diameter with a two-hole configuration and 1.9 inch (approx. 5 cm) center-to-center spacing. The package includes one overflow drain cover bathroom tub and two matching screws for a complete replacement solution.
Access the Overflow Plate
Where do you start when your bathtub’s overflow drain keeps leaking? I’ll guide you through accessing the overflow plate to fix this.
1. Remove the Plate
Unscrew the overflow plate carefully or gently pry it off if it’s stuck. This exposes the gasket and surface underneath.
2. Inspect the Area
Look closely around the opening for cracks, rust, or debris that could block a good seal.
3. Clean the Surface
Use a utility knife to scrape away old caulk or sealant from the flange and tub wall. A smooth surface bonds better.
4. Dry and Prep
Wipe everything with a clean, dry cloth to remove moisture.
5. Note the Position
Check how the plate sits, especially the slit angle, to ensure correct reinstallation later.
Extract the Gasket
With the overflow plate out of the way, you’re now facing the gasket that’s likely causing your leak. Let’s get that old overflow gasket out so we can fix this together.
First, take a quick look at the overflow pipe behind where the plate sat. Give it a gentle wiggle to check if it’s loose; this is important for how your new gasket will fit later.
Now, find the rubber overflow gasket tucked around that pipe. It’s probably flat, cracked, or hard by now. Grab it with your fingers and pull slowly. If it’s stuck, slide a flat pry tool underneath and lift carefully. Avoid scratching your tub to maintain its finish.
Once it’s free, dispose of that worn-out gasket. You have completed the trickiest part of the process.
Clean the Surface
How do we ensure our new overflow gasket effectively stops the leak? We clean as if our bathroom depends on it, because it does.
First, I pull off the old, crumbly overflow gasket and toss it aside. Next, I scrape away every bit of old caulk and grime around the drain hole. I grab a rag and some soapy water, then scrub the surface until it shines. No shortcuts here.
Here’s what I check before moving forward:
| Task | Why It Matters | My Go-To Tool |
|---|---|---|
| Remove old caulk | New seal won’t stick otherwise | Plastic scraper |
| Scrub the flange | Clean metal grips the gasket better | Soapy rag |
| Dry completely | Moisture weakens the bond | Clean towel |
| Wiggle the pipe | Movement means future leaks | My hands |
| Inspect for cracks | Damage ruins everything | Flashlight |
Once I’ve prepped the surface, I’m ready for the fresh overflow gasket.
Install the New Gasket With Proper Orientation
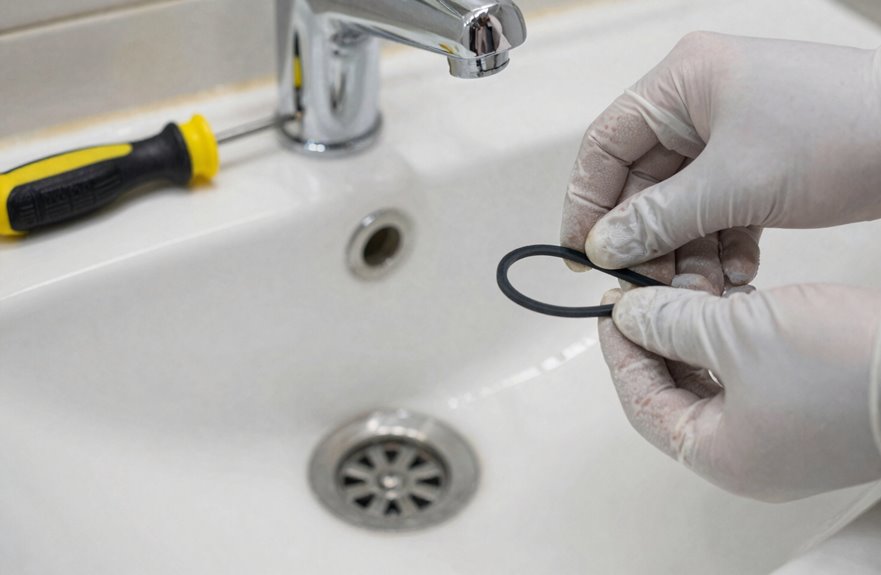
Why gasket position is important: A small misalignment can lead to leaks, so getting the gasket orientation correct is crucial for a dry bathroom. Follow these steps:
1. Check your match
Ensure your gasket fits your plate assembly. Some brands, like Kohler, require specific gaskets for proper function.
2. Position the beveled edge
Align the gasket so the beveled edge sits evenly around the drain hole. Center it for a uniform seal all around.
3. Press by hand only
Work the gasket into place with your fingers. Avoid using tools, as they can pinch or tear the seal.
4. Verify the fit
Push until the gasket fills the opening completely, flush against the drain flange with no gaps.
A proper seal now will prevent issues later.

(1)EZ-Fluid Bathtub Sponge Overflow Foam Gasket Washer Replacement Overflow Plate Trim Gasket, Rubber, Red

This product is 02-3027 bathtub rubber gasket, made of black rubber material, beveled flat washer type, designed to seal the overflow faceplate of bathtub waste and overflow system; Package includes 2 gaskets
(10)EZ-Fluid Bathtub Sponge Overflow Foam Gasket Washer Replacement Overflow Plate Trim Gasket, Rubber, Red
Reattach the Plate and Test for Leaks
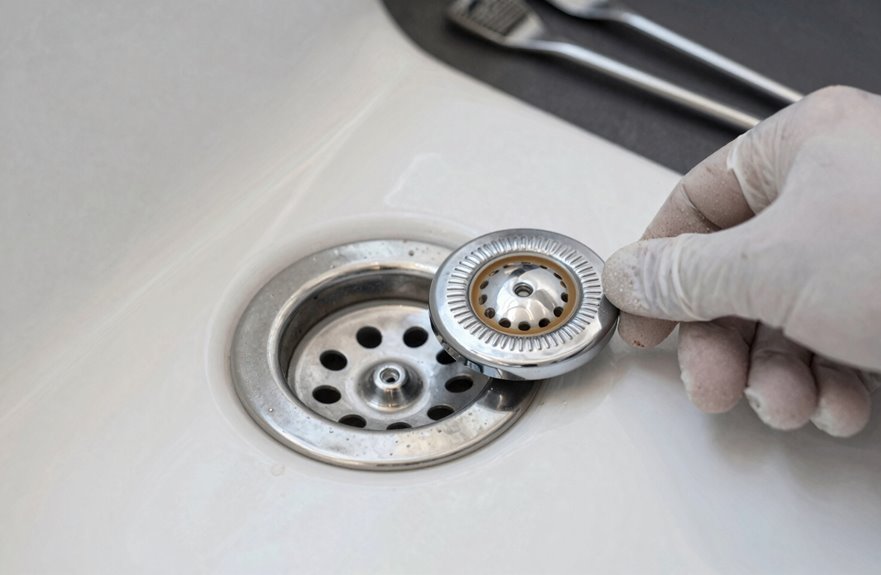
Now that your gasket is seated properly, let’s get that plate back on and ensure everything holds water.
Reattach the Overflow Plate
I line up the bracket and plate, making sure the slit points down. I tighten the screws slowly, checking that nothing shifts. I want to avoid any gaps where water could seep through.
Test for Leaks
I fill the tub just past the overflow plate and watch closely. I’m looking for drips behind the plate or any visible seepage. If I see water escaping, it indicates an issue with my seal.
What I’m Checking
- Even gasket placement all around
- Plate sits flat against the tub
- No wobble when I touch it
When my overflow stays dry during testing, I know I’ve done it correctly. If leaks persist, I will need to investigate further into the drain system.

DURABLE. Made with anti-corrosive material that can withstand hot and cold temperature including high pressure. Guaranteed to last longer than your usual drain pipes.

BATH TUB DRAIN KIT: This bath drain kit includes everything necessary for installation, including 1-1/2” plastic tubular, bath drain waste and overflow horn elbow and tee, bath waste shoes, tip toe bath tub drain plug and bath overflow face plate & matching screws.

MATERIAL: The high-impact, quality PVC plastic construction makes this bath tub waste shoe durable
Overflow Still Leaking? Check the Waste Drain Next
Sometimes the overflow isn’t the real culprit. When water keeps escaping after I’ve resealed the gasket, I turn my attention to the waste drain behind the tub.
1. Inspect the Connection
I check if the waste drain has shifted or loosened. A faulty waste drain allows water to bypass my overflow seal.
2. Look for Hidden Signs
I peek under or behind the tub for pooling water or slow drainage. These clues indicate cracks or mis-seated washers that are not visible from above.
3. Test with Care
I pour a small amount of water and watch closely. If it accumulates instead of draining properly, I have identified the problem.
4. Know When to Call
If I cannot access the waste drain myself, I call a plumber. Repairing or replacing just this part is often more efficient than swapping the whole assembly.


【Universal Bathtub Fit】This bathtub overflow gasket is compatible with a variety of standard bathtub overflow assemblies and is the ideal replacement for repairing leaking, worn, or damaged overflow gaskets

A newer, quicker solution for overflow gasket leaks and replacements For two-hole overflows