
I start by spraying white vinegar on light soap scum, then scrub and rinse. For stubborn grime, I mix baking soda, dish soap, and water into a paste that I spread and scrub immediately. Heavy buildup requires a borax paste left for 15–30 minutes before scrubbing. Only in extreme cases do I use diluted ammonia with gloves and open windows. I always rinse thoroughly, dry surfaces, and wipe daily with a squeegee to slow future buildup. There’s a straightforward method to determine when your tub needs each level of cleaning.
Start Here: Remove Light Soap Scum With Vinegar
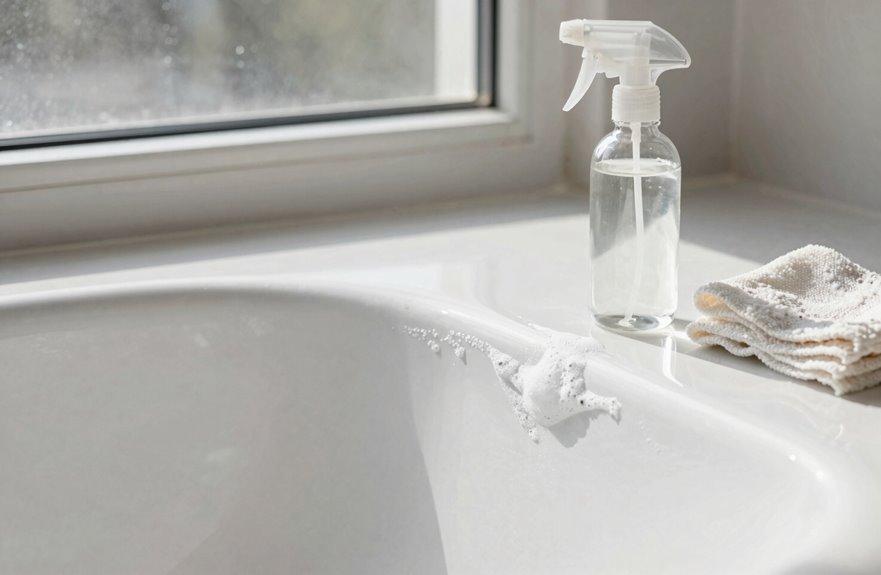
Why use harsh chemicals when a simpler solution is in my pantry? White vinegar serves as an effective bathroom cleaner for light soap scum.
I fill a spray bottle with straight vinegar and spritz it on my shower doors and glass surfaces where the filmy buildup occurs. The vinegar penetrates the grime, leaving surfaces shiny.
For my showerhead, I place a plastic bag filled with vinegar over it and let it soak while I clean other areas.
I use this method weekly to prevent soap scum buildup. It’s gentle, ensuring no scratches occur. After scrubbing with a sponge, I rinse everything thoroughly. Skipping the rinse can lead to dull spots.
This approach is simple, cost-effective, and efficient.

Aunt Fannie's All Purpose Bathroom Cleaner: Our solution uses the power of vinegar and plant-based cleaners to lift grime & break up the tough stuff without the use of harsh chemicals

DUAL ACTION FORMULA: 2-in-1 foaming solution that both eliminates existing soap scum and prevents future buildup on bathroom surfaces

Mrs. Meyer's Baking Soda Cream Cleaner removes soap scum and grease build-up to make your kitchen sparkle
Make a Baking Soda Paste for Stubborn Bathtub Grime
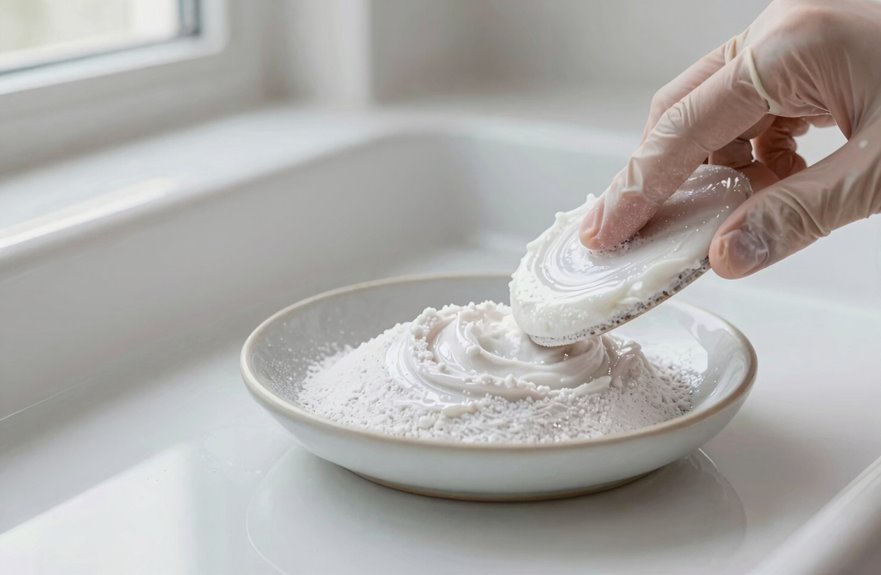
When light vinegar cleaning isn’t enough, I reach for something stronger. I make a baking soda paste that tackles stubborn soap scum and hard water stains effectively.
Here’s my simple recipe:
| Ingredient | Amount |
|---|---|
| Baking soda | 1/2 cup |
| Dish soap | To 3/4 cup mark |
| Water | 1/4 cup |
I mix these ingredients until they form a workable paste, then scoop it with my hands. I spread it directly onto the grime, particularly around that stubborn water line where soap scum tends to accumulate.
The paste adheres to vertical surfaces without running, allowing for targeted cleaning. I’m also planning to test a squeeze bottle for neater application.
I grab my Scrub Daddy and scrub immediately; no waiting is necessary. The grime melts away, leaving my tub smooth and gleaming. The baking soda acts as an abrasive while the dish soap cuts through grease and residue.

Powerful Cleaning Formula: Cuts through tough grease, baked-on food, and stubborn residue using the stain-fighting strength of OxiClean for a deep, thorough clean every wash.

Vegan and Eco-Friendly Cleaning Soap

POWERFUL GREASE FIGHTER: Formulated with baking soda to cut through stubborn grease, food residue, and tough kitchen messes with ease.
Use Borax for Heavy-Duty Soap Scum Buildup
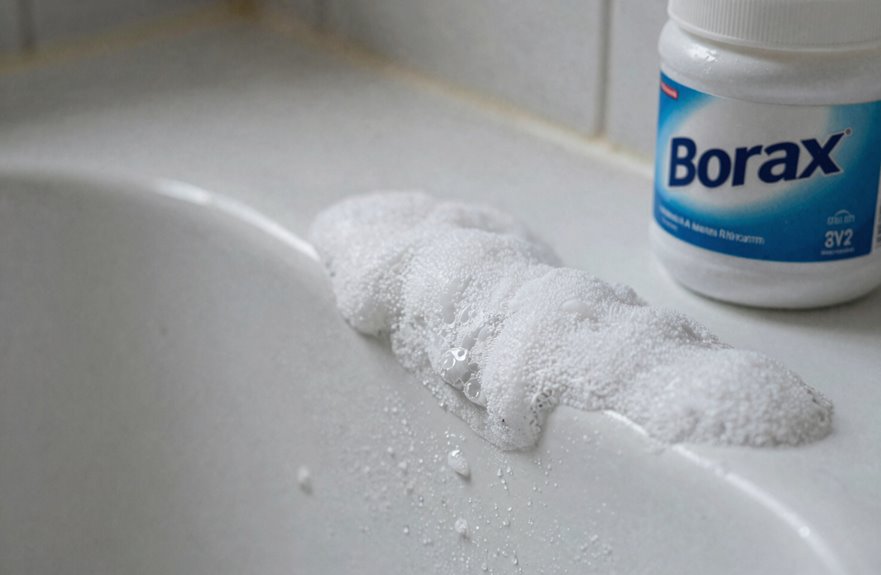
When I encounter thick, stubborn soap scum that won’t budge, I turn to borax for extra cleaning power. I mix up a simple paste and apply it to those tough spots. Here’s my approach for preparing and using this heavy-duty solution.
To make the paste, combine borax with a small amount of water until you achieve a thick consistency. Apply it directly to the soap scum, ensuring it covers the area well. Let it sit for about 15-30 minutes to break down the buildup. After that, scrub the area with a brush or sponge, then rinse thoroughly with warm water. This method effectively removes tough soap scum, restoring surfaces to their original condition.
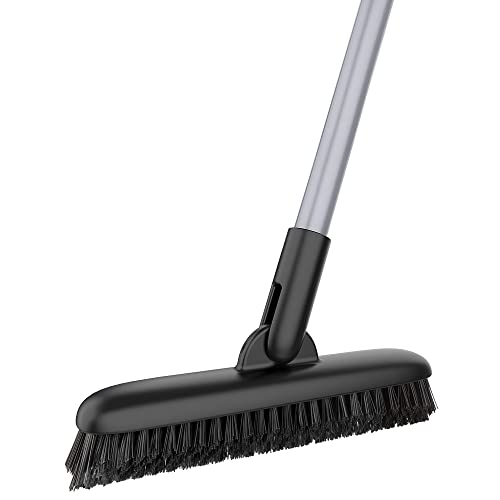
HEAVY DUTY & LONG LASTING - MR.SIGA grout brush is built with durable plastic and sturdy steel pole, it is tough enough to handle any scrubbing jobs, brings you superior grout cleaning experience.

Upgraded colors : Classic black and grey are more popular, and the handle of the scrub brush is more anti-dirt. Stiff white bristles firmly attached to scrubbing brush head, so Amazer brush cleaner will stand up to the test of tim

SCRUB BRUSH SET FOR ALL YOUR CLEANING TASKS: The Libman Scrub Brush Kit includes a versatile bathroom and kitchen scrub brush designed to handle every cleaning task in your home; these scrub brushes for cleaning are perfect for deep, thorough cleaning
Preparing Borax Paste
How do you tackle soap scum that’s really stuck on? Making borax paste works well for those stubborn spots.
Here’s what you need:
- Borax powder (find it in the laundry aisle)
- Warm water
- Dishwashing liquid
Mixing your paste:
Start with about half a cup of borax in a small bowl. Add warm water slowly, just a tablespoon at a time, stirring until you achieve a thick, spreadable paste. Then squeeze in a few drops of dishwashing liquid. The soap helps the mixture cling to vertical surfaces instead of sliding off.
Aim for a consistency similar to frosting—thick enough to stay put, but smooth enough to spread easily. If it’s too runny, add more borax. If it’s too thick, a splash more warm water will help.
Your paste is ready when it holds its shape on a spoon.
Applying Borax Solution
Ready to put that borax paste to work? This method is effective when soap scum won’t budge with gentler options.
Here’s how I tackle it:
- Spread the paste. I grab my cleaning brush and apply the Borax cleaning paste directly onto the soap scum, ensuring I cover every stubborn spot.
- Let it sit. I wait about 15-20 minutes to allow the Borax to break down the buildup.
- Scrub and rinse. I scrub in circular motions, then rinse thoroughly with warm water.
- Dry completely. I always dry the surface afterward. Wet Borax can become slippery, which poses a safety risk.
If traces of soap scum remain, I repeat the process. This heavy-duty approach has been effective for maintaining my bathtub.
Tackle Extreme Cases With Diluted Ammonia (Safely)
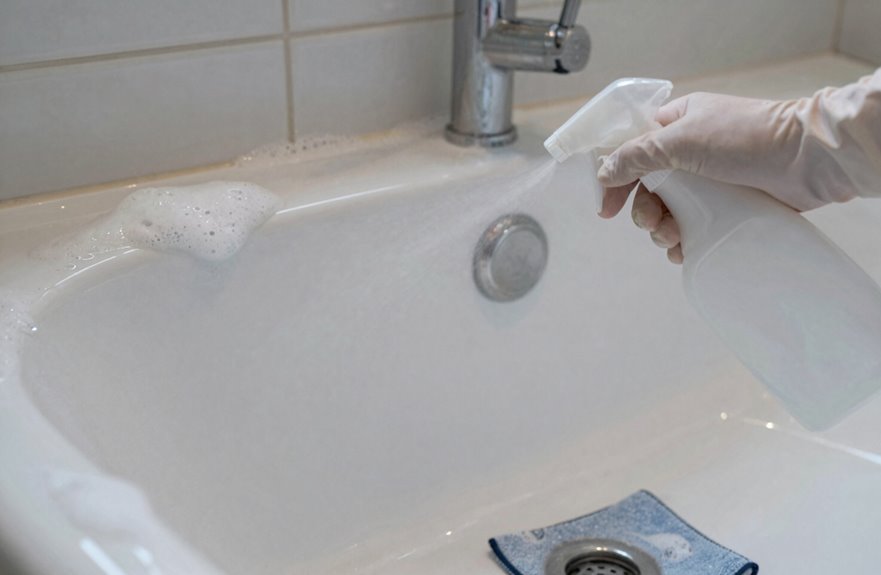
When facing stubborn soap scum that won’t budge, I grab some ammonia after opening every window and putting on my gloves for safety. I mix 4 to 8 tablespoons of ammonia into 4 cups of water, then spray it on and let it sit for a few minutes before scrubbing and rinsing everything away. This method is effective for extreme buildup, and I will explain how to do it safely.

Spray Nozzles: The adjustable nozzle allows 3 spray settings: mist, stream and off. The convenient and reliable squeeze trigger sprayer can meet all your needs.

Premium Glass & Sturdy Silicone Sleeve: Crafted from high-transparency glass, our bottle offers a clear view of liquid levels, ensuring effortless monitoring and usage. The included silicone sleeve ensures minimizing the risk of breakage and slips, making it safe for daily use.
UV protection - heavy duty protection against degradation from ultraviolet light and keeps your essential oils safe plus the glass is not affected by strong oils like citrus.
Safety Precautions First
Safety Precautions First
Why reach for harsh chemicals when a simple ammonia solution can tackle the worst soap scum? Ammonia safety starts with smart prep.
My Safety Checklist
- Open everything: I crank open windows and run the fan for solid ventilation. Fumes aren’t welcome here.
- Gear up: I grab rubber gloves before touching a drop. My skin appreciates this protection.
- The golden rule: I never mix ammonia with bleach. That combination creates deadly gas; there are no exceptions.
- Watch my surfaces: I avoid aluminum and porous materials that ammonia can damage.
- Stay alert: If my eyes sting or breathing feels off, I stop immediately, air out the room, and switch to gentler cleaners.
We’re focused on clean tubs and safe homes.

REMOVES SOAP SCUM, GRIME + STAINS, RINSE-FREE: method daily shower cleaner spray removes soap scum, grime, and stains with no rinsing needed

Heavy duty hard water stain remover & soap scum destroyer: Tired of cloudy glass and chalky buildup ordinary sprays just smear around? This heavy-duty hard water stain remover and soap scum remover for shower breaks down calcium, lime, and rust fast.

𝗖𝗢𝗠𝗠𝗘𝗥𝗖𝗜𝗔𝗟 𝗦𝗧𝗥𝗘𝗡𝗚𝗧𝗛: Dissolves tough soap scum and grime, leaving a beautiful shine. Makes glass shower doors, yellow stained textured acrylic bathtubs, dull chrome fixtures, sinks with dried out laundry detergent buildup, and wheel rims like new again
Proper Dilution Ratio
How tough is that soap scum? When regular cleaners fail, diluted ammonia can tackle extreme buildup, but it requires the right ammonia dilution.
Here’s my safe formula:
The Mix
- 4–8 tablespoons ammonia
- 4 cups water
I always start with the weaker ratio and adjust if needed.
Safety Precautions I Never Skip
- Open windows wide; ventilation is essential.
- Keep pets and family out of the bathroom.
- Test a hidden spot first to protect my tub’s finish.
- Never mix with bleach or acids due to the risk of dangerous gas.
This soap scum removal method works because I respect the chemistry. Getting the dilution right ensures effective cleaning without damage. Clean tubs lead to safe homes, and it’s important to avoid shortcuts that could risk our health.
Application Technique Steps
I’ve mixed my ammonia solution and put on my gloves, so let’s get started. We’ll tackle extreme soap scum together, and I’ll guide you through each step.
Here’s how to do this safely:
- Pour your diluted ammonia onto the worst soap scum spots while keeping the bathroom ventilated; open the window wide.
- Let it sit briefly, then grab your brush and start scrubbing with firm, steady pressure.
- Rinse everything completely, ensuring no ammonia lingers behind.
- Dry the surface with a clean cloth to prevent streaks from forming.
If stubborn residue remains, follow up with a soap-scum cleaner to help reduce buildup. Your tub will shine after this effort.
Supplies You’ll Need for Every Method
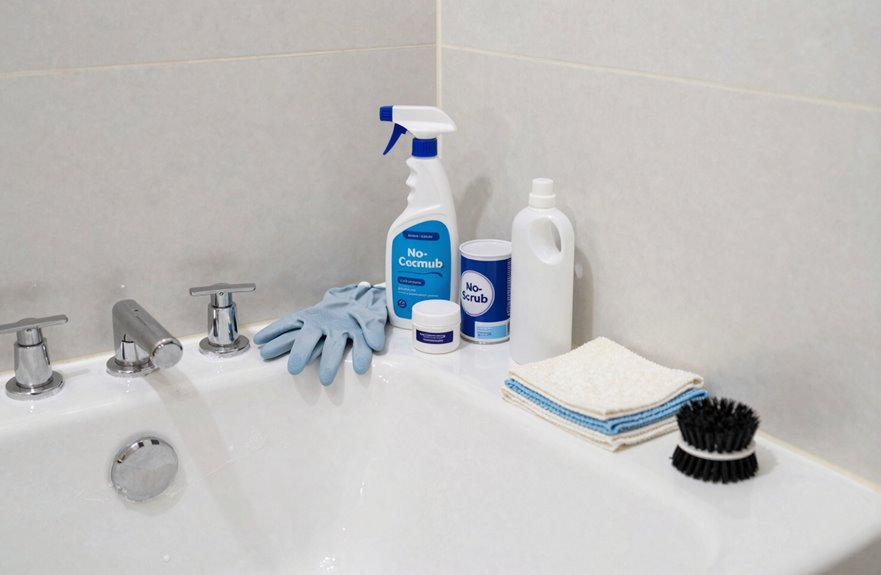
What do you need to tackle that stubborn soap scum? Here’s a list of everyday items you probably already have.
Your Core Toolkit
Gather white vinegar, baking soda, dishwashing detergent, a clean sponge or Scrub Daddy, a mixing cup, and warm water. Adding a few drops of lavender oil can provide a pleasant scent.
Method-Specific Supplies
For the baking soda method, mix ½ cup baking soda with dish soap and warm water until it reaches a paste-like consistency. The vinegar method can be used straight or mixed with hot water and detergent, making it ideal for glass surfaces with built-up soap scum.
Heavy-Duty Options
Keep borax on hand for making paste, or use ammonia mixed with water (4–8 tablespoons per 4 cups) for stronger grease-cutting power. Ensure proper ventilation by opening a window first.

𝗖𝗢𝗠𝗠𝗘𝗥𝗖𝗜𝗔𝗟 𝗦𝗧𝗥𝗘𝗡𝗚𝗧𝗛: Dissolves tough soap scum and grime, leaving a beautiful shine. Makes glass shower doors, yellow stained acrylic bathtubs, dull chrome fixtures, tile and grout, sinks with dried out laundry detergent buildup, and wheel rims like new again.

5% ACIDITY: Clear distilled white vinegar with a clean, sharp taste

SOAP SCUM REMOVER REFILL: Refills 24 oz or 32 oz bottle of Rejuvenate Soap Scum Remover
Prep Your Tub in 5 Minutes Before You Scrub
Now that you have your supplies ready, let’s prep your tub for cleaning. This pre-scrub preparation takes no more than five minutes, and you’ll feel accomplished by the end.
Here’s how to do it:
- Mix your paste – Combine 1/2 cup baking soda, dish soap to reach 3/4 cup, and 1/4 cup water in a measuring cup.
- Scoop and spread – Use your hands to smear the paste where soap scum tends to accumulate, especially along the waterline.
- Start scrubbing right away – Grab your sponge and begin scrubbing immediately, with no need for dwell time.
- Admire the results – The grime dissolves, leaving your tub smooth and gleaming.
Consider putting this mix in a squeeze bottle for easier application next time.

Complete Variety Pack for Every Kitchen Need: Includes four 24oz Arm & Hammer Ultra Dish Soap scents: Citrus, Ocean Fresh, Crisp Apple, and Free & Clear—perfect for everyday dishwashing and tough messes.

For Baking, Cleaning, and Deodorizing

It is a high quality healthy product
Which Scrubber Won’t Scratch Your Bathtub Finish?
Grab your scrubber and let’s discuss how to protect your tub’s finish while cleaning. Not all scrubbers are suitable for bathtub surfaces, and it’s important to avoid costly mistakes.
When I mix my DIY paste—baking soda, dish soap, and water—I need a scrubber that cleans effectively without causing damage. The baking soda provides gentle abrasion, while the dish soap cuts through grease. Using too much force or the wrong tool can lead to scratches.
Here’s what I’ve discovered:
| Scrubber Type | Safe for Your Tub? |
|---|---|
| Scrub Daddy (soft side) | Yes, my go-to choice |
| Steel wool | Never, causes deep scratches |
| Microfiber cloth | Yes, for light cleaning |
| Abrasive sponge | Sometimes, test first |
I rely on my Scrub Daddy each time. The grime comes off easily, my tub remains smooth and gleaming, and I avoid any risk of damage. Together, we can protect our tubs, one scrub at a time.

FLEXIBLE & DURABLE - Bristles maintain their shape even on the toughest jobs

[Durable & Stiff Bristles] Our shower cleaner brush features sturdy and thicken polypropylene bristles that resist deformation and bending, no matter what stubborn stains they can handle, ensuring long-lasting durability even after repeated use, making it ideal as a tile scrubber and bathtub cleaner brush

Easy-to-use tools that maintain or advance hygienic standards
Rinse and Check: Confirm Your Tub Is Actually Clean
How do I know when my tub is clean? A good rinse and check makes a clear distinction between a job done and a job done right.
Here’s my simple four-step routine:
- Rinse thoroughly. I run warm water all over the tub to wash away any cleaner that could leave streaks or make things slippery.
- Check the trouble spots. I look closely at the waterline and corners, where soap residue tends to hide.
- Dry and inspect. I wipe with a clean, dry cloth to catch any lingering film.
- Feel for smoothness. I run my hand across the surface. If I feel grit or dull patches, I repeat my best cleaning method and rinse again.
This process ensures my tub is genuinely clean.

HEALTHY, HAPPY HOME- LiBa's premium 2 pack amber glass spray bottles offer UV protection and are equipped with an adjustable spay nozzle, making them the perfect solution to all of your DIY needs. Ingredients like bleach, baking soda, vinegar, and sensitive essential oils will remain at top quality. Create your favorite natural cleaning solutions, hair treatments, window, floor, carpet , and kitchen cleaners, air fresheners, pet, ironing and linen spray and much much more!

UV-Protection Design: Made from high quality amber glass, these 8oz glass spray bottles can efficiently block harmful UV rays to preserve essential oils, facial toners, natural cleaners and plant sprays, preventing liquid oxidation and scent loss unlike flimsy clear plastic bottles.

The glass bottles are clear and easy to fill. The silicone wrap on the bottom helps save from breakage, fits well and is able to be removed easily for cleaning and replacing.
Daily Habits That Slow Soap Scum Buildup
I keep a small squeegee in my shower and spend about thirty seconds wiping down the walls after each use. This simple trick prevents hard water minerals from bonding with soap residue. I also maintain a regular cleaning schedule that fits my week, addressing the tub before it becomes a bigger chore. By combining these two habits, I significantly reduce the time spent scrubbing later, and my tub remains cleaner with minimal effort.

POWERFUL BATHROOM CLEANER FOAM: This bathroom cleaner foam spray helps loosen common bathroom stains, soap scum, limescale, water marks, and mineral buildup on compatible hard surfaces. The foaming formula helps make everyday bathroom cleaning easier.

POWER THROUGH BUILDUP: Say goodbye to soap scum, lime scale, pink gunk, and elbow grease thanks to a bathroom shower cleaner that cuts through grime 3x better than the leading bathroom cleaning tools

【2-1 Shower Squeegee with Built-In Hook for Effortless Storage & Instant Access】Shower Squeegee With Hook and additional hooks.,Hang Easily Anywhere, No Fixed Mount Needed: Eliminates additional accessories, all-one-piece silicone design with the large built-in hook makes it fit over most shower doors/walls, showerheads, caddies,door handles, towel bars, rods, sink edges, and other bathroom setups. keeping your bathroom tidy and your squeegee always within reach.
Dry Surfaces Daily
Since soap scum forms when water evaporates and leaves behind minerals and soap residue, drying your tub daily is one of the easiest ways to keep buildup under control. A quick wipe-down takes under a minute and can save hours of scrubbing later.
Here’s what works for me:
- Keep a small squeegee right in the tub so it’s always handy.
- Run it down the walls and tub after every shower.
- Use a microfiber cloth for fixtures and corners.
- Make it part of your routine, like brushing your teeth.
This simple habit of drying stops hard water minerals from settling in. It serves as gentle maintenance that protects your space. Consistently taking small steps helps you care for your home in a manageable and efficient way.
Clean Regularly
Why let soap scum accumulate when a few minutes each day can prevent it? Drying my tub after each use makes a significant difference, but that’s just part of the process.
Build a Simple Routine
I clean regularly with a flexible schedule that fits my life. Sometimes that’s twice a week, sometimes once; what matters is maintaining consistency. Infrequent scrubbing allows buildup to harden, making it harder to clean later.
Pick Your Weapon
Once a week, I choose a cleanser designed for my tub material. I always test it in a corner first to avoid any unwanted surprises or damage.
Create Your Loop
What works for me is drying surfaces daily, rinsing when necessary, and scheduling a deeper clean for a specific day. Small habits lead to spotless results.
When to Deep Clean Your Bathtub (And How Often)
Regularly deep cleaning your bathtub prevents soap scum from becoming a stubborn mess. I adjust my cleaning frequency based on tub usage and water hardness. There isn’t a single correct schedule; just find what suits you.
Deep clean your bathtub regularly to stop soap scum before it becomes a stubborn mess—adjust frequency based on your usage and water hardness.
Here’s how I manage it:
- Watch for warning signs: I deep clean when soap scum returns quickly, waterlines appear cloudy, or the shine diminishes after my usual wipe-down.
- Stick to weekly scrubs: I use grime-fighting cleaners each week to stay ahead of buildup.
- Level up when needed: When residue resists normal cleaning, it signals time for a deeper clean.
- Dry after every use: I quickly wipe surfaces dry to slow future buildup and ease each deep clean.
Finding your rhythm makes cleaning more manageable.