
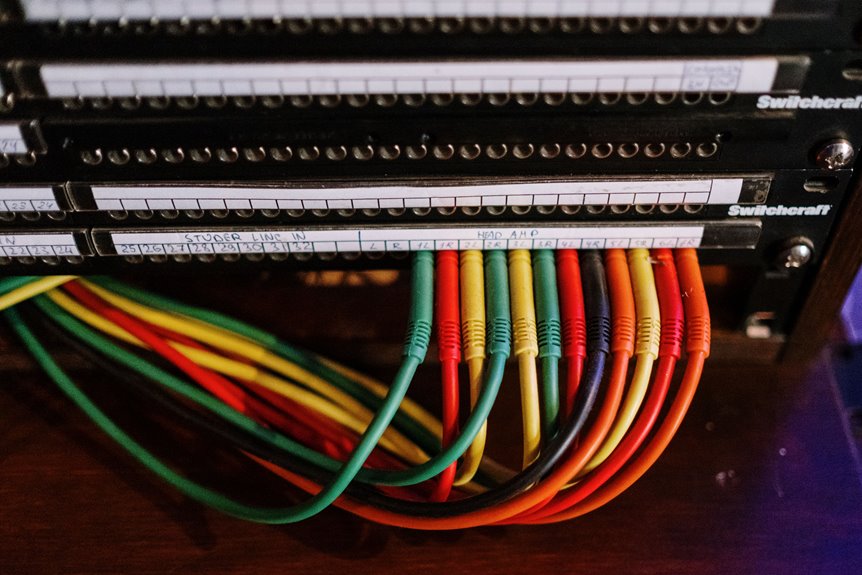
I have spent years untangling messy server racks, and mastering cable management comes down to six straightforward steps. First, map your power and data runs before installing anything. Second, consolidate power distribution to reduce failure points. Third, route cables through vertical channels and trays to keep floors clear. Fourth, label both ends of every cable to maintain organization. Fifth, secure bundles with reusable fasteners and add strain relief near connectors. Finally, document your layout with sketches and notes for easier troubleshooting later. Following these steps will help maintain a clean and efficient setup.
Map Power and Data Runs Before Installing Equipment
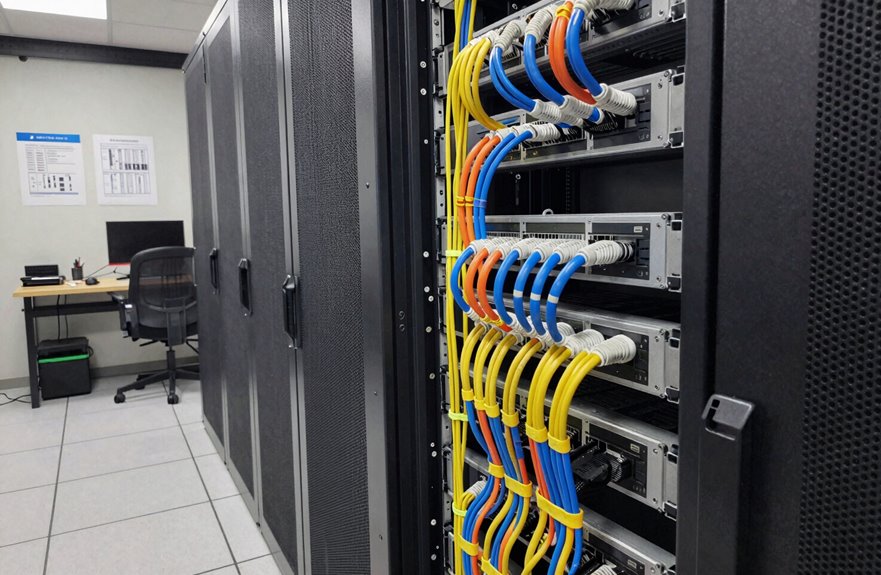
Good cable management starts with this plan. I ensure power and data lines don’t cross, which keeps signals clean and troubleshooting straightforward.
Good cable management starts with a plan—keep power and data lines separate for clean signals and easy troubleshooting.
Here’s my quick checklist:
- Sketch your layout – Draw every device and its cords.
- Plan your power distribution – Note where each plug will reach.
- Mark labeling spots – Decide where tags will go for easy identification later.
When I skip this step, I end up with tangled messes and wasted time. When I follow it, my workspace becomes organized and efficient.

VERSATILE CABLE MANAGEMENT: You can install the two 3-foot panels end to end so that they span the height of your rack, or on either side or the front and back of your rack to manage cables

EASY MOUNTING: This 6ft. (2 3ft. pieces) 0U server rack cable manager mounts vertically to your 19 inch 20U or larger rack to help organize networking cables in your data center

Easy to Install: the cord organizer features 2 sets of mounting holes, allowing you to install the D ring in the direction that nicely suits your application, and can accommodate large quantities of cables
Consolidate Power Distribution to Reduce Failure Points
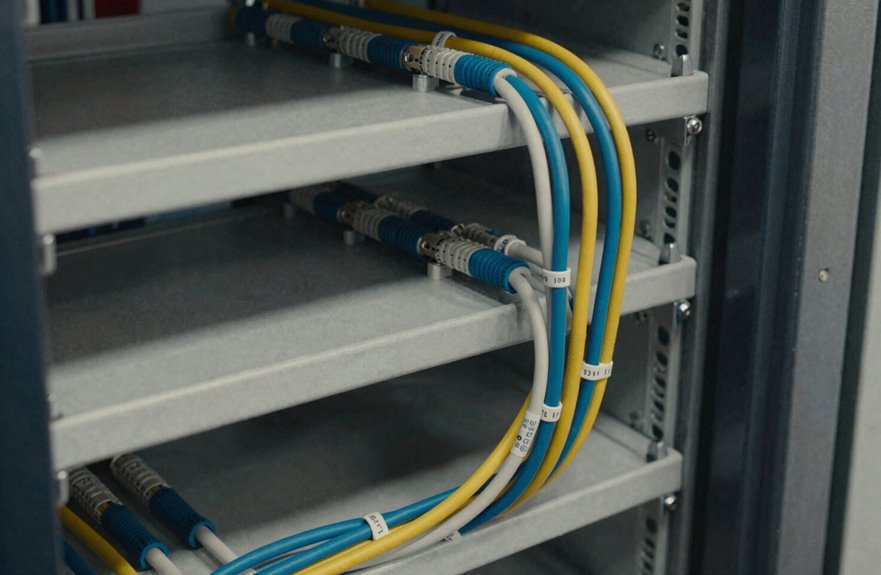
Once I’ve mapped out my power and data runs, I can focus on where all those cords will actually plug in.
I consolidate everything at one central spot, like a Treston power rail or a wall outlet. This system gives me a single home base for power, reducing the need to chase cords across my work surface.
This approach offers several advantages:
- Fewer failure points. One source means fewer weak spots in my wiring.
- Easier fixes. When something goes wrong, I know exactly where to look.
- Simple upgrades. Future changes occur at one location.
I use uprights or surface-mounted channels to keep power organized and accessible. I label cords with color codes for quick identification, and I secure loose runs with zip ties. This organization keeps everything tidy, allowing me to spend less time untangling and more time working.

100% Brand new and high quality.Perfect for Railway & Building Layout!This distribution is the ideal solution for the model train to supply all lighting.
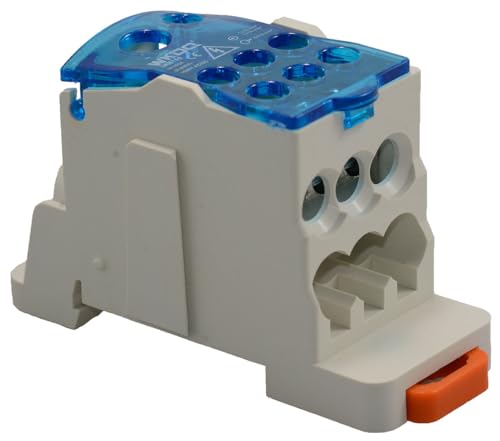
Product Type: Power Distribution Terminal Block

【Simple Design】DIN Rail mount 2x8 Position Power Distribution Board. Color coding, Red positive electrode, black negative electrode.
Route Cables Through Vertical Channels and Trays
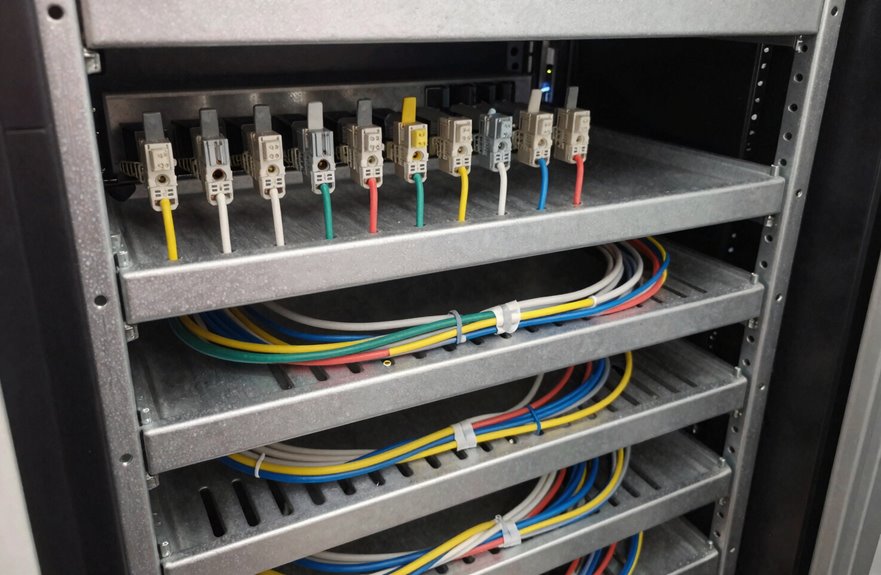
Running cables vertically instead of allowing them to sprawl across a workspace significantly improves organization and safety. Vertical routing keeps wires off the floor, reduces trip hazards, and simplifies tracing lines when repairs are necessary. Choosing the right tray is also important; whether it’s a solid-bottom tray for sensitive data cables or a ladder-style tray for heavy power lines, matching the tray to your cable type prevents damage and maintains an organized setup over time.

Complete Set Specifications: Contains 10 colors, including red, orange, yellow, blue, light blue, purple, light green, green, white, and black. A4 size 210 mm x 297 mm (sheet size); 3.3 x 1 inch (each sticker size). Quantity: 10 sheets (30 pcs small label per sheet, 300 pcs totally)

【End Cord Chaos】- Sick of unplugging the wrong cord? These 35-piece cost-effective color-coded cable labels (7 colors, 5 each) mark USB/HDMI cables, power cords, ethernet cables, chargers, network cords—no tape or twist ties needed. Keep home, office, and data center wiring neat, tangle-free, and instantly identifiable

🔸【PREMIUM QUALITY】- We aim to give you the best product, manufactured cord labels with premium materials meeting flexible and self-adhesive, waterproof, oil proof, tear resistant. No matter use for indoor or outdoor, JIQEZNL cable labels ensure stay in shape and server you a long life
Vertical Cable Routing Benefits
Why let cables sprawl across your rack when you can send them skyward? Routing cables vertically keeps everything tidy and out of the way. Running cables through vertical channels frees up space, allowing for better airflow around equipment. This prevents blocked vents and reduces the risk of overheating.
Maintenance becomes easier as well. Knowing the exact location of each cable means I can swap or disconnect without searching through a mess. Additionally, separating power and data lines vertically reduces interference that can disrupt signals.
Here’s what vertical routing provides:
| Benefit | What It Does | How It Helps Me |
|---|---|---|
| Clean paths | Hides cables along rack sides | My setup looks professional |
| Better airflow | Removes clutter from vents | My equipment stays cool |
| Easy access | Creates predictable cable routes | I fix problems faster |
| Less interference | Separates power and data | My connections stay strong |
I pair these channels with cable managers and trays to keep everything secure from top to bottom.
Tray Selection Essentials
Choosing the right cable tray significantly impacts the cleanliness and longevity of my setup. Matching the tray to my space creates a more organized environment.
Here are my key focuses:
- Pick the right type. I use wall or ceiling trays for open areas and floor trays when running lines under desks.
- Go vertical when possible. Routing cables through vertical channels keeps them hidden and accessible later.
- Protect important components. For tricky spots, I add raceways or ducts to block dust and prevent damage.
- Lock in the ends. I always pair trays with strain relief to ensure terminations remain secure.
- Label everything. Color-coded connectors and clear notes help prevent confusion in the future.
These steps maintain a tidy system and prepare it for future needs.
Label Both Ends of Every Network and Power Cable
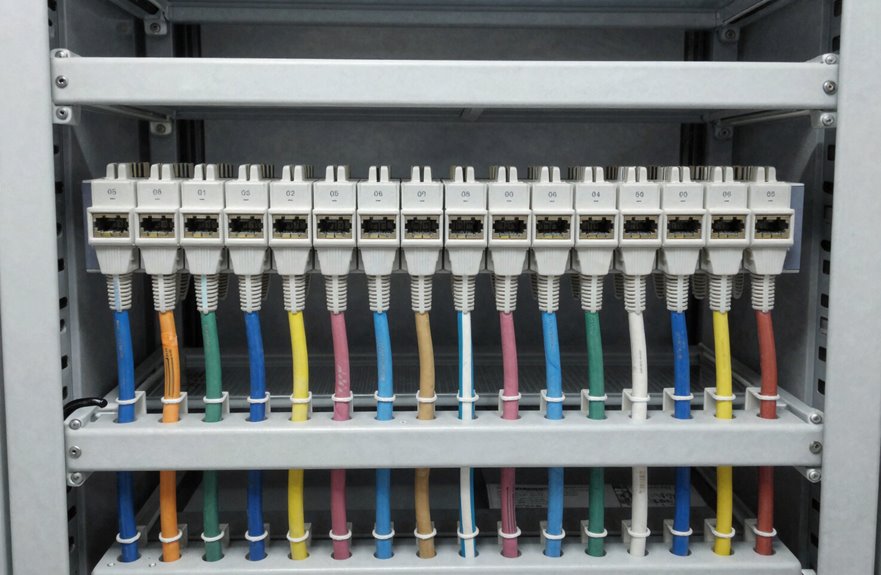
How often have you traced a cable through a rack only to lose it somewhere in the back? This can be frustrating, which is why I label both ends of every network and power cable.
Tracing a cable through a rack only to lose it in the back is frustrating—which is why I label both ends of every cable.
Here’s what works for me:
- Label both ends: I tag each cable at its start and finish so I never guess during troubleshooting.
- Stay consistent: I use the same clear, office-style labels on power cords and patch cables to avoid mix-ups.
- Make them last: I choose labels that stay legible under pit lighting and resist wear over time.
- Color-code by type: I print different colors for quick visual sorting.
- Document everything: I note each cable’s path and destination for faster repairs.
This simple habit saves me hours and keeps my workspace organized.

HIGH ELASTIC SILICONE: Our silicone cable ties are made of high-quality silicone material with high elasticity, abrasion resistance and reusable properties. High elasticity can be stretched up to 36cm. no sharp edges, not afraid of damaging your items. No odor, so you can use it with more peace of mind.
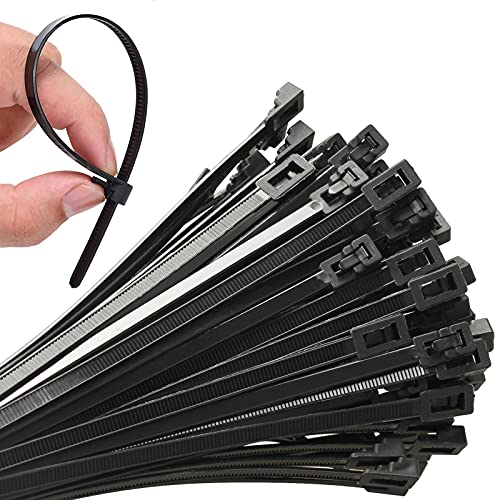
Made of strong and flexible nylon PA66 material,Those Cable Wrap Ties can withstand temperatures ranging from 40℉~185℉

Product Name: Adhesive Cable Clips; Material: PA66; Aperture Diameter: 6.5mm; Size: 23mmx16mmx10mm(L*W*H).
Secure Bundles With Reusable Fasteners and Strain Relief
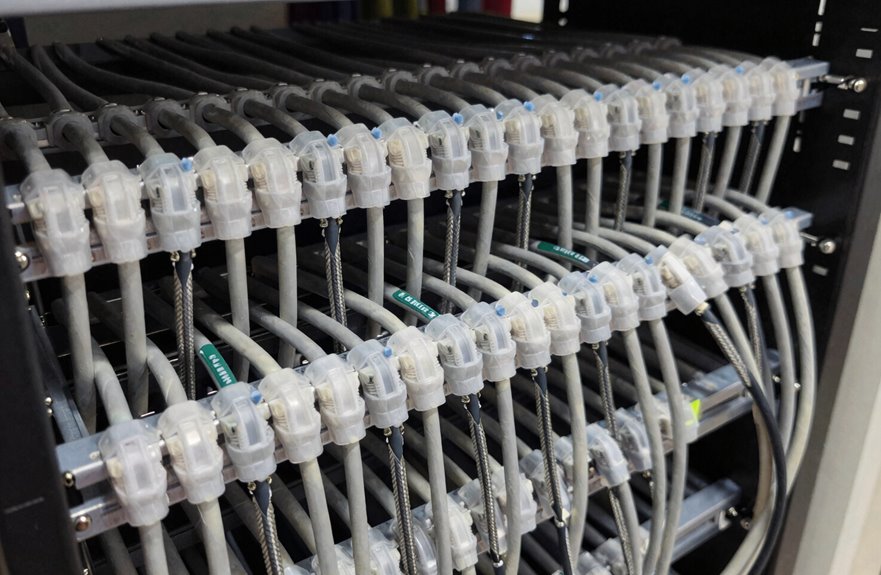
Once I’ve labeled my cables, I need to keep them tidy to avoid future messes.
Choose reusable fasteners
I use Velcro ONE-WRAP rolls for my bundles. They are gentle, adjustable, and allow for reconfiguration without causing damage. This eliminates the need to cut zip ties and start over.
Add strain relief
I secure cables near connectors to prevent pulling or bending at terminations. This simple step extends the life of my cables and reduces the likelihood of failures.
Anchor everything properly
Tie-down pads and sticky-backed zip ties keep my bundles fixed to panels, ensuring they remain stable while I work nearby.
Watch your tension
I avoid over-tightening. Gentle pressure maintains airflow, reduces interference, and protects insulation. My setup stays clean, accessible, and durable.

VERSI-DUCT 0RU 4X5IN FRONT ONLY 80IN
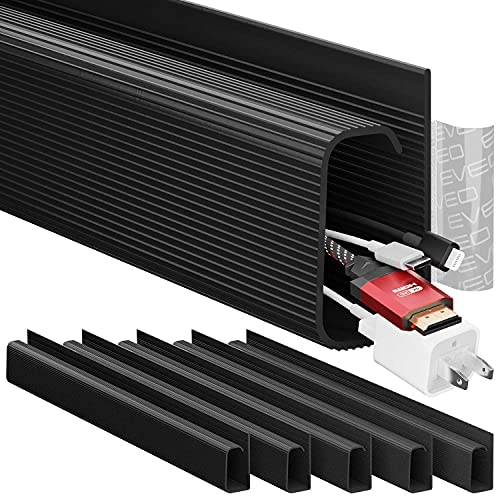
Transform Your Workspace with EVEO Cable Management: Sleek cable raceway ensures perfect under desk cable management, creating a clutter-free, professional wire management environment.

FLEXIBLE CABLE MANAGEMENT: The ring can be installed on the sides of distribution racks, providing vertical cable management that ensures a neat and organized setup.
Document Your Layout for Faster Troubleshooting
Why guess where a cable goes when I can just look it up? I document my layout because it saves time when something breaks. Here’s how I keep things clear:
- I draw my setup in a simple CAD tool before I start, so I know where everything fits.
- I label both ends of every cable, using tags that are readable in dim light.
- I write down my color codes and any changes I make along the way.
- I keep notes on what works, so my next build proceeds more efficiently.
When a connection fails, I grab my map and find the problem in minutes. Good records ensure that we can quickly locate issues without wasting time tracing wires in the dark.

1.Fits 19”23” and 30” Standard Equipment. Accommodates tower units, monitors, and other equipment.


EASY MOUNTING: This 19” 1U server rack cable manager mounts vertically or horizontally to your 19” 2 or 4-post rack to help organize networking cables in your data center