
I will show you how to build sturdy shed shelves in five simple steps.
First, gather your tools and materials: a tape measure, saw, drill, 50x50mm battens, plywood, and screws.
Next, measure your wall space and plan shelf depths—25–30 cm for small tools and 40–50 cm for boxes.
Then, build your first frame by cutting battens and screwing them into wall studs at your desired height.
After that, add upper shelves using clamps to hold everything steady while you work.
Finally, lay your plywood on the frames and secure it from above with shorter screws.
I will break down each step with the exact measurements and techniques learned along the way.
Gather Tools and Lumber for Shed Shelves
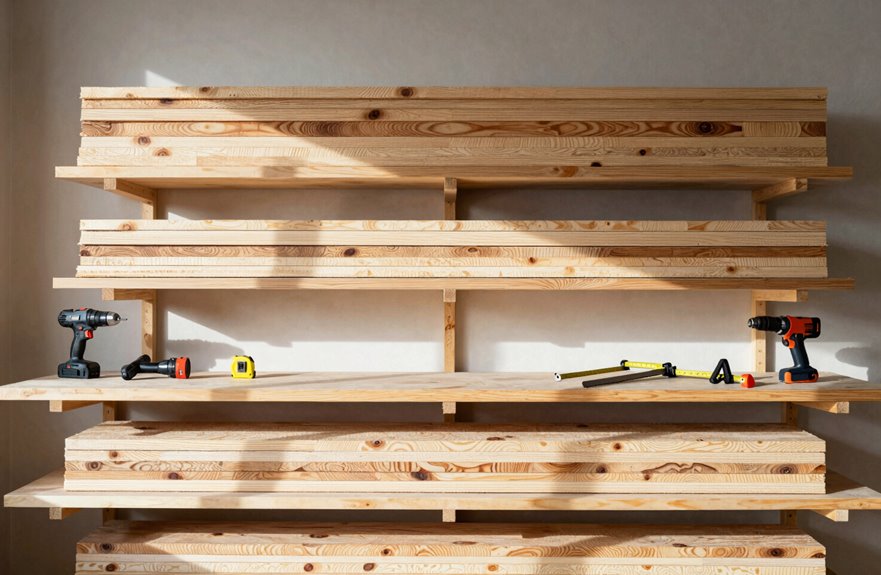
Where do you start when adding shelves to a shed? It’s essential to gather the right materials first.
Start with the right materials—gathering them first saves time and prevents frustrating mid-project trips to the hardware store.
What You’ll Need:
Tools
- Tape measure
- Saw (hand saw or circular saw)
- Drill with bits
- Pencil and level
Lumber & Hardware
- Plywood for shelf boards
- 50 mm x 50 mm timber for battens
- 50 mm screws for battens, 30 mm screws for shelves
- Brackets (optional, for extra support)
My Quick Prep Checklist
- Measure your shed walls twice—height, width, and any windows or doors.
- Figure out your storage needs to determine how much shelving to build.
- Buy extra plywood; you’ll likely make a mistake on at least one cut.
Focus on functionality rather than perfection when building shed storage.

Self Adhesive Edge Trim: There are 3 strips of self-adhesive tape on the inside of our Edge trim. No need to use any glue, it can be firmly installed on the edge of the product you need to protect.

Complete Organization System: Four-level wood organizer creates efficient vertical storage; Ideal for boards, pipe storage, and building materials; Part of BORA tools comprehensive shop organization solutions; Declutter your workspace today
Self Adhesive Edge Trim: There are 3 strips of self-adhesive tape on the inside of our Edge trim. No need to use any glue, it can be firmly installed on the edge of the product you need to protect.
Size Shed Shelves for Your Storage Items
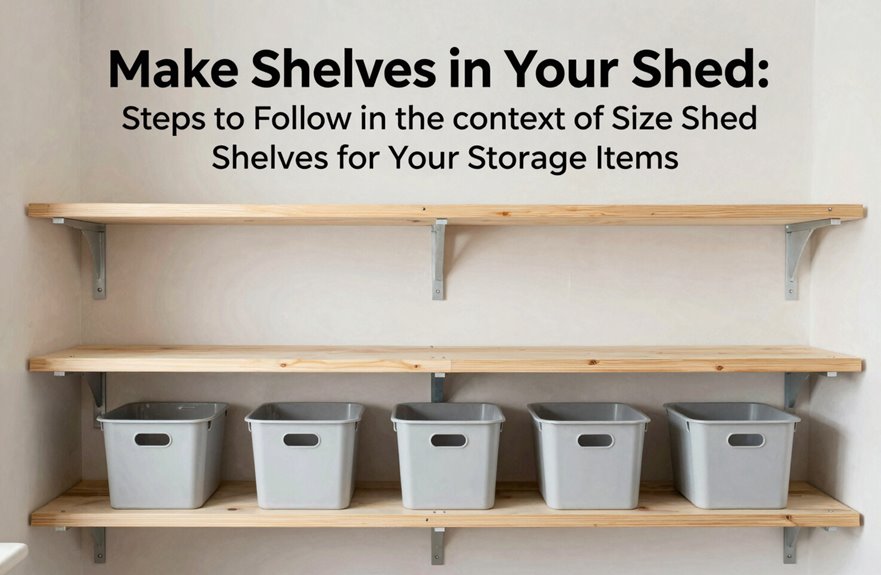
With your tools and lumber ready, it’s time to determine what you’re storing and how much space you’ll need. Let’s go through this step by step.
First, examine your storage items. Grab a notepad and list everything—tools, boxes, bins. Group similar items together. Place heavy items on lower shelves, and keep frequently used items at waist to eye level.
Next, measure your shed’s interior. Check wall heights and widths, along with any windows or doors that may influence your shelving layout.
Here’s a quick guide for your shelf depth and spacing:
| Storage Type | Recommended Depth |
|---|---|
| Small tools, cans | 25–30 cm |
| Boxes, paint cans | 40–50 cm |
| Heavy equipment | 40–50 cm, lower down |
For shelf spacing, aim for 35–45 cm between shelves. Avoid spanning more than 80 cm without additional shelf supports, or your plywood shelves may sag. Locate your wall studs first, as they will support your battens and screw placement securely.

YOUR ITEMS, YOUR WOOD – YOU SUPPLY IT: Supply 3/4" thick wood (e.g., 1x4 to 1x10 pine or plywood, sold separately) for custom-fit shelves that match your items.

YOUR ITEMS, YOUR WOOD – YOU SUPPLY IT: Supply 3/4" thick wood (e.g., 1x4 to 1x10 pine or plywood, sold separately) for custom-fit shelves that match your items.

YOUR ITEMS, YOUR WOOD – YOU SUPPLY IT: Supply 3/4" thick wood (e.g., 1x4 to 1x10 pine or plywood, sold separately) for custom-fit shelves that match your items.
Build and Mount the First Shed Shelf Frame
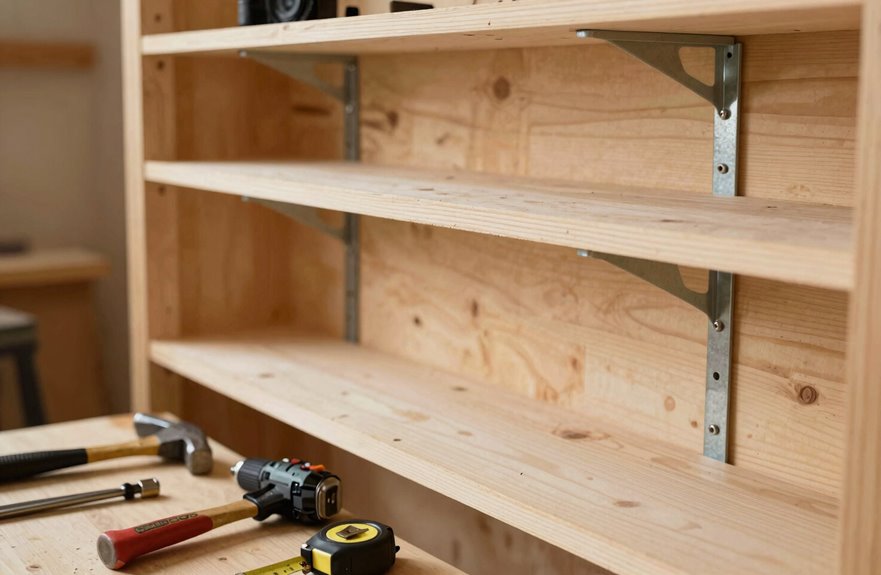
Let’s get your first shelf frame up on the wall. This is where your shed shelving starts to take form, and I’ll guide you through the process step by step.
First, mark your heights. Use a spirit level to draw straight lines indicating where your shelf frame will sit. Space them from waist to eye level for easy access.
Next, prepare your battens. Cut 50 mm x 50 mm pieces and fix them to the studs using 50 mm screws. Check that they are level as you go; unstable mounting will result in uneven shelves.
Cut your plywood boards to size, then pre-drill holes to prevent splitting. Sand the edges smooth and apply a finish or wood preservative before installation, especially if your shed is prone to dampness.
Finally, lay the boards on the battens and secure them from above with 30 mm screws. You can add glue for added strength if desired.

【PERFECT DIMENSIONS】Flat head hexagonal self tapping screws measure M5 x 50mm, ideal for diverse DIY and professional woodworking tasks. Providing superior strength and durability.

【PERFECT DIMENSIONS】Flat head hexagonal self tapping screws , ideal for diverse DIY and professional woodworking tasks. Providing superior strength and durability.
Add Upper Shed Shelves With Temporary Clamping
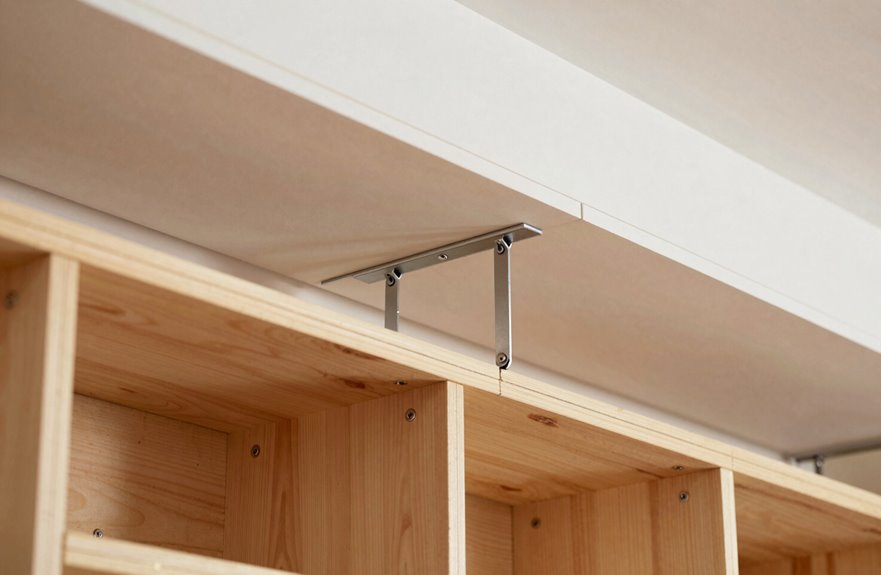
Once you’ve got your first shelf up, adding upper shelves is straightforward, though you’ll want an extra pair of hands or some clamps to keep everything steady while you work.
Adding upper shelves is straightforward—just grab a helper or some clamps to keep everything steady while you work.
I measure wall height and mark where my upper shelves will sit, ensuring they align with the lower units. Then I cut 2×4 supports and use temporary clamps to hold everything against the wall studs while I check spacing and alignment.
Here’s my process:
- Clamp shelf frames in place.
- Check level alignment wall to wall.
- Drill pilot holes into studs.
- Drive screws for solid fastening.
This creates a strong load path for your storage. I keep those temporary clamps on until every fastener is set and the frame is square. Then I’m ready for the plywood top.

Shelf Organizer: Adds extra storage inside Suncast Vertical Sheds to increase usable space for gear, tools, and bins

PACKAGE CONTENTS: You will receive 4 pieces shelf brackets and screws.

Versatile Storage Made Easy: Organize your garage, basement, or outdoor workspace with this hanging shelf storage. Ideal for lumber, skis, skateboard, snowboard, and other tools stored.
Secure Frames and Nail Down Plywood Surfaces
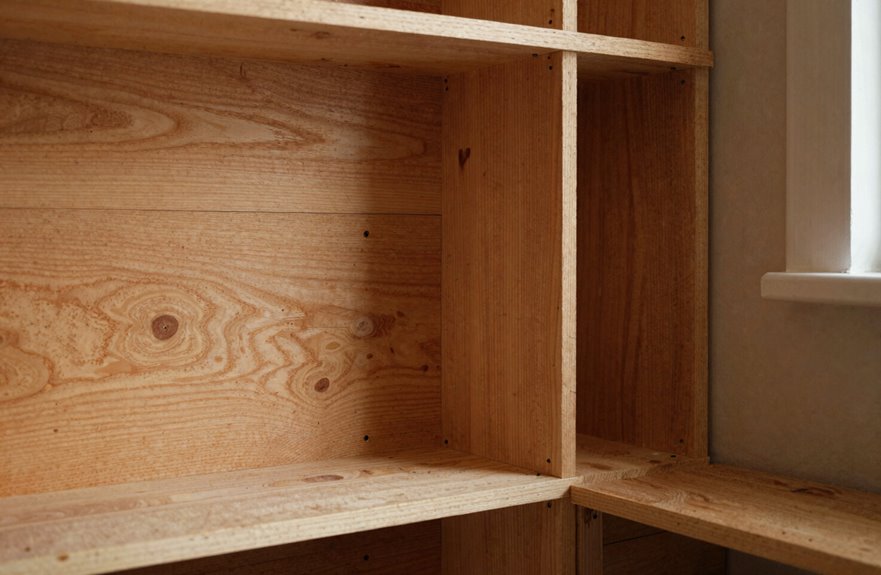
The frames are clamped and ready, so I will lock them in for good. I’m securing my shelving supports by driving 50 mm screws through the battens into the studs. Pre-drilling prevents splitting, so I do not skip that step. My framing feels solid.
Next, I will nail down the plywood surfaces. I cut my plywood to fit, sanded the edges, and I’m ready to attach it. I’m using 30 mm screws from above, pre-drilling each hole to avoid cracks. This ensures my shelves remain flat and strong.
Here’s what I’m using:
| Part | What It Does |
|---|---|
| Battens | Wall-mounted framing for support |
| Studs | Solid anchor points in walls |
| Plywood | Flat surface for storage |
| 50 mm screws | Securing battens to studs |
| 30 mm screws | Attaching shelves to battens |
My shed is coming together, and I take pride in that.

Measuring 11.8 x 7.5 Inches, this bracket perfectly works with a traditional 12 to 14-inch deep shelving board
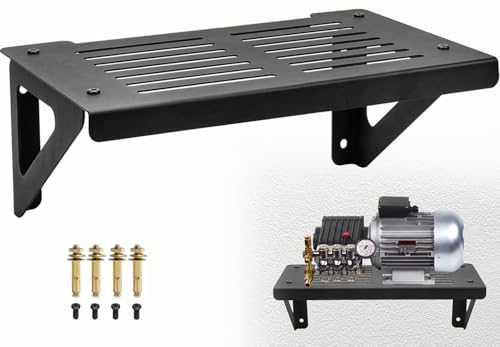
Our pressure washer shelf is designed for practicality, utilizing wall space for vertical storage to significantly save floor space and reduce clutter, making it ideal for long-term neat storage in garages or workshops. It can also flexibly store other commonly used tools, offering multi-functional use while balancing aesthetics and practicality.

✓ HIGH-QUALITY METAL MATERIALS: Our shelf support is made of thick and heavy duty iron materials.Features a thick black matte surface coating that delivers enhanced water resistance and effective anti‑rust performance for long‑term daily use.