

I know from experience that canceling a storage unit the wrong way can cost you an extra month of rent you’ll never use, since most facilities won’t give you a prorated refund if you move out mid-cycle. To do it correctly, follow these steps: 1) Cancel before your next billing cycle starts, 2) Schedule your move-out at least 7 days in advance, 3) Empty and clean your unit completely, 4) Remove your lock, 5) Double-check that your account is closed, and 6) Save your move-out documentation. Each step has important details you’ll want to know.
Cancel Before Your Next Billing Cycle Starts
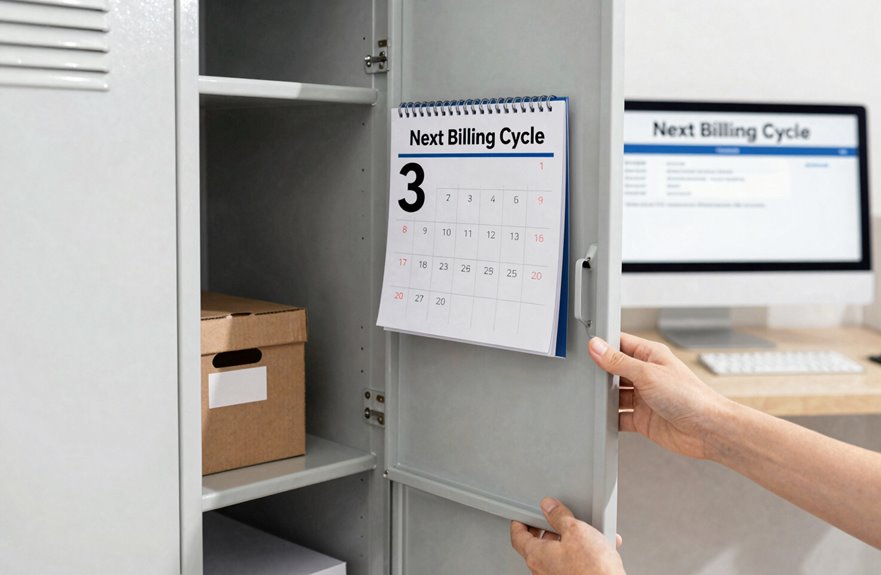
When should you cancel your storage unit to avoid unnecessary costs? Timing is crucial.
Public Storage does not provide prorated refunds for mid-month departures. If you leave on the 15th, you still pay for the entire month.
Public Storage charges for the full month regardless of when you move out—no prorated refunds.
Here’s what I do now:
1. Mark your calendar
I check my next billing date and plan my move-out before it arrives. If I’m charged on the 1st, I move out by the 31st.
2. Respect the notice period
I provide at least 7 days’ notice, and I can schedule up to 60 days ahead. Planning ahead allows me to stay organized.
3. Know your facility policy
Cancellation processes vary by location. I confirm whether my facility prefers phone, online, or in-person cancellation for storage unit moves.


Schedule Your Move-Out Date (7+ Days Ahead)
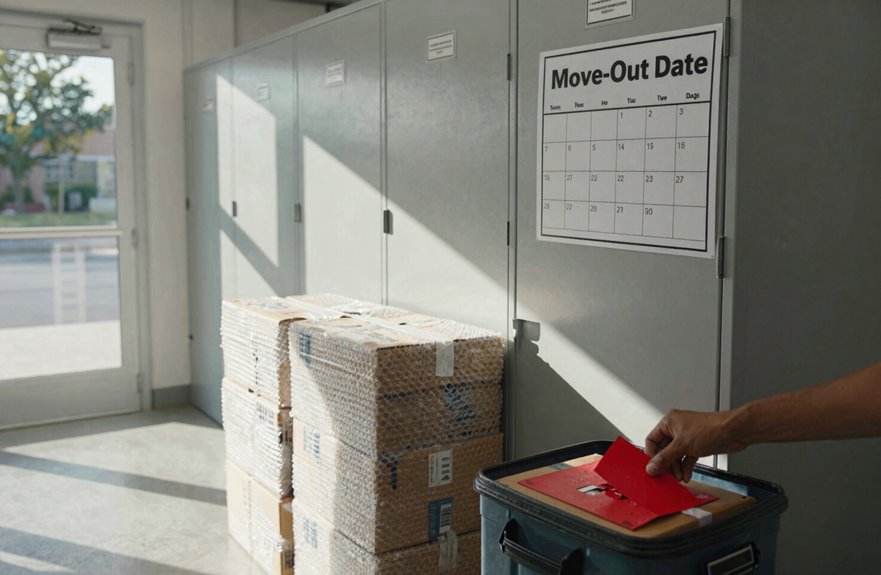
Since I’ve already marked my calendar and checked my facility’s policy, I’m ready to lock in my move-out date. I head to the Storage Units section of my account app to start my online move-out. The move-out scheduling tool lets me pick any date up to 60 days ahead, providing ample time for planning.
| Move-Out Timing | Billing Impact | Action Needed |
|---|---|---|
| 7+ days before | Clean exit, no fees | Submit advance notice |
| Before next billing cycle | Avoid prorated charges | Confirm in account app |
| Need to change plans | Flexible adjustment | Use cancellation/edit feature |
| 60 days max ahead | Best planning window | Set reminder in app |
I ensure my date is set before the next billing cycle to avoid prorated charges. I can adjust my cancellation or edit my plans anytime directly in the app.
![Keyless-Engage Cylinder Lock for Storage Units, Premium 3/4" Roll-Up Door Lock with Auto-Snap Mechanism, 3 Tubular Keys Included - [Verify 19mm Depth Before Buying]](https://m.media-amazon.com/images/I/31swSqIi2EL._SL500_.jpg)
[AUTO-SNAP LOCKING CONVENIENCE] Upgrade your storage routine with our smart-engaging cylinder design. Engineered for effortless security, it locks instantly with a simple firm press into the latch hole. No need to dig through your pockets or fumble with keys just to close your unit—just slide, push, and walk away secure.
![Roll-Up Door Cylinder Lock, 19mm (3/4") Standard Long Mill Storage Lock, Includes 3 Keys - [Please Measure Before Buying]](https://m.media-amazon.com/images/I/41T75ElSwEL._SL500_.jpg)
[❗IMPORTANT: MEASURE BEFORE YOU PURCHASE] This lock has a 19mm (3/4") Standard Long-Mill barrel. It is NOT compatible with 11mm (7/16") short-mill latches or low-profile latch systems. To avoid return hassles, please check your existing lock length or consult your self-storage facility manager before ordering.
How to Empty and Clean Your Unit Completely
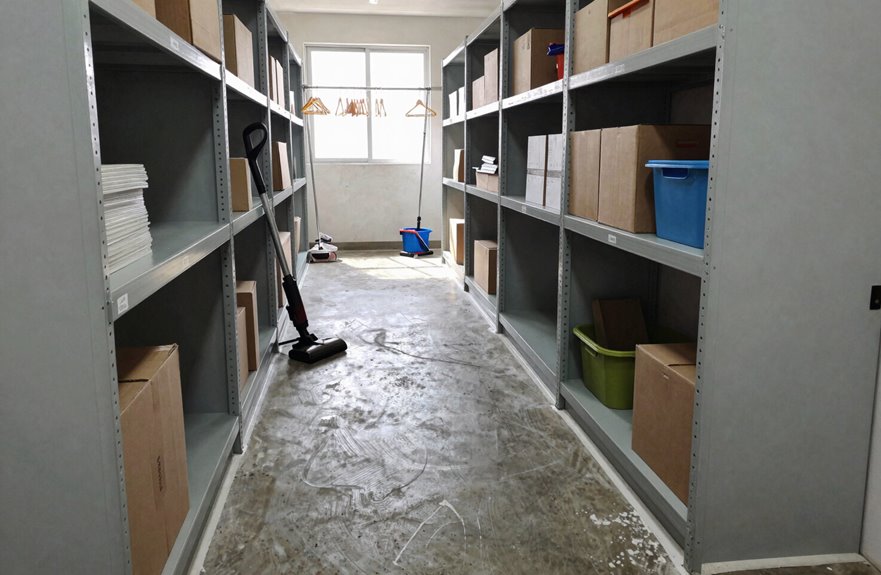
I will first remove everything from the unit to ensure nothing is left behind before my deadline. Next, I will grab a broom to sweep up dirt and debris and wipe down any surfaces that need cleaning. Once the unit is empty and clean, I can lock up and finish my tasks with the facility.

【2-in-1 Cleaning Supplies Organizer】 Our upgraded versatile broom and mop holder isn’t just a cleaning cart—it units 2 essential functions (broom hanger and vacuum stand) in a single space-saving design. Specifically crafted for small areas like laundry rooms, closets, basement, garage or utility corners, it ensures every tool stays tidy, upright, and within arm’s reach.

【3-in-1 Cleaning Supplies Organizer】 Our upgraded versatile broom and mop holder isn’t just a cleaning cart—it units 3 essential functions (broom hanger, vacuum stand, and cleaning supplies storage) in a single space-saving design. Specifically crafted for small areas like laundry rooms, closets, basement, garage or utility corners, it ensures every tool stays tidy, upright, and within arm’s reach.
Tidy Your Home: 5 ball slots and 6 hooks design, organize your annoying cleaning tools within small space
Empty Everything Out
Why leave anything behind when you’re paying for every square foot? Let’s go through the steps to empty your storage unit so you can wrap this up.
1. Remove Everything
Start by taking out all belongings. Check every corner and shelf to ensure nothing is forgotten.
2. Toss the Trash
Gather all packing materials, boxes, and trash. Leaving junk behind could lead to extra fees, and a clean move-out is essential.
3. Grab Your Lock
Remember to remove your lock. That lock is yours, and leaving it could delay the account closure process.
4. Final Check
Before inspecting the unit’s condition, do one last sweep. Once everything is accounted for, you can finish up and move on.
Sweep and Clean
How clean does your unit need to be before you hand back the keys? Most facilities expect your storage unit to look just like it did when you moved in. I follow a simple cleaning checklist to avoid surprise fees.
Here’s my debris removal routine:
- I sweep every corner, getting rid of dust, dirt, and anything I dropped while emptying the unit.
- I wipe down walls and floors, tackling any spills to meet facility cleanliness standards.
- I remove my lock, take out any shelves I added, and double-check for forgotten items.
Before returning my unit, I take documentation photos. These pictures show that I left the space in good shape, helping me close my account smoothly. A quick clean now prevents issues later.
Don’t Forget to Remove Your Lock
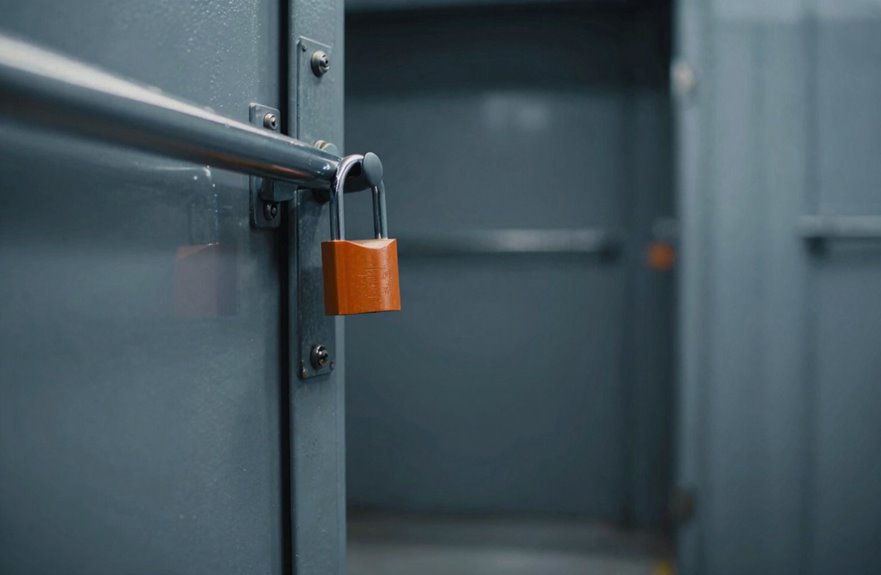
Grab your key and don’t leave without your lock. This small step is crucial. Many people rush through their move-out and forget this important piece of their storage unit process.
Here’s what I wish I’d known sooner:
| Task | Why It Matters |
|---|---|
| Lock removal | Proves you’ve vacated |
| Take your lock | It’s your property, after all |
| Notice to manager | Starts your vacated status |
| Before final inspection | Avoids extra fees |
| Confirm empty unit | Speeds up account closure |
I complete my renter responsibilities by removing my lock before the final inspection. If I don’t, the staff can’t verify my unit is empty, and my account closure gets delayed. A forgotten lock can lead to unnecessary time and cost.

【King & Cal King Size Fit】 Designed as a king size mattress bag for moving, this 1.5 mil king size plastic mattress cover measures 78" x 14" x 100" to fit King and california king mattress up to 14" thick. An oversized king size mattress cover for moving that offers full protection.
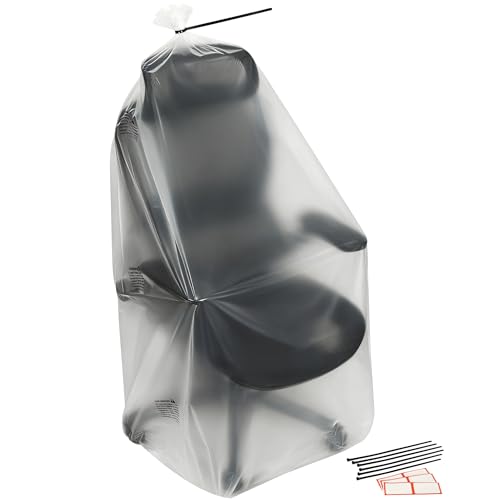
Efficient Storage Solution - Made from sturdy plastic for repeated use, these bags support visibility and organization across home, moving, or shop. Zip ties included to help keep contents secured.

Heavy Duty & Durable Trash Bags: These 1.5 mil thick garbage liners are crafted with low-density industrial-strength resins, making them perfect for heavy, sharp, and bulky trash without tearing or leaking
Double-Check Your Account Is Actually Closed
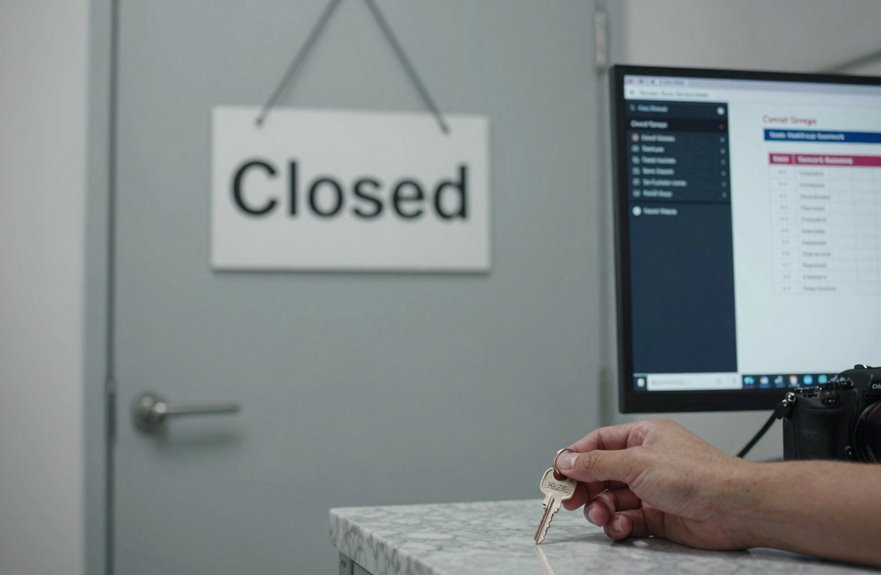
I always verify that my online account shows no active rentals and a zero balance before I consider it closed. Then, I request a confirmation email or receipt proving the closure, which I keep for future reference. This final check takes two minutes and helps prevent unexpected bills later on.


Verify Online Account Status
Once you’ve completed the move-out steps, it’s important to verify that your account is closed. Taking a few minutes to check your Public Storage online account can prevent unexpected issues later.
Here’s what I check:
- I log into my online account and look for a zero balance; no charges should be pending.
- I review my status dashboard to confirm it shows no active rentals and that my unit is vacated.
- I find my confirmation email and save it, just in case billing disputes arise later.
If my closed rental status or account closure confirmation is not showing within a few business days, I contact the facility immediately. Addressing issues early can save time and effort later.
Request Closure Confirmation
Why leave anything to chance when you’re this close to being done? I always request closure confirmation for my own protection.
Here’s what I do:
1. Ask for written proof
I request a confirmation email or receipt showing my unit is closed and my balance is zero. This documentation is essential.
2. Double-check my online account
I verify my online account shows no active rentals and a zero balance. Screenshots can be useful too.
3. Keep everything safe
I store my proof of cancellation in an easily accessible location. Future disputes can arise, and I want to be prepared.
4. Watch for refunds
I use my confirmation to track any post-closure follow-ups or refunds.
Don’t skip this step. Completing the process thoroughly is important.
Save Your Move-Out Documentation
Save Your Move-Out Documentation
When you finish moving your stuff out, your job isn’t quite done yet. Grabbing the right paperwork can save you real headaches down the road. Solid move-out documentation keeps you in the clear with your storage company and your community of fellow renters.
Here’s what I do to secure everything:
- I request my confirmation email or receipt showing account closure and zero balance; this receipt serves as my proof.
- I check online verification to confirm no active rentals remain on my account.
- I organize everything into a documentation folder for easy dispute prevention later.
That final documentation is my safety net. By following these steps, you will have the information you need and avoid potential issues later.

Four Lock Sets: includes 4 independent storage unit lock cylinders with different key codes numbered 001 to 004, reducing the possibility of unintended key access between locks; Each cylinder lock includes 3 matching alloy tubular keys, providing convenient backup keys for team members, facility managers, and multi unit applications

Storage lock body constructed with heavy duty stainless steel.

【Package Contents】: You will receive a complete set of vending machine key locks, including one high-security vending machine lock and three durable keys. This is the perfect replacement lock for your vending machines, designed to provide maximum protection for your valuable inventory.