
I start by removing and labeling every door, drawer, and piece of hardware so nothing gets lost.
Next, I apply gel stripper to melt away the old finish, then scrape and wipe it clean.
After that, I scuff-sand with 150-grit paper to rough up the surface.
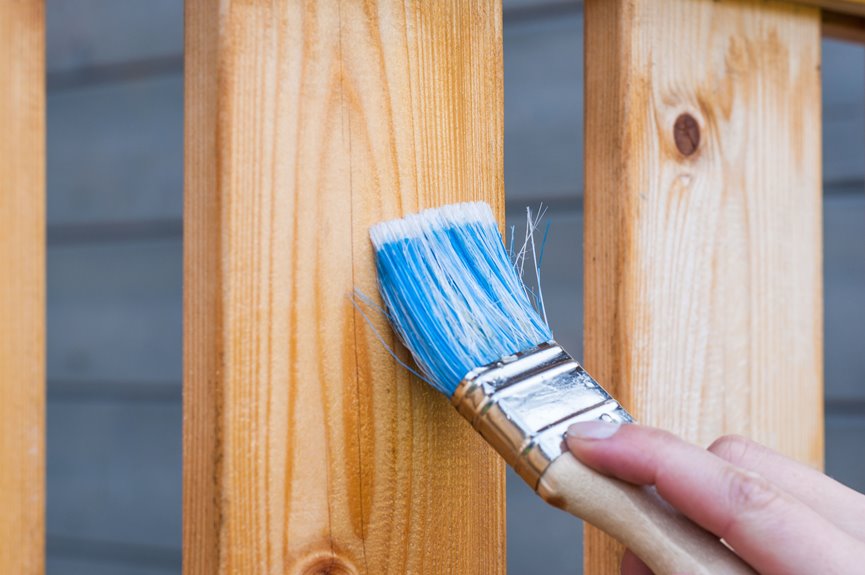
Once prepped, I brush on gel stain in thin, even coats; two or three usually does the trick.
Finally, I seal everything with polyurethane for protection.
Follow these steps to achieve a smooth and effective cabinet refinishing process.
Remove and Label Cabinet Doors, Drawers, and Hardware
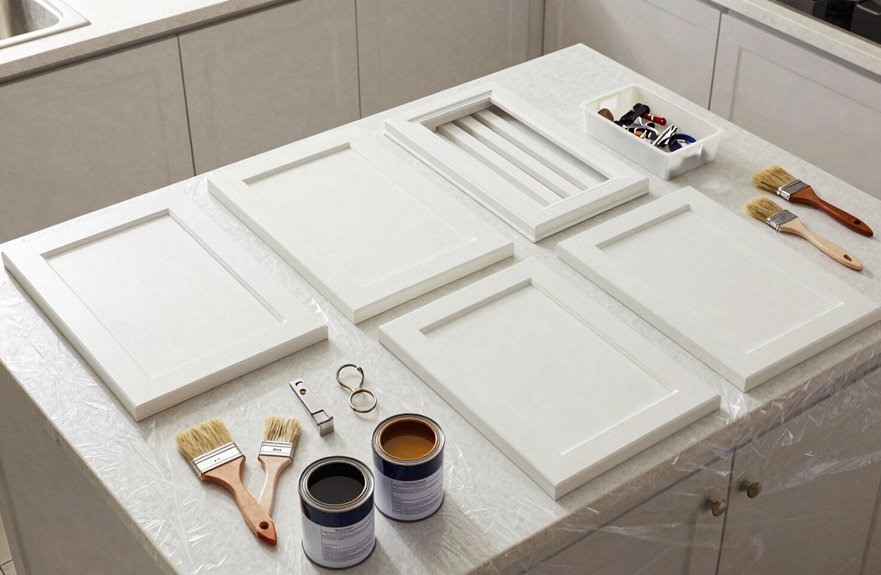
Before I grab my screwdriver, I take a moment to plan. You will appreciate the effort when every piece goes back exactly where it belongs.
1. Start with labeling
I grab masking tape and a marker, then label every cabinet door and drawer with its exact location. “Upper left” or “Island drawer 3” works well. This step prevents mix-ups during reassembly.
2. Remove hardware
I unscrew all hinges, knobs, and pulls, placing them into a labeled bag. Keeping hardware organized ensures nothing gets lost.
3. Disassembly
I detach cabinet doors and pull out drawers carefully, stacking them in order. Proper labeling now guarantees alignment later, with consistent gaps and no guesswork.
With everything tracked and stored, I am prepared for the next phase.
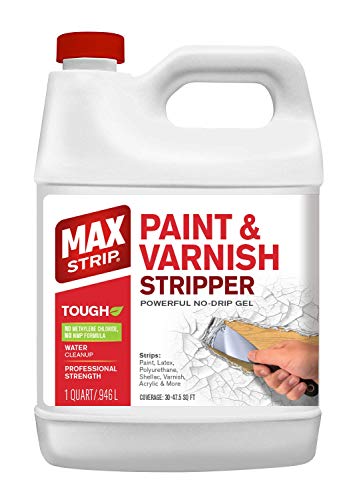
DESIGNED TO REMOVE PAINT AND VARNISH FROM MULTIPLE SURFACES - Remove Aftermarket Paints, Latex, Polyurethane, Shellac, Varnish, Acrylic, Oil Based Coatings and More in usually a Single Application!

DESIGNED TO REMOVE PAINT AND VARNISH FROM MULTIPLE SURFACES - Remove Aftermarket Paint, Latex, Polyurethane, Shellac, Varnish, Acrylic, Oil Based Coatings and More in usually a Single Application!
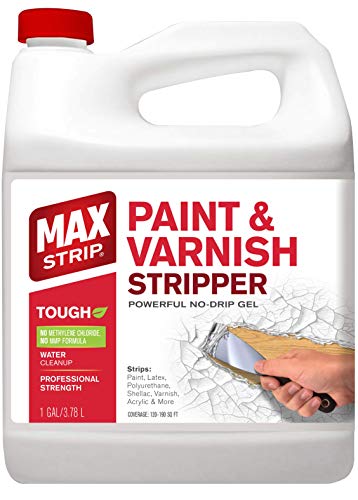
DESIGNED TO REMOVE PAINT AND VARNISH FROM MULTIPLE SURFACES: Remove Aftermarket Paints, Latex, Polyurethane, Shellac, Varnish, Acrylic, Oil Based Coatings and More in usually a Single Application
Strip the Old Finish With Gel Remover
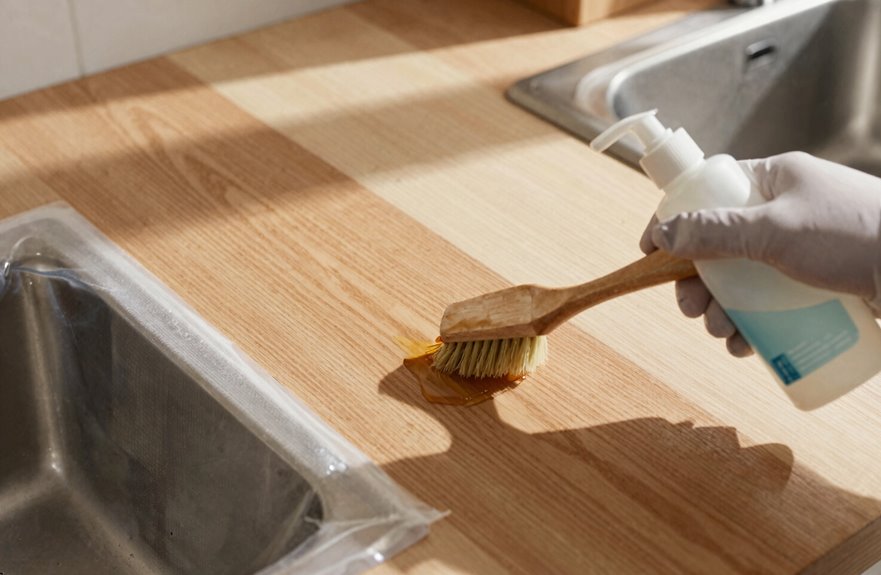
Stripped and ready, I start the real transformation.
Stripped bare, the cabinets await their rebirth. I stand ready to transform worn wood into something renewed.
To strip the old finish, I grab my gel remover and brush it evenly across every cabinet surface. Wood stripping requires patience, so I wait about 10 minutes until the old varnish bubbles and softens.
Next, I take my scraper and gently lift away the residue, always following the wood grain. I catch the mess in a container as I go. I keep my gloves on to protect my hands throughout this project.
A quick wipe with mineral spirits clears the last residue. I follow with a tack rag for a clean, smooth foundation. Cabinet refinishing demands this prep work, and it is essential for a successful outcome.
I am almost ready for the next steps.

Pack of 50 Full Sheets – Includes 150 grit sandpaper sheets in 9 x 11 in format for medium sanding, paint prep, wood refinishing, metal smoothing, drywall repair, and cabinet work tasks

Great for general purpose sanding on a wide variety of materials including wood, paint, metal, fiberglass, and plastic

Gator grit fine 150 grit garnet sandpaper.
Scuff-Sand for Smooth Adhesion
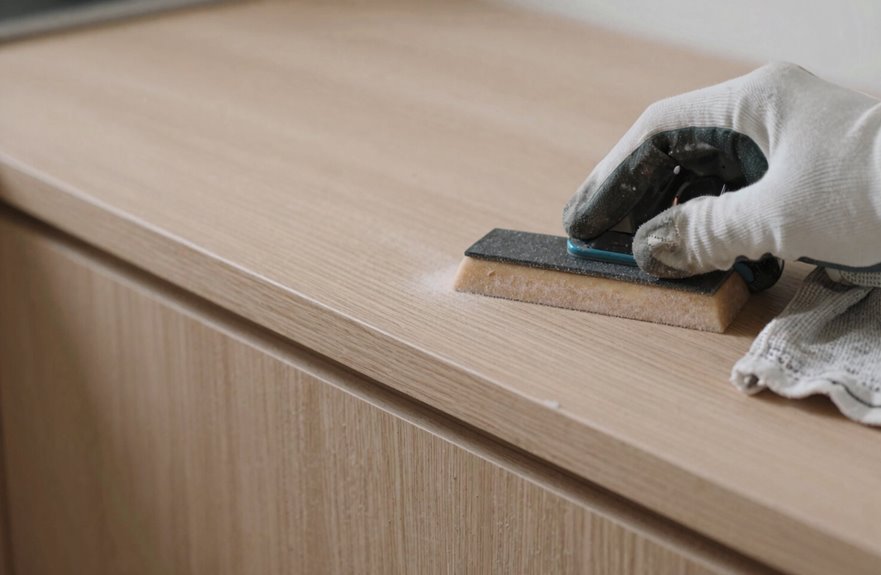
A smooth surface is essential for stain adhesion. After the gel stripper does its job, I focus on surface preparation, which is crucial for this project.
Here’s how I complete the scuff-sand:
- I use 150-grit Festool sanding paper for uniform sanding that won’t damage the wood.
- I lightly rough up any remaining glossy spots since varnish removal isn’t always perfect.
- I wipe away every speck of dust with a slightly damp cloth; dust can compromise adhesion.
- I ensure surfaces are completely dry before proceeding.
This scuff-sand step connects stripping and staining. Neglecting it can lead to peeling and uneven coverage. When done correctly, I create a solid foundation for cabinets that look professionally finished.

10 Pack 6 x 9 Inch 800 Grit General Purpose Scuff Pads

10 Pack purpose scuffing pads that deliver a very fine aluminum oxide abrasive cut comparable to about a P150 grit sand paper cut and perform exceptionally well on flat, contoured, or hard-reach surface areas

You will get:Contains 10PCS 6x9 inch high performance white light duty scuff pads for light grinding, suitable for removing finer dirt, oxidized layers and light blemishes
Brush On Your Restaining Color
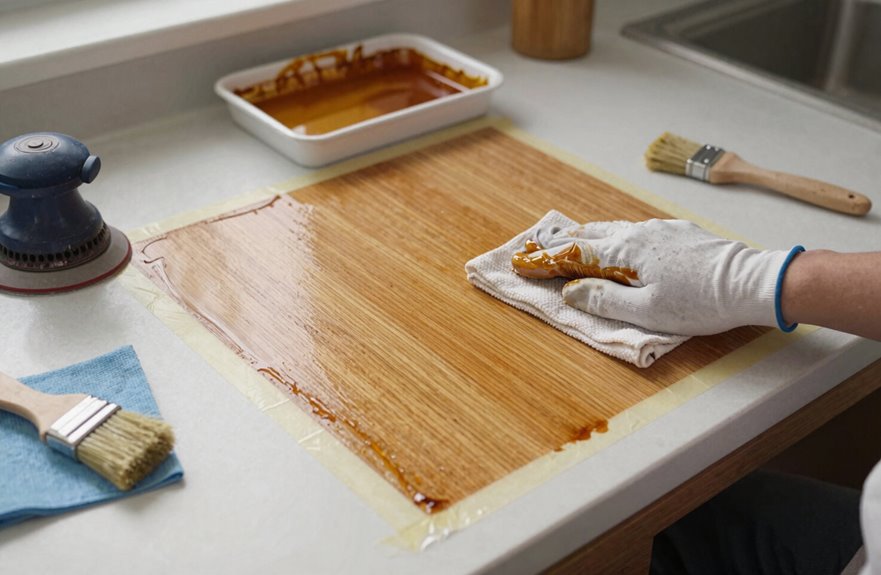
Once your cabinets are sanded smooth and dust-free, it’s time to bring on the color.
Once your cabinets are sanded smooth and dust-free, it’s time to bring on the color.
I prefer to work with my cabinets and doors laid flat on a protected surface. This helps prevent drips and gives me better control.
Here’s my staining process:
- Choose your stain color. Pick something that matches your kitchen’s vibe—warm browns, cool grays, or rich reds all work beautifully.
- Apply gel stain with the grain. I use a foam brush or clean rag, working in sections. Gel stain sits on top, so it’s forgiving and builds rich color quickly.
- Build even coats. One coat gives a hint; two or three deepen the wood finish. I wait six hours between coats.
- Protect your work. Two coats of polyurethane varnish seal everything in. I let each coat dry fully before moving on to the next step.

THICK, NO-DRIP FORMULA: Less mess than traditional wood stains and applies smoothly on horizontal and vertical surfaces including wood, metal, fiberglass and more

Real Wood Stain Repair: Four brush-on wood stain bottles designed to penetrate scratches and worn areas, blending into the wood grain instead of sitting on the surface like paint or markers

Non-Toxic & Low Odor, Safe for Indoor Use: Breathe easy with our water-based wood stain! It’s non-toxic, environmentally friendly and low VOC formula makes it perfectly safe for indoor projects like kitchen cabinets, bedroom furniture, and more — without the strong chemical fumes found in traditional stains.
Seal Your Restained Cabinets for Durability
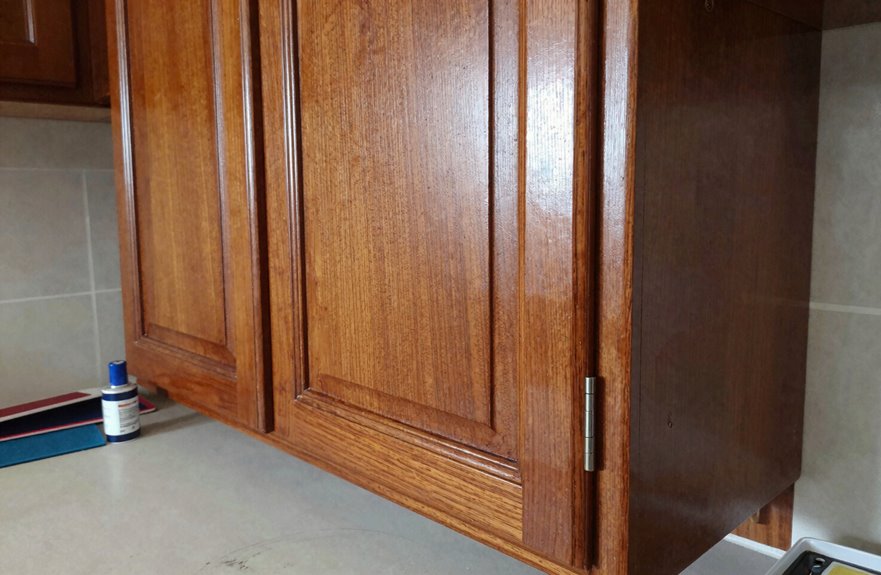
Seal Your Stained Cabinets for Durability
Lock in your hard work with a protective topcoat that keeps your cabinets looking fresh for years. Sealing your wood stain properly makes a significant difference in our kitchens.
Here’s my process to ensure success:
- Wait for the full cure time before adding any sealant; rushing causes tackiness.
- Match your polyurethane type to your stain (oil with oil, water with water).
- Sand lightly between coats using 220-grit for a glass-smooth feel.
- Plan 24 hours between coats, then several days before heavy use.
I always allow my sealant to dry completely. Your cabinets face heat, splashes, and daily bumps, so this protective step is essential. Taking your time with each coat will result in durable, beautiful cabinets.
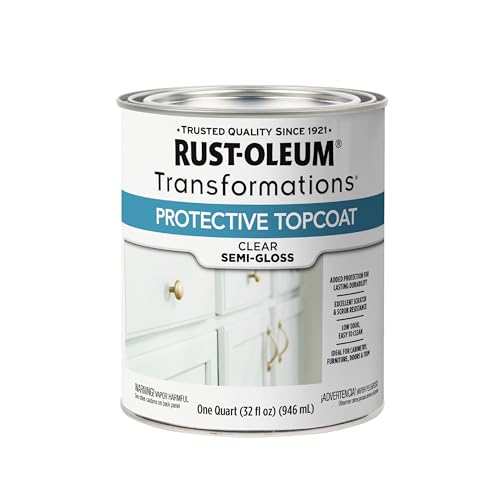
SCRATCH & STAIN RESISTANT PROTECTION: Resistance to everyday scratches and stains, providing a durable protective layer for interior painted, stained, or bare wood surfaces
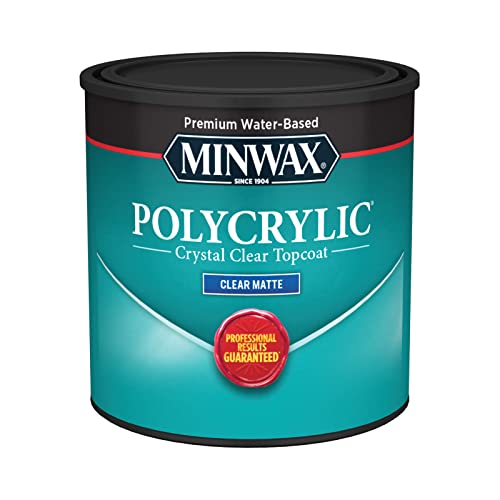
PROTECT WOOD SURFACES – Minwax Polycrylic Protective Finish protects and adds beauty to your interior wood projects, including woodwork, furniture, doors and cabinets. The clear top coat protects against scratches, spills, dirt and more.

Bluebird’s high-performance Top Coat acts as a protective barrier, safeguarding Furniture, Chalk Paint, Acrylics, and Oil paintings from dust, dirt, scratches, and abrasion. It enhances the vibrancy of colors, adds depth to the painting, and gives it a professional, finished appearance. This Coat can be applied with a roller or brush. Apply no more than 1-2 thin coats as thick applications may result in cloudiness when dry.