I’ll build your firewood rack in seven straightforward steps.
First, I’ll choose a dry, level spot with good airflow, keeping it a few feet from any building.
Then, I’ll cut and assemble the back frame using 8-foot boards and uprights, ensuring everything stays square.
For the front rack, I’ll use the same design but cut the uprights one inch shorter to create a gentle slope that helps water run off.
Next, I’ll connect both racks with braces and connectors to maintain stability.
I’ll construct the roof separately as a simple box with panels and support it with temporary braces while I secure it.
After that, I’ll add permanent mid-height braces to ensure that nothing wobbles when loaded.
Finally, I’ll seal every surface with oil-based stain and copper preservative on the cut ends.
Stay with me as I detail how each part comes together.
Choose a Dry, Level Site for Your Firewood Rack
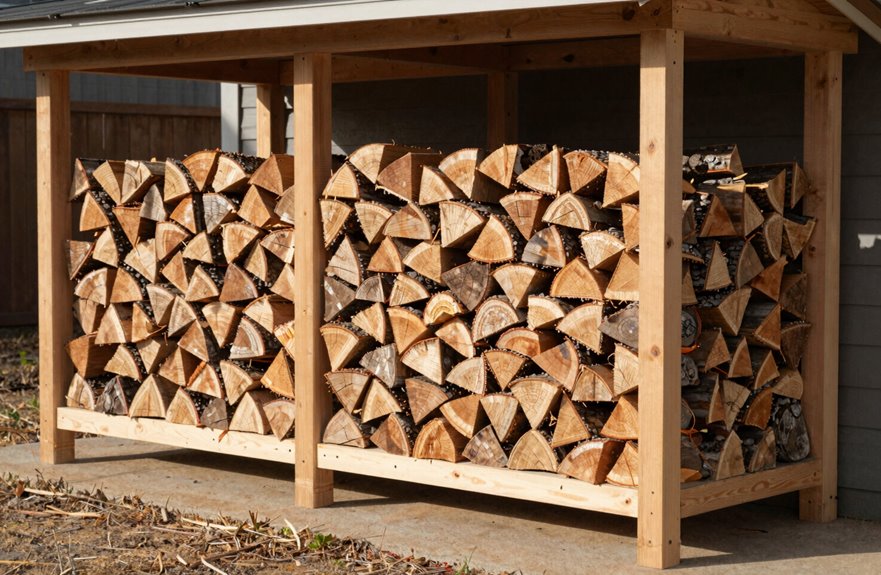
Finding the right spot for your firewood rack significantly impacts how long your wood lasts. A dry site prevents rotting, so I look for locations that are shielded from direct rain yet still receive ample sunlight.
What to Look For
- Level ground – I ensure that the area is flat so my rack remains stable while stacking heavy logs.
- Good airflow – I maintain a distance of 3–5 feet from buildings to deter pests and allow air circulation.
- No puddles – I avoid low spots where water tends to collect.
Building Your Stable Base
Before setting up the rack, I clear and pack the soil. I use cement blocks or landscape timbers to create a stable base that elevates the wood above damp ground. Additionally, I leave extra room for future storage needs as wood consumption increases.

【 FIT FOR 2x4 LUMBER 】- Each outside metal wood stacker bracket measures 12- ¾ inch length by 3-¾ inch width by 6" depth. The inside 8 holes (3-¾ x 1-¾) well fit to the wood with cross section of 2 x 4 (lumber NOT included), and good ideal for personalized board dimension cutting. This allows you to customize just how big you want your out side log stacking to be.

INDOOR & OUTDOOR USE: Space saving. It is perfect for your home's fireplace or your outdoor fire pit.
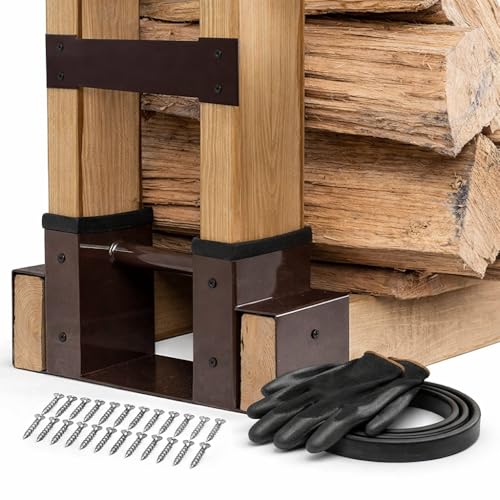
🌲 Tailored to Your Needs, Regardless of Size: Each lumber storage rack includes 2 brackets (13” x 5.7”), 2 steel plates, 60” seal strip, 1 pair of construction gloves, and 25 screws, offering you the flexibility to customize the length that suits YOUR requirements! (Simply provide your own 2x4’s and firewood.)
Cut and Assemble the Back Rack Frame
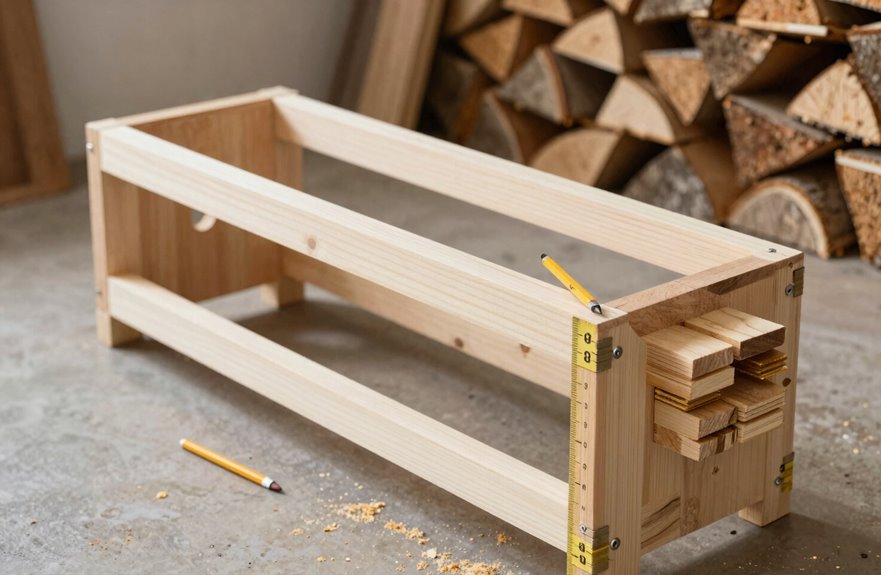
I’ll start by building the back rack frame, which forms the backbone of your setup. First, I will lay out the frame basics by screwing two 8-foot boards (a) and two 8-foot boards (g) into a box shape. This creates a solid base skeleton to work with. Next, I will position the uprights (c) at the inside corners and attach the cap pieces (b) across the top, ensuring everything is square before marking the brace attachment points for the cross braces and end braces that will stabilize the frame.
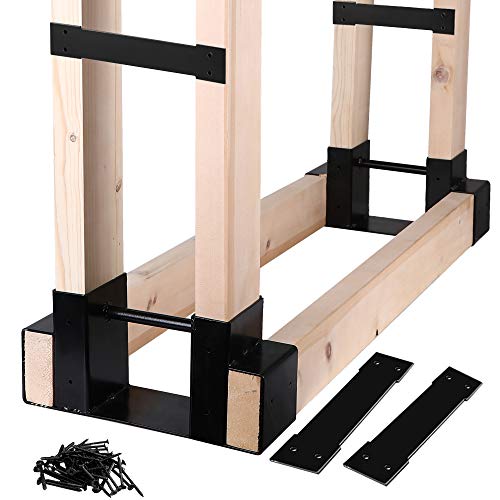
WHAT YOU GET -- A pair of firewood log brackets with wood screws,13.2" *3.7"*6". (Lumbers are not included).

【 FIT FOR 2x4 LUMBER 】- Each outside metal wood stacker bracket measures 12- ¾ inch length by 3-¾ inch width by 6" depth. The inside 8 holes (3-¾ x 1-¾) well fit to the wood with cross section of 2 x 4 (lumber NOT included), and good ideal for personalized board dimension cutting. This allows you to customize just how big you want your out side log stacking to be.

2MM THICKENED WALL -- Our wood rack for lumber is constructed with a 2mm solid steel material and finished with a powder coating, making it ideal for long-term indoor or outdoor use. It is designed to withstand bending and tipping, ensuring its stability and durability. With these log racks, you can achieve the perfect solution for your wood storage needs while keeping your yard tidy.
Frame Layout Basics
Where do we start building this project? We begin with the backbone of our Firewood Rack: the frame itself.
Building the Box Frame
I grab two 8′ boards from group (a) and two from group (g). These four pieces form a simple box that serves as the back of our rack. I lay them flat, check that the corners are square, and drive at least two screws into each joint. This frame needs to remain solid under heavy loads.
Adding the Uprights
Next, I attach two 24″ uprights from group (c) at the inside corners. These vertical supports provide height for the structure. I cap them with pieces from group (b) across the top, linking everything together.
Bracing for Strength
Finally, I add cross braces from group (e) to keep the frame rigid and square.
Upright Positioning
How do we turn those flat pieces into something that stands up? We’re building the backbone of our rack together, starting with smart upright positioning.
First, I will assemble a box using two 24″ boards from group (a) and two from group (g). This forms the base framing. Next, I will attach the uprights—those 60″ powerhouses—at the inside corners. These vertical supports provide the rack with height and character.
Here’s what keeps everything solid:
- Base box creates our foundation
- Uprights rise from inside corners
- Cap pieces lock the top edge
- Cross braces add stability on both sides
I will connect the upright tops with caps from group (b) and then add cross braces from group (e). Finally, I will use connector boards from group (f) to finish the back rack’s enclosure.
Brace Attachment Points
With the uprights standing tall and the base box holding steady, I’m ready to lock this frame together with smart bracing.
First, I’ll add cross braces to link the front and back sections. I make sure to mirror this on both sides so everything stays balanced and strong.
Next come the angled braces. I cut these at 45 degrees so one end hooks neatly to the upright, while the other grabs the rack side. This triangle shape prevents wobbling.
Finally, I attach connector boards to the rack ends. These create solid landing spots when I’m ready to add the front section later.
Each brace I add reinforces the frame, ensuring stability and strength. We’re constructing something that will reliably support weight.
Build the Matching Front Rack With Shorter Uprights
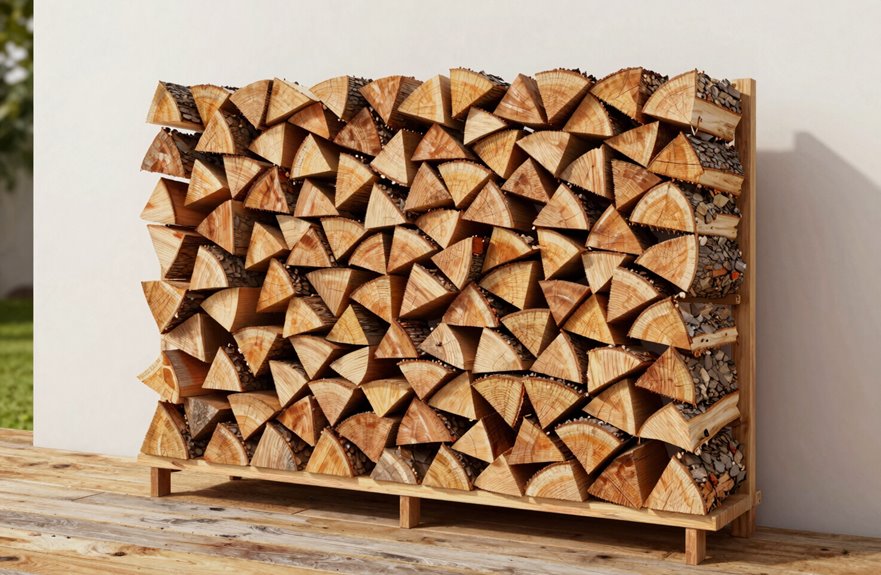
I will build the front rack almost exactly like the back one, but I’m trimming the uprights down to 59 inches instead of 60. This 1-inch difference creates a gentle outward slope when I tilt the top, which helps the wood stack stay put and enhances the overall appearance. It’s similar to constructing a matching bookcase that is slightly shorter; the same steps apply with minor adjustments.

Product dimensions: 49'' L × 49'' H × 16.5'' W

Top Canopy for Protection: Featuring a canopy-style roof, this log rack provides full coverage against rain and snow, keeping your firewood dry and ready to use. Ideal for year-round use in various climates, it helps extend the life of your wood.

Heavy Duty Firewood Rack: 4ft firewood storage holder is made of heavy tubular steel construction with a double silver powder-coated finish, optimal durability, sturdy, rustproof and Weather fastness, ensuring enough dry wood for fireplaces, stoves, or fire pits all seasons.
Cut List Variations
Since you’ll need two racks for this project, I’ll show you how to build the matching front rack using nearly identical materials with one small but important tweak. The cut list for this firewood rack stays mostly the same, but we’ll change the uprights’ length.
Here’s what stays identical between racks:
- 24 boards total, all cut to matching lengths
- 4 connectors per rack
- Same 8′ board measurements for consistent brace spacing
- Identical 2 – 24 at 8′ boards and 2 – 2x at 8″ specs
The only difference is that the front uprights measure 59 inches instead of 60. This one-inch drop creates a gentle slope that allows rainwater to run off away from your woodpile. You will follow the same assembly steps. When you connect both racks with braces, that slight height difference provides effective drainage without complicated math.
Slope Compensation Method
Grab your tape measure and let’s build the front rack that completes your firewood storage system. You’ll join the community of builders who achieve this correctly.
I will cut my front uprights 1 inch shorter than the back ones. This creates a gentle slope that matches my roof and ensures proper drainage, preventing water pooling and wood rotting.
Next, I will use those same 2×4 cross braces but position them slightly lower on the front rack to maintain a consistent angle. I keep my end braces at 45 degrees, just like the back, so everything functions as a solid unit.
Even spacing between braces is important; it allows air to flow and water to run off evenly across the shorter structure.
Finally, I double-check: the back is level, and the front is slightly lower. This indicates that my slope is functioning as intended.
Connect the Racks and Brace for Stability
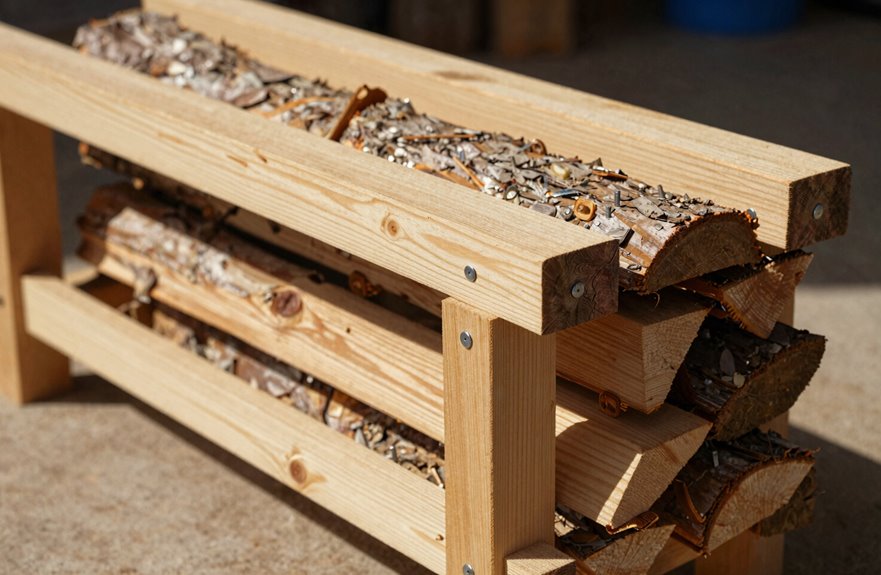
Once the front and back racks are standing, I need to tie them together to prevent wobbling or twisting. I grab seven 24-inch boards and cut them down to 11-inch connectors, then screw them between the uprights at each end of my racks.
Next, I add four end braces with inside 45-degree angles. These braces lock everything in place and stop the whole structure from racking sideways. I space them evenly, according to the plans, to maintain balanced weight distribution.
Here’s what keeps us steady:
- Seven 11-inch connectors link the uprights.
- Four angled end braces resist twisting.
- Braces labeled (e) connect front and back frames.
- Two 24-inch bottom connectors (f) anchor the base.
I check that everything is square, then I can move those temporary roof braces up the uprights. Now my racks feel solid, and I am ready for the next step.

【 FIT FOR 2x4 LUMBER 】- Each outside metal wood stacker bracket measures 12- ¾ inch length by 3-¾ inch width by 6" depth. The inside 8 holes (3-¾ x 1-¾) well fit to the wood with cross section of 2 x 4 (lumber NOT included), and good ideal for personalized board dimension cutting. This allows you to customize just how big you want your out side log stacking to be.

[What You Get] A pair of log brackets with wood screws. Each bracket measures 14" x 44". (Lumbers are not included).

The fire wood rack measures appr 8.0 W x 1.0 D x 3.8 H feet, holds and stores up to 1/2 face cord of firewood and easily withstand a load of upto 4500 pounds. Perfect size to fit on outdoor porch, backyard deck, outside fire pits, under eaves, on patios, or put it on a hard surface, such as paving stones, concrete patio or gravel.
Construct the Sloped Roof Separately
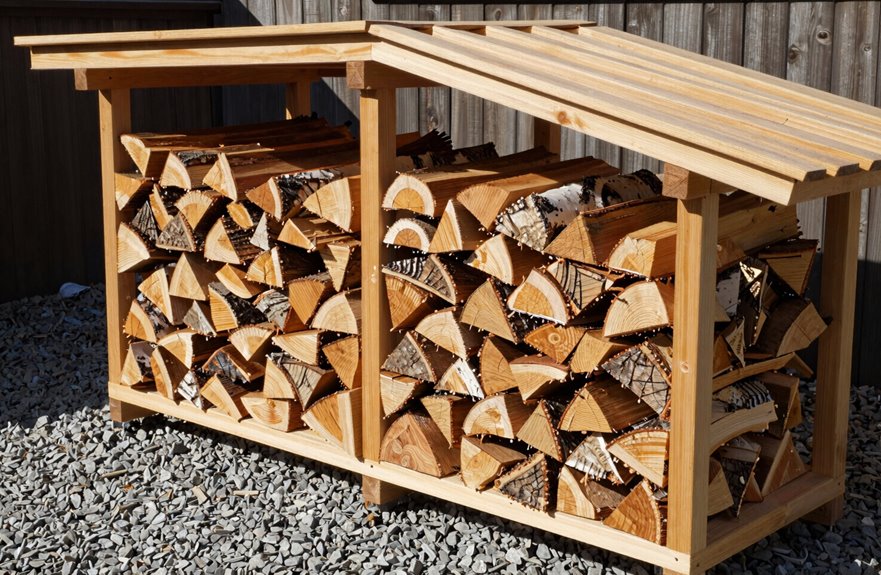
With the racks solid and square, I’m ready to tackle the roof. Building it separately simplifies the process and keeps my wood dry for seasons to come.
Building the roof separately keeps the process simple and your wood dry for years to come.
Step 1: Build the Roof Box
I grab two 2x4s and two boards from the “a” group. These form the front and back of my roof frame. I check that corners sit at matching angles to ensure everything lines up later.
Step 2: Add Cross Braces
I cut caps from my second batch and space them evenly between the front and back pieces. This setup keeps the roof rigid and strong. Two screws at each connection hold everything tight.
Step 3: Prepare the Panels
My steel roofing comes in two 2′ x 12′ sheets. I cut these into 2′ x 45″ panels, overlapping them slightly for effective drainage. Before attaching anything, I lay all pieces on the ground to check alignment. This quick test prevents issues later.
Once satisfied, I’m ready to mount.

Ready-to-Use Copper Naphthenate 17% (contains 2% copper as metal), meets the AWPA M4 Standard

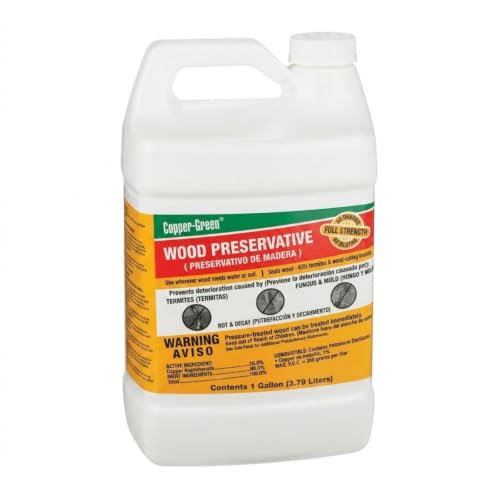
Use wherever wood meets water or soil
Mount the Roof and Add Finishing Supports
Although the roof box is ready, I need to get it onto the racks without any mishaps. I’ll lay out both roofing panels before screwing them down to check the fit. Using temporary braces from earlier, I’ll prop the roof up until it’s securely fastened to the wood rack. This step is crucial for ensuring a sturdy finish.
Here’s how I stay steady during mounting:
- Leaning a ladder against the racks for safe reach
- Having a buddy hold one side while I work the other
- Checking that panels overhang evenly on both ends
- Tightening screws from the center outward
After securing the roofing, I’ll remove those temporary braces and reattach them mid-way up the uprights. These permanent braces provide lasting strength to our wood rack, preventing it from wobbling when loaded.

HEAVY DUTY & RUST-PROOF CONSTRUCTION: Crafted from 1.8mm thick, high-strength steel and finished with a durable black powder coating, these brackets are built to last. The robust one-piece forming technology ensures strong load-bearing capacity, while the rust-resistant finish protects against weather, corrosion, and scratches—perfect for year-round indoor or outdoor use.

RUSTPROOF and DURABLE - Firewood Rack outdoor is made of high-quality steel that is not easily bent or broken and durable. The high-quality coating makes rack to fit less prone to rusting

【Durable and Sturdy】Our firewood rack bracket made of sturdy 14GA steel plate,one piece forming strong load bearing capacity.black powder coated,which can effectively prevent corrosion and rust, and has a long service life.
Seal or Stain for Weather Protection
Why let your hard work deteriorate in the rain? I always seal or stain my firewood rack before it faces the weather. Weatherproofing is just smart.
| Part to Treat | Best Product | Why It Matters |
|---|---|---|
| All surfaces | Oil-based stain | Blocks rain and sun damage |
| Cut ends | Copper preservative | Stops rot where water sneaks in |
| Touch-up spots | Matching sealant | Fixes wear before it spreads |
| Re-coat timing | Same as original | Keeps protection strong |
I coat every inch, especially those fresh-cut 2×4 ends. Untreated lumber absorbs water. I wait for full dry time before loading anything; patience is essential here. Every year or two, I check for peeling or gray spots. A quick re-seal maintains my rack’s appearance alongside my neighbors’, season after season.

HEAVY DUTY BRACKET - Crafted from superior all-steel construction, weatherproof, corrosion, and rustproof black double powder coat finish so your log rack will keep sleek and shiny no matter what weather comes

Patented product! Unique pluggable / slots construction on whole amazon - Fire wood frame rack comes with 3 parts, easy assembly, basically just slots together, no any screw needed to install. Just put the 2 sides in bottom part, 2 seconds, that's all !

2MM THICKENED WALL -- Our wood rack for lumber is constructed with a 2mm solid steel material and finished with a powder coating, making it ideal for long-term indoor or outdoor use. It is designed to withstand bending and tipping, ensuring its stability and durability. With these log racks, you can achieve the perfect solution for your wood storage needs while keeping your yard tidy.