I built my first wall shelf in an afternoon using basic tools, and you can too. First, choose between floating or bracket-mounted; floating shelves hide hardware for a clean look, while brackets are easier to level. Next, locate your wall studs with a stud finder; you’ll need at least two for solid support. Then, cut your boards, creating a hollow box for floating shelves or a flat surface for brackets. After that, assemble your hidden frame or install brackets, ensuring everything is level. Finally, mount securely to the studs, slide the box on if using floating shelves, and add screws to prevent shifting. Proper execution of each step can significantly enhance stability and strength.
Floating or Bracket-Mounted: Pick Your Wall Shelf Type
So, you’re ready to build a wall shelf.
First, let’s pick between two main types. Here’s the breakdown:
1. Floating Shelves
These provide a clean, minimalist look. I slide a hollow box over a hidden frame. For shelf mounting, ensure the frame crosses at least two wall studs. Keep the depth at 12 inches or less; this helps prevent sagging and maintains stability.
2. Bracket-Mounted Shelves
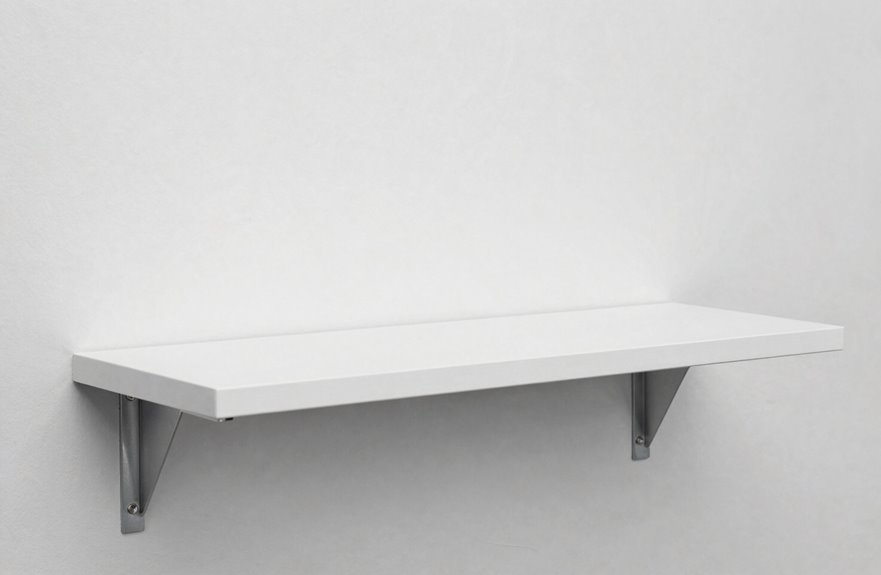
These utilize visible or hidden brackets. They are easier to level and adjust. You will still need wall studs or blocking behind the drywall for secure anchoring. To prevent sagging, space brackets no more than 28 inches apart if using standard plywood.
Which style suits your needs? Floating shelves offer a sleek appearance, while bracket-mounted shelves provide more flexibility. Either way, you’re creating something functional and stylish.

The bracket has a 1" backplate and is designed for use with boards 1.5" thick or more.NOTE: The board thickness we refer to is the actual (not nominal) size.

The bracket has a 1" backplate and is designed for use with boards 1.5" thick or more.NOTE: The board thickness we refer to is the actual (not nominal) size.

The bracket has a 1" backplate and is designed for use with boards 1.5" thick or more.NOTE: The board thickness we refer to is the actual (not nominal) size.
Check Your Studs and Source Materials by Method
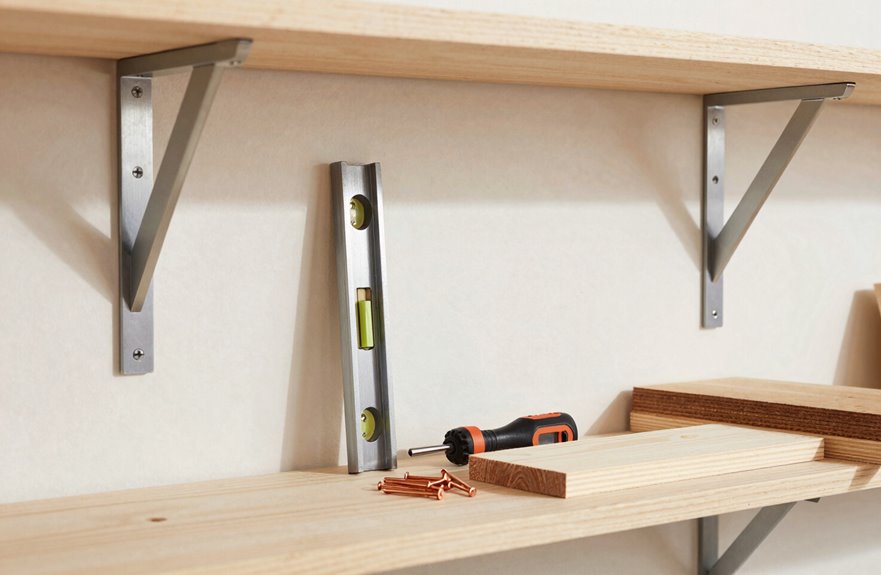
Before I cut any wood, I need to know what’s inside my wall. I will grab my stud finder and slide it along the drywall until it beeps; those indicate my wall studs, the strong bones behind the surface.
Finding Your Spots
My shelf needs to cross at least two studs for solid mounting. If they’re 16 inches apart, I will plan at least 17 inches of length; for 24-inch spacing, I need a minimum of 25 inches. Drywall anchors alone are insufficient for anything heavy.
Picking Materials
I prefer birch plywood for this—18 to 25 mm provides strength without bulk. Pine works too, but plywood resists warping better. I will sand and seal everything now, before mounting, to ensure a smooth finish where brackets conceal.
Let’s build something that endures.

✓ HIGH-QUALITY METAL MATERIALS: Our shelf support is made of thick and heavy duty iron materials.Features a thick black matte surface coating that delivers enhanced water resistance and effective anti‑rust performance for long‑term daily use.

【Standard 90° bending】In order to ensure that each shelf bracket can be at 90° to the maximum extent possible, we add a rigorous picking process before the shelf brackets are packaged. The standardized 90-degree design is so important that it’ s the objective factor in ensuring that items remain level and do not tip over after being placed on the board(board is not included).

Superior Quality: Our floating shelf bracket is expertly crafted from premium steel, ensuring exceptional durability and an impressive weight capacity of 110lbs.
Cut Boards and Build the Box or Shelf Surface
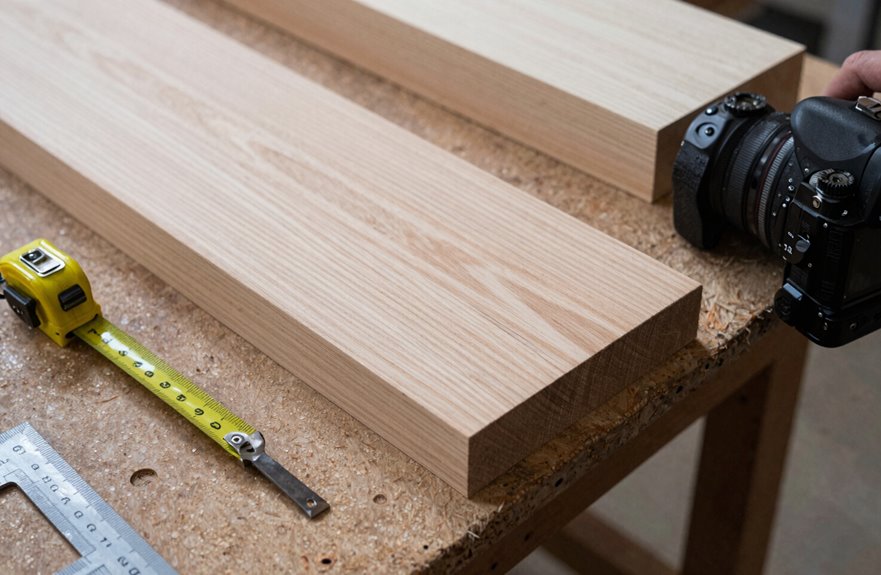
Grab your tape measure and pencil. It’s time to turn plywood into something useful.
I cut two pieces from ½” plywood for my top and bottom shelf surfaces, making each 1½” shorter and ¾” narrower than my final size. I check twice; both pieces must match perfectly in width.
Building the box
I attach these panels to the side pieces with glue and nails, ensuring everything is square. The assembly feels solid when the joints line up cleanly. I bevel my front corners at 45 degrees to hide the end grain.
Before applying glue, I test fit my box over the inner frame. A snug fit is essential; gaps are unacceptable. I keep a level handy during assembly to confirm that my box stays square and sits flat against the wall later.

Powerful Rare Earth Magnets Find Studs Fast: Strong magnetic technology detects nails and screws behind drywall, plaster, and paneling to help locate wood and metal studs without batteries, calibration, or false readings.

What You Get: You will receive 2 magnetic stud finders, specifically designed to locate screws and nail heads in drywall construction. They pinpoint their positions, significantly improving efficiency for wall installation and renovation

2 Pack for Daily Wall Projects This 2 pack magnetic stud finder set helps you locate screws and nail heads behind drywall for home improvement, wall mounting, decorating, and office setup tasks.
Assemble the Hidden Frame or Install Brackets
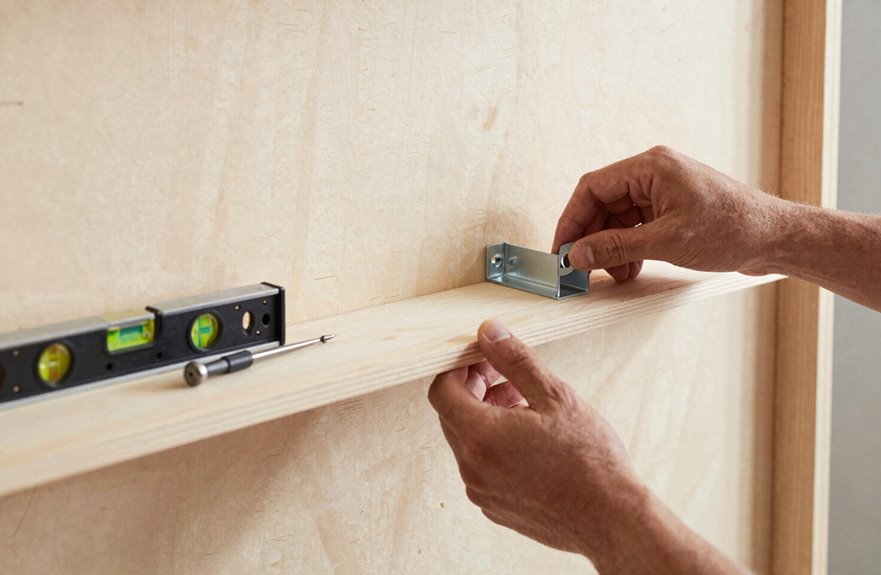
Since my shelf box is ready, I will build the hidden frame that makes this whole assembly functional. I cut 2x2s into an E-shape with a back piece and two supports, creating a hollow space for my box to slide over flat against the wall. I add 45-degree beveled corners to conceal the end grain where my shelf meets the frame.
Build a hidden E-frame from 2x2s with beveled corners, creating a hollow space for your shelf box to slide over flat against the wall.
Test Before Final Gluing
I slide my hollow box over the frame before gluing everything tight. If it fits snugly, I glue and clamp the joints square.
Mounting the Frame
I locate the studs in my wall and mark where my frame crosses at least two of them. After leveling the frame, I drive wood screws through the back into those studs. For added security, I will later add a couple of screws through the top-back of my shelf box to prevent any sliding.
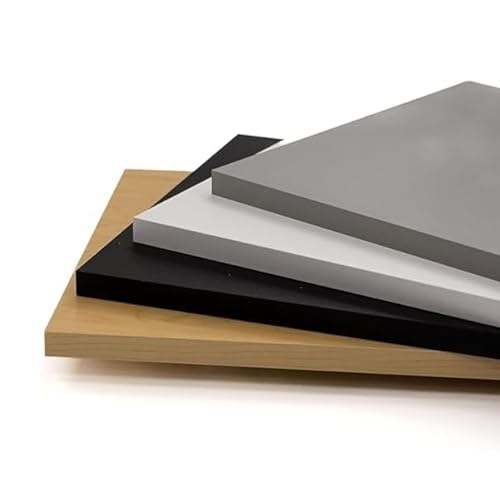
KITCHEN SHELVES ORGANIZER: Upgrade your space with premium melamine shelves cut to size up to 60". Also, available in Chocolate Dark Brown and Mahogany, in depths of 1/2” and 3/4”, these sturdy boards adapt to your needs, offering a sleek, modern look. Perfect for home or office organization, they provide a durable and stylish storage solution.

[Good Quality]: Wood performance is stable, not easy to crack and deform, compact structure, high hardness, strong toughness, and good stability

100% Solid Pine Wood, No Composite Built with genuine solid red pine wood, free of plywood, particleboard and cheap synthetic fillers. Retains natural wood grain and sturdy raw wood texture. The unfinished blank surface is fully customizable for staining, painting, polishing and carving, perfect for all DIY woodworking projects.
Mount Level, Slide On, and Secure Against Sliding
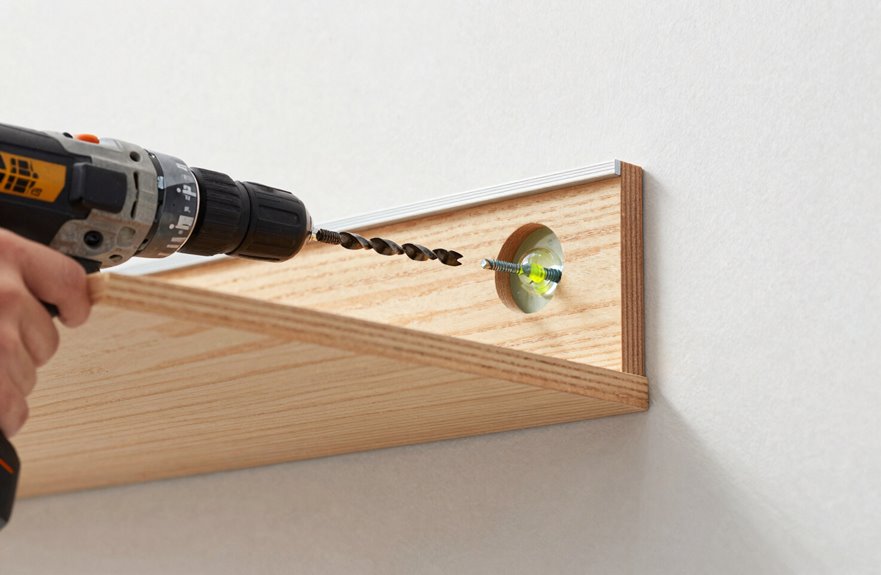
Now that my frame is built, how do I get it on the wall without a crooked mess?
1. Find the studs
I use a stud finder to locate two studs in my wall. I mark them clearly with a pencil.
2. Mount level and secure
I hold my frame against the wall, checking with a level to ensure it’s straight. I drill three wood screws into each stud. This keeps everything stable when I add weight.
3. Slide on the shelf
I slide the hollow shelf box right over the frame. It fits snug against the wall, creating a clean look.
4. Lock it in place
To prevent sliding, I add a couple screws through the shelf top into the frame.
5. Final check
I double-check my level and press down gently. It feels solid and secure, just as planned.

HEAVY DUTY - we recommend mounting to a stud on your wall for maximum support. Each bracket holds 15lbs. For heavier shelves please add extra brackets to distribute the weight.
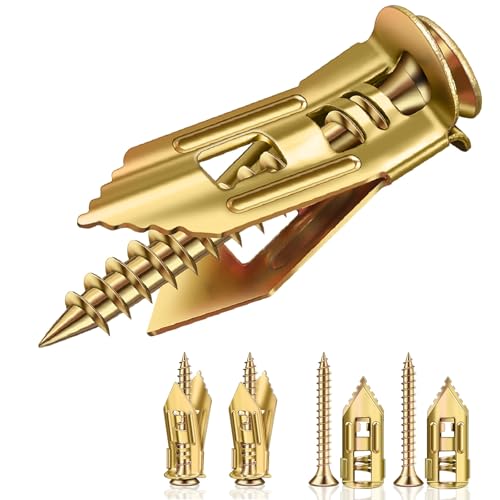
ONE KIT, ONE SIZE, DONE – NO MORE GUESSWORK These 1⅜" self drilling drywall anchors are perfect for floating shelves, mirrors, curtain rods, framed art, coat hooks, and bathroom organizers. One practical size for everyday apartment and home projects
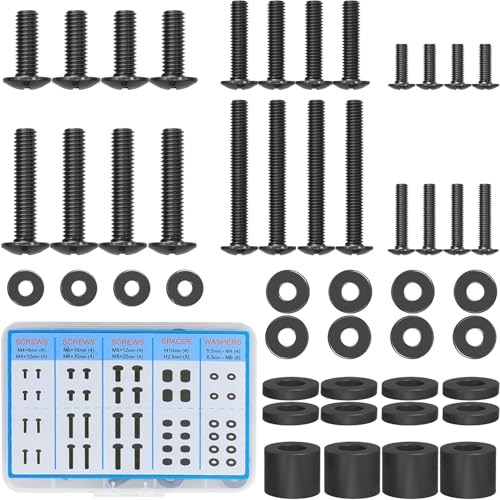
One Pack Includes All You Need: Comes with everything you need to mount your TV securely—no extra trips to the hardware store. This complete VESA mounting screw kit includes M4, M6, M8 TV screws, washers, and spacers. Ideal for wall mounts, TV stands, and mobile TV carts, whether you're installing a brand-new screen or replacing missing screws.