

I’ll help you install a kitchen light fixture in ten simple steps. First, I turn off power at the breaker and test with a voltage tester. Then I remove the old fixture, photograph the wiring, and check that my ceiling box can handle the new fixture’s weight. I assemble the new fixture, connect black to black, white to white, and ground to ground. After that, I tuck the wires neatly and secure the canopy. Finally, I install bulbs, restore power, and test the switch. If something doesn’t work, I double-check my connections. Follow these steps, and I will guide you through each one with helpful tips to make this project straightforward and efficient.
Turn Off Power at Your Breaker Panel
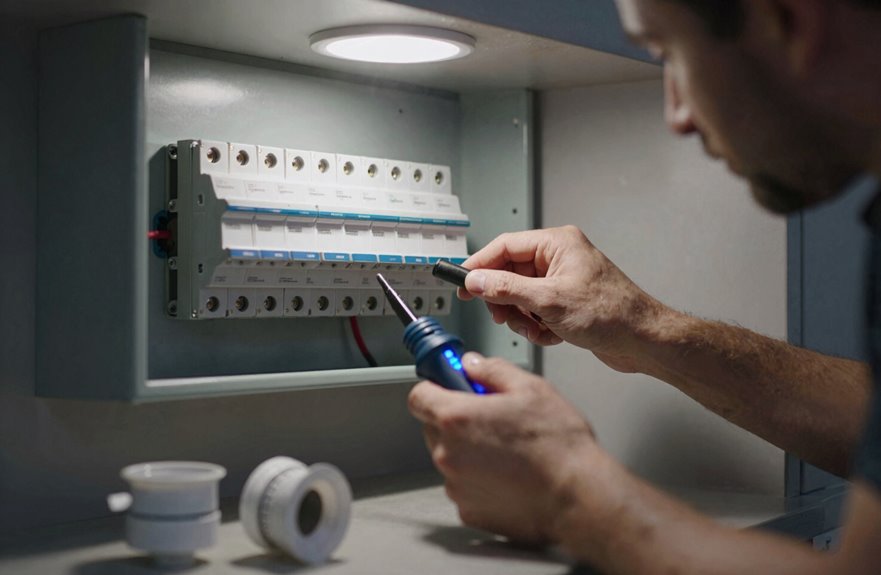
Turn Off Power at Your Breaker Panel
Before I touch a single wire, I ensure the power is completely off. Getting shocked is not part of my plans.
Finding Your Breaker
I go to my breaker panel and locate the switch for my kitchen light. Sometimes the labels are helpful, sometimes they are not. If I’m unsure which breaker it is, I turn them all off and test my wall switch to confirm.
Locking in Safety
After finding the correct breaker, I turn it firmly to the off position. Then I place a piece of tape over it to prevent anyone from accidentally flipping it back on while I work. This step enhances my safety.
One Final Check
Even with the breaker off, I grab my non-contact voltage tester and hold it near the wires. No beep indicates that it is safe to proceed. Taking these extra moments for safety allows me to focus on installing my new light.
Remove the Old Fixture and Photograph the Wiring
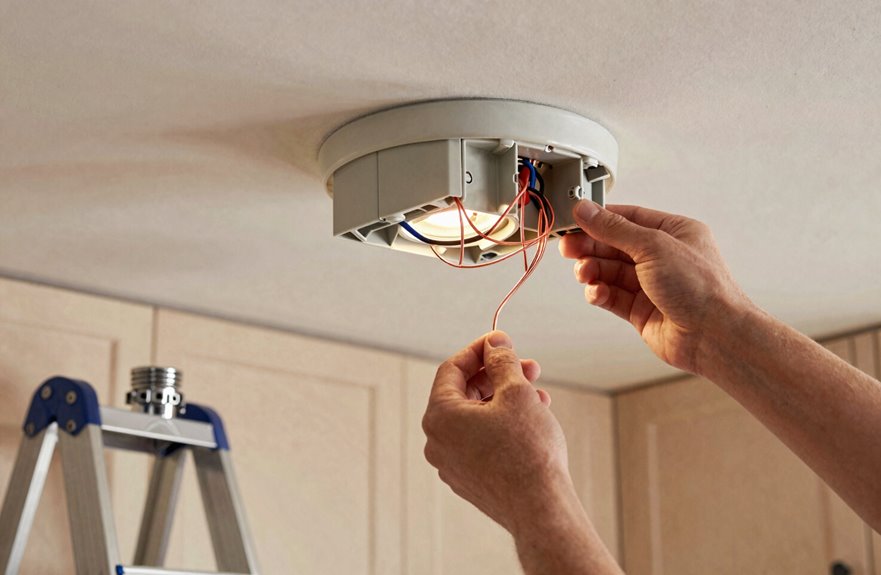
I’ll support the old fixture with one hand while I loosen the mounting screws to prevent it from dropping. Before disconnecting any wires, I will take a clear photo of how everything is connected. This step helps me remember which color goes where, making the new installation smoother.
Support and Loosen
How do you safely take down an old light fixture without dropping it or forgetting how the wires connect? I support the old fixture with one hand while I loosen the mounting screws with my other hand. This keeps everything secure and prevents accidents.
Once the screws are loose, I lower the fixture gently to expose the ceiling wiring. I take a clear photograph of how the wires connect before touching anything. This picture serves as my reference for later.
Next, I use a voltage tester to double-check that there is no power running through those wires. Safety is crucial. Then I disconnect the old wire connectors by twisting them off and will discard these since they cannot be reused. Now I am ready for the next steps.
Document Before Disconnecting
Once I’ve lowered the old fixture and can see the wires, I grab my phone and take a clear photo of how everything connects. I photograph the wiring from a couple of angles to ensure I don’t miss anything; this picture serves as my roadmap for the new fixture.
Before I disconnect, I use my voltage tester to double-check that the power is off. I touch it to each wire because safety is essential, even after flipping the breaker.
I take a quick look at what I’m seeing: black or red for hot, white for neutral, and either a silver or copper ground wire. Next, I remove the old wire connectors and keep them handy to match everything up later. That photo remains visible for reference.
Verify No Power Before Touching Wires
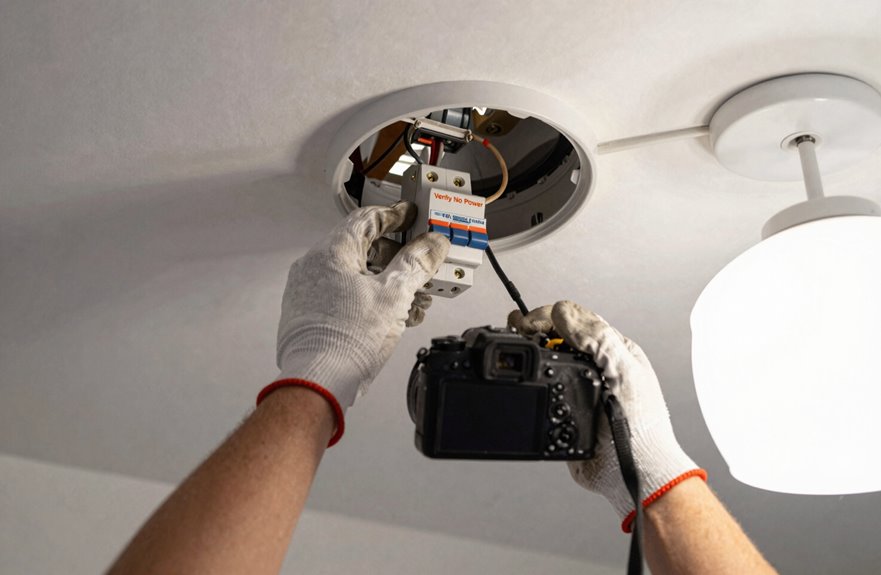
Why take chances with electricity when a quick check ensures safety? I always start my power-off verification at the circuit breaker, not the wall switch. Flipping that breaker to off is your first line of defense.
Test Before You Touch
Grab your voltage tester and check the ceiling box and wires. No light or beep indicates that it’s safe. If you’re still unsure, flip breakers one by one and test the wall switch each time. If the light stays off, you’ve identified the correct circuit.
Double-Check Everything
After disconnecting wires, I test again with my voltage tester. Electricity can be unpredictable, so I never skip this step. Your kitchen project deserves careful attention, not shortcuts. Stay informed and safe, and you’ll join the ranks of DIYers who prioritize proper safety measures.
Check That Your Ceiling Box Can Support the New Fixture
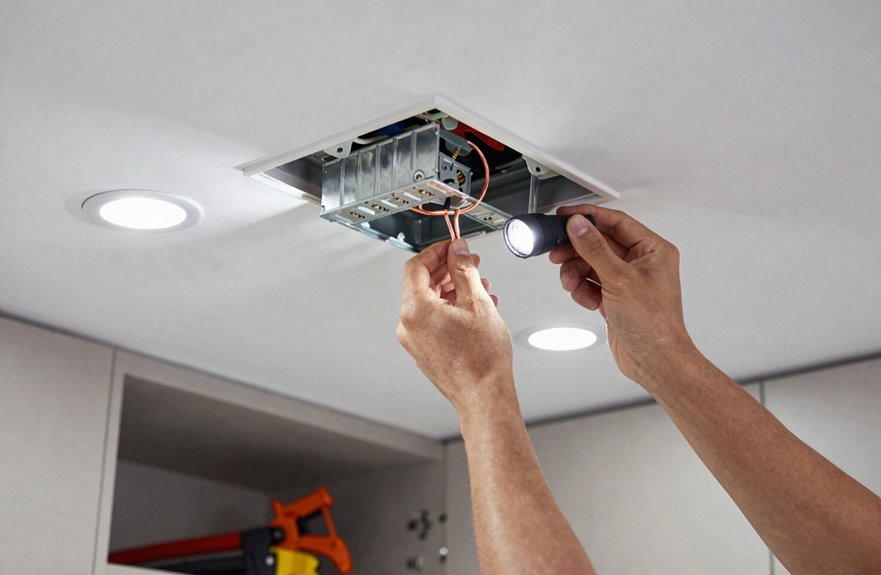
Where is your new light going to hang? Your ceiling box supports everything, so it’s essential to ensure it’s ready for the job.
First, check the weight rating on your new fixture. Most standard boxes handle up to 50 pounds, but verify that yours matches or exceeds the weight of what you’re hanging. If your new chandelier weighs more than the old flush mount, this step is crucial.
Here’s what to look for:
- Any cracks, rust, or movement in the old box
- A rating label showing maximum weight capacity
- Whether your fixture needs extra support from ceiling joists
- Proper mounting hardware, like a brace for heavy pieces
If anything appears weak or undersized, replace it now. A secure ceiling box contributes to safety in your kitchen and maintains its aesthetic.
Assemble and Prep Your New Kitchen Fixture
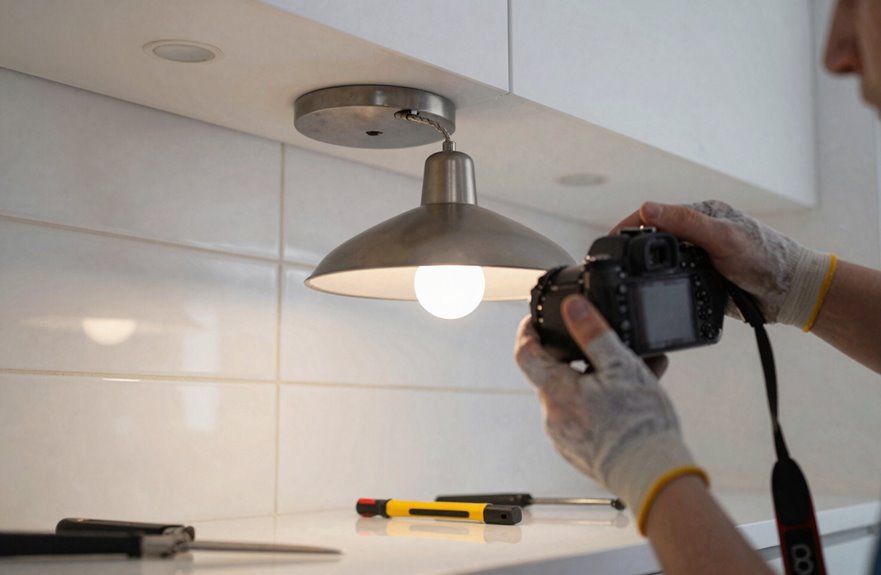
I’ll unpack the fixture components on a flat surface first to see everything and check against the instructions. Then, I’ll adjust the chain length to match my ceiling height, trimming any excess cord to keep things tidy inside the box. Finally, I’ll thread the wiring through the canopy and mounting bracket, ensuring the black, white, and ground wires are ready for connection.
Unpack Fixture Components
Unpacking everything before starting is essential. I always lay out my new kitchen fixture components on a flat surface where I can see them all at once. This approach helps me stay organized.
Here’s what I check for right away:
- Mounting bracket and canopy
- Decorative plate and screws
- Wiring connectors
- Hardware like locknuts and wire nuts
I read the manufacturer’s instructions twice to identify each piece. Then, I separate and inspect everything to ensure nothing is missing or damaged. I also pre-thread parts that connect later, such as attaching the canopy to the mounting bracket. This saves time when I’m up on the ladder. Taking these steps now minimizes complications during installation and boosts confidence in handling the project.
Adjust Chain Length
How do you ensure your new kitchen light hangs at the right height? I adjust the chain length before anything goes near the ceiling.
First, I lay everything on a flat surface and find the chain. I open the end link and hook it onto the screw collar, which sets my starting point. Then, I hold the fixture against the chain to check the canopy height. If it’s too long, I’ll remove links; if it’s too short, I’ll add more.
A useful tip is to run the wiring through the chain as I adjust. This keeps the wires protected and untangled, preventing any pinching or damage when I’m finished.
Once I’m satisfied with the length, I slide any necessary parts over the wiring and double-check that the chain feels sturdy. A secure chain ensures a safe, beautiful fixture that enhances our gatherings.
Thread Wiring Through
Threading the wiring through your fixture is the next step, and it is easier than it looks. I will guide you through wire routing so you feel confident tackling this part.
First, I thread the fixture’s wiring through any chain links or mounting hardware, keeping everything centered and snag-free. Then I slide the canopy over the wires for a clean canopy installation later.
Here’s what I always double-check:
- Keep black, white, and ground wires separated and untangled
- Leave about 1 inch of exposed conductor at the ends
- Strip insulation carefully if the diagram shows it’s needed
- Make sure no wires get pinched when I tighten everything down
I route everything so bare copper stays hidden, tucking all connections neatly into the ceiling box. We are almost ready to connect.
Attach the Mounting Bracket to the Ceiling Box
The mounting bracket holds your new light fixture in place, so it’s essential to set it up properly. Start by checking that the ceiling box is firmly anchored, as this provides a solid foundation. Gather your screws, screwdriver, and wire nuts for easy access.
Next, attach the mounting bracket to the ceiling box, leaving the screws slightly loose at first. This allows for adjustments to achieve perfect alignment. Hold the fixture against the bracket briefly to check positioning, then step back to verify level support. A crooked bracket results in a crooked light, which is not desirable in your kitchen.
Here’s what to double-check before tightening fully:
| Check | Why It Matters | Fix If Needed |
|---|---|---|
| Box is secure | Safety first | Tighten anchors |
| Bracket is level | Looks professional | Adjust screws |
| Screws are snug | Holds weight | Tighten evenly |
| Fixture aligns | Easy wiring later | Reposition bracket |
Once everything looks good, tighten the screws completely. You are now ready for the wiring.
Connect the Black, White, and Ground Wires
With the mounting bracket secure, I’m ready to tackle the wiring. I’ll connect each wire carefully to ensure we get this done correctly.
First, I’ll match the black wire from my fixture to the black wire in the ceiling; these are the hot wires that carry power. Next, I’ll connect the white wire to the ceiling’s white wire; these complete the circuit. Finally, I’ll attach the ground wire to the ceiling’s grounding point or green screw for safety.
Here are the safety measures to follow:
- Twist matching wires together firmly
- Cap each pair with a wire nut
- Wrap connections with electrical tape
- Double-check that nothing is loose
Once everything is snug, I’ll gently push the wires into the box. Just a few more steps and your kitchen will be illuminated.
Tuck Wires and Secure the Fixture Canopy
Now that the wires are connected and capped, I carefully push them into the ceiling box. I ensure no copper is exposed and that nothing gets pinched, which is crucial for safety.
Carefully tuck all connected wires into the ceiling box, ensuring no exposed copper and nothing gets pinched—safety first.
Before proceeding, I double-check my wire nuts to make sure they are tight, with no loose wires hanging out. Everything should feel snug and secure.
Next, I slide the canopy over the mounting bracket. It should sit flat against the ceiling, concealing all the wiring and hardware underneath. I tighten the screws or locknut to hold it firmly in place.
I take a step back to assess the installation. The canopy should be flush with no gaps, enhancing the overall appearance of the kitchen. Just a few more steps remain.
Install Bulbs and Test Your Kitchen Light
Once the canopy is secure, I add the final touches to my kitchen light. I grab the right bulbs for my fixture and twist them in until they’re snug. I want to ensure they are secure.
Before I flip the switch, I double-check my work:
- Bulbs match the fixture’s specs
- Wiring is tucked away safely
- Canopy sits flush against the ceiling
- Power is still off during this step
Next, I head to the breaker and restore power. I walk back, take a breath, and flip the wall switch to test. The light glows bright and steady, with no flickers or buzzing. My kitchen feels warmer, reflecting the effort I put into making this space my own.
Fix It If the Light Doesn’t Work
If your kitchen light doesn’t turn on, follow this plan to troubleshoot the issue. First, check the power source to ensure electricity is reaching the fixture. Next, inspect all wire connections to confirm everything is securely connected.
Check Power Source
Before touching any wires, I need to make sure the power is completely off. I head to the circuit breaker panel and find the breaker feeding my kitchen fixture. I flip that breaker to cut the power, then I grab my non-contact voltage tester. I don’t trust the wall switch alone; safety is essential in our DIY community.
Here’s my safety routine:
- Find and flip the right breaker
- Test wires with a voltage tester; never skip this
- Tape the breaker so nobody turns it back on
- Retest with the tester before handling anything
After my work is done, I restore power by flipping the breaker on. I test the light switch to confirm everything works. If something is wrong, I can cut power again and troubleshoot.
Inspect Wire Connections
I’ve already shut off the power and tested the wires, so now I’m ready to inspect what’s happening in that electrical box.
First, I grab my voltage tester and double-check; no power means I’m safe to work. I snap a quick photo of how everything’s connected before I touch anything. That way, I have a reference if I need it later.
Next, I match the colors: black to black, white to white, and don’t forget the ground wire, which is usually bare copper or green. I twist on the wire nuts tightly and give each one a gentle tug to ensure they’re secure. No bare metal should be exposed.
I restore power and flip the switch. If nothing happens, I turn it off again and recheck my wire nuts. Fixing this issue requires some patience.